
Camcorder User Manual
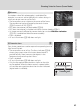

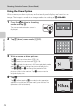
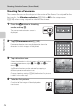
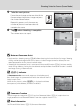
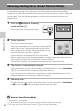
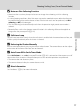
Table Of Contents
- For Your Safety
- Notices
- Introduction
- First Steps
- Basic Photography and Playback: Auto Mode
- More on Shooting
- More on Playback
- Operations in Full-frame Playback Mode
- Viewing Multiple Images: Thumbnail Playback
- Taking a Closer Look: Playback Zoom
- Selecting Playback Mode
- Sorting Favorite Pictures (Favorite Pictures Mode)
- Image Searching in Auto Sort Mode
- Selecting Images Captured on a Specific Day (List by Date Mode)
- Playback Options
- Setting the Image Rating
- Enjoying Slide Show
- Protecting Important Images (Protect)
- Creating a DPOF Print Order
- Rotate Image
- Voice Memo: Recording and Playback
- Editing Images
- Movie Recording and Playback
- Connecting to Televisions, Computers and Printers
- Basic Camera Setup
- Setup Menu
- Welcome Screen
- Time Zone and Date
- Monitor Settings
- Print Date (Imprinting Date and Time)
- Vibration Reduction
- Motion Detection
- AF Assist
- Digital Zoom
- Sound Settings
- Auto Off
- Format Memory/Format Card
- Language
- TV Settings
- Charge by Computer
- Blink Warning
- Reset All
- Copy (Copy Between Internal Memory and Memory Card)
- Firmware Version
- Setup Menu
- Caring for the Camera
- Technical Notes and Index
75
Shooting Suited to Scenes (Scene Mode)
More on Shooting
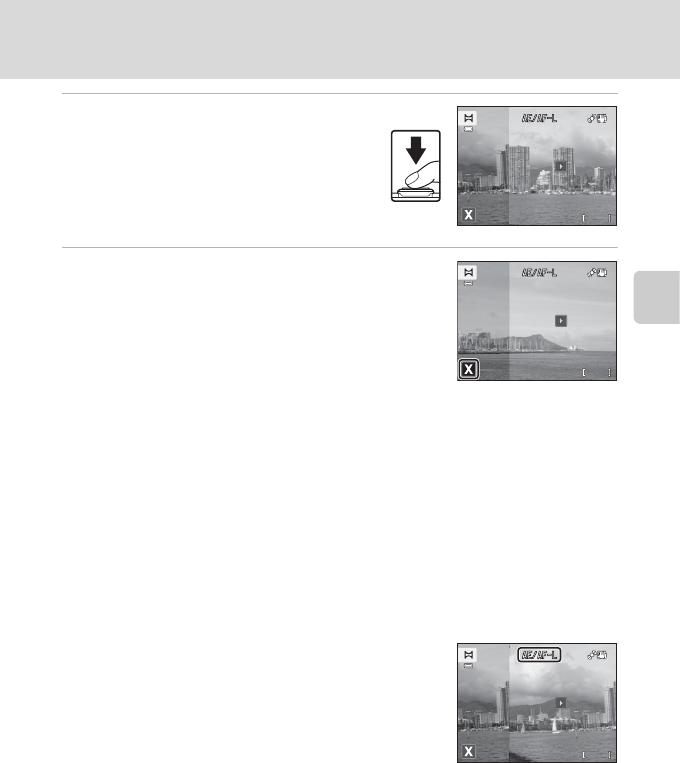
5 Take the next picture.
Frame the next image so that one-third of the
frame overlaps the previous image and press
the shutter-release button.
Repeat this process until the necessary
number of pictures have been taken to
complete the scene.
6 Tap H when shooting is complete.
The camera returns to step 3.
22
22
22
19
19
19
B Notes on Panorama Assist
• Apply or adjust shooting settings (A 60) before releasing the shutter for the first image. Shooting
settings cannot be changed after the first picture is taken. Images cannot be deleted, nor can
zoom operate after the first picture has been taken.
• Shooting for the panorama series is terminated if the auto off function (A 162) initiates standby
mode during shooting. Setting the time allowed to elapse before the auto off function is enabled
to a longer setting is recommended.
D R Indicator
In Panorama assist scene mode, exposure, white balance, and
focus for all images in a panorama are fixed at the values for the first
image in each series.
When the first picture is taken, R is displayed to indicate
that exposure, white balance, and focus are locked.
D Panorama Creation
T
ransfer images to a computer (A 137) and use Panorama Maker 5 (A 141) to join them in a
single panorama. Install Panorama Maker 5 from the supplied ViewNX 2 CD.
D More Information
See “File and Folder Names” (A 178) for more information.
22
22
22