
User Manual

7
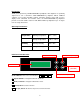
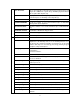
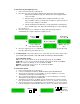
Press ENT to
load disc and
execute Test
Analyze source disc
Start simulation
Finis
h and
eject
discs
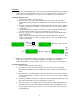
3. Compare – This command compares copied disc(s) to the master disc and ensures that
the copies are exact duplicates of the master disc. This command is especially useful for
DVDs, data CDs and
video CDs.
Note: The Compare process is a bit-by-bit comparison between the master disc and the copied discs. This
operation ensures
that all of the copies are completely identical to the Master disc. This command is not applicable to audio CDs.
To start the Compare process, please follow the instructions below.
1. Power on the machine (if not already on).
2. Eject disc tray of the Source Drive and place the master disc in the designated
Source Drive (usually the top). The “master disc” is the original of which copies are
made.
3. Eject disc tray(s) of the Writer Drives and place copied disc(s) to be compared on the
tray(s).
Number of drives used depends on number of copies to be compared. It is not
necessary to always use all drives.
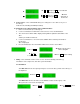
4. Use the scroll buttons to select the command “3. Compare” and press the ENT
button. The drives
will automatically close trays and begin the compare process.
5. Once the compare process is complete, the trays will eject the discs that have
passed the compare process.
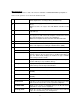
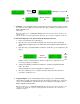
4. Copy & Compare – This command will perform the copy process, and immediately
follows with a comparison between the master disc and the copied disc(s) to ensure the
copies are exact duplicates of the master disc. This command is especially useful for
DVDs, data CDs and video CDs.
Note: The Compare process is a bit-by-bit comparison between the master disc and the copied discs. This
operation ensures that all of the copies are completely identical to the Master disc. This command is not
applicable to audio CDs.
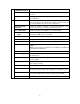
Start
comparison
Finish
and
eject
disc