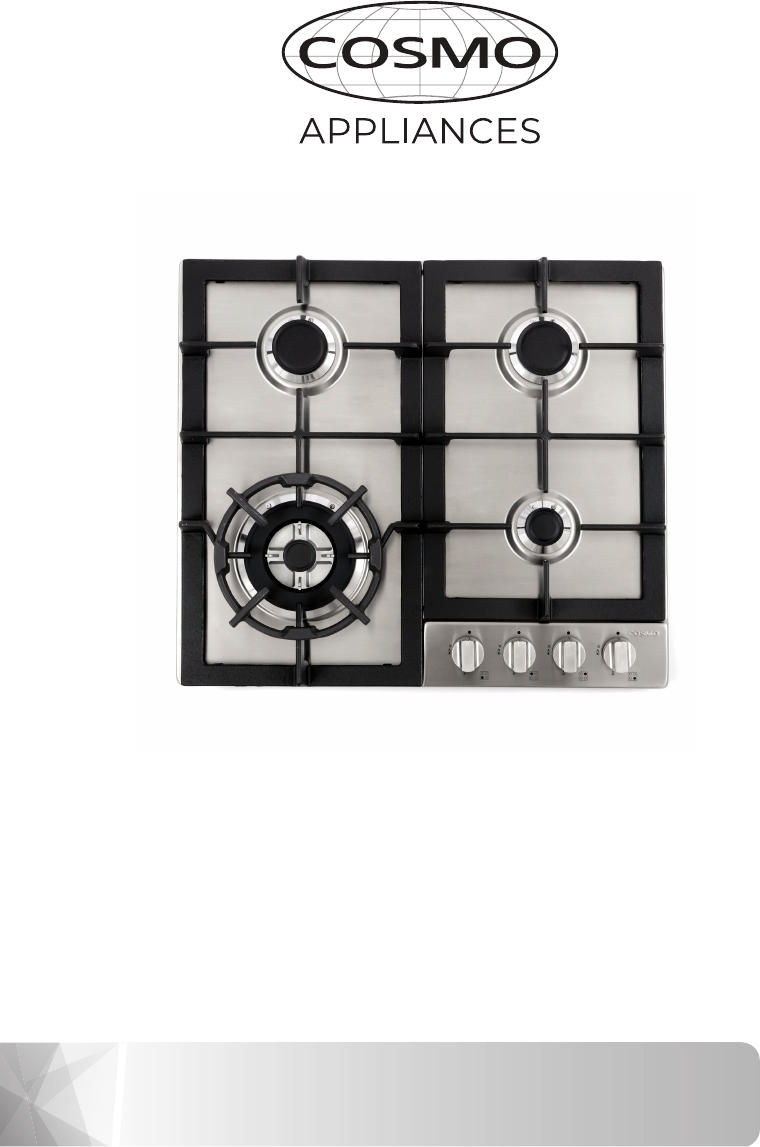
INSPIRING THE WORLD’S KITCHEN DROP-IN GAS COOKTOP COS-640STX-E INSTALL & USER GUIDE IMPORTANT SAFETY INSTRUCTIONS Carefully read the following Important information redarding installation safety and maintenance. Keep these instruction for future reference.
TABLE OF CONTENTS THANK YOU FOR YOUR PURCHASE SAFETY INSTRUCTIONS ...............................................................4-8 PARTS INCLUDED ............................................................................ 9 GETTING STARTED .....................................................................10-11 Grounding Instructions ............................................................................10 Liquefied Petroleum (Propane) Gas Conversion .............................
IMPORTANT SAFETY INSTRUCTIONS IMPORTANT SAFETY INSTRUCTIONS Read all instructions before using this appliance. Save these instructions for future references. • Approved for residential appliances. For residential use only. Installation and service must be performed by a qualified installer, servicer or the gas supplier. Ask your dealer to recommend a qualified technician and an authorized repair service.
IMPORTANT SAFETY INSTRUCTIONS • IMPORTANT SAFETY INSTRUCTIONS DO NOT TOUCH THE COOKTOP SURFACE, THE BURNERS, GRATES OR ANY AREAS NEAR THEM. Surface burners or cooktop may be hot even though flames are not visible. Areas • Never use this appliance as a space heater to heat or warm the room. Doing so may result in carbon monoxide poisoning and overheating of the oven. near surface burners or cooktop may become hot enough to cause burns.
IMPORTANT SAFETY INSTRUCTIONS • PARTS INCLUDED Always use proper flame size. Adjust flame size so it does not extend beyond the edge of the utensil. The use of undersized utensils will expose a portion of the burner flame to direct contact and may result in ignition of clothing. Proper relationship of utensil to flame will also improve efficiency. • Use the proper pan sizes. This cooktop is equipped with surface units of different sizes.
GETTING STARTED GETTING STARTED Grounding Instructions Liquefied Petroleum (Propane) Gas Conversion • This cooktop features a pilotless electric ignition for energy savings and reliability. It • This appliance can be used with Natural Gas and Propane (LP) Gas. It is shipped from the factory operates on a 120 volt, 60 Hz power supply. for use with natural gas. A separate circuit, protected by a 15 amp time delay fuse or circuit breaker, is required.
SURFACE COOKING SURFACE COOKING Flame Size Proper Burner Adjustments • For most cooking, start on the highest control setting and then turn to a lower one to complete the • The color of the flame is the key to proper burner adjustment. A good flame is clear, blue and hardly process. The size and type of utensil used and the amount of food being cooked will influence the visible in a well-lighted room. Each cone of flame should be steady and sharply defined. Adjust or setting needed for cooking.
SURFACE COOKING SURFACE COOKING To Operate the Surface Burners Surface Cooking Utensils For lower gas consumption and better efficiency: Use only flat-bottomed pans of dimensions suitable for the burners, as shown in the table below. Check for flatness by rotating a ruler across the bottom of the pan. There should be no gaps between the pan and ruler. As soon as a liquid comes to a boil take care to turn the flame down to a level that will just keep it simmering.
CARE & CLEANING TROUBLESHOOTING IMPORTANT IMPORTANT Before calling for service, review this list. It may save you both time and expense. This list includes To avoid possible burns use care when cleaning the cooktop. DO NOT attempt to clean the cooktop whenever the cooktop or burner heads are still hot. To avoid possible burns DO NOT common experiences that are not the result of defective workmanship or material in your cooktop.
TROUBLESHOOTING PROBLEM The flame goes out during operation POSSIBLE REASONS Thermocouple Nozzle Flame is too high Regulator Nozzle Flame is too low Regulator Gas not reaching the cooktop Gas supply Strange smell Gas leaking Hissing noise coming from burner INSTALLATION INSTRUCTIONS INSTALLATION AND SERVICE MUST BE PERFORMED BY A QUALIFIED INSTALLER. SOLUTIONS The thermocouple is contaminated by food residue. Clean the thermocouple.
INSTALLATION INSTRUCTIONS INSTALLATION INSTRUCTIONS Cutting the Countertop Provide an Adequate Gas and Electrical Supply • Installation must comply with local codes. In the absence of local codes, the gas cooktop must 1) Use a 24” or deeper base cabinet. comply with the National Fuel Gas Code ANSI Z223.1—latest edition in the United States, or in Canada CAN/CGA B149.1, and CAN/CGA B149.2, and the National Electrical Code ANSI/NFPA No. 70—latest edition in United States, or in Canada CSA Standard C22.
INSTALLATION INSTRUCTIONS INSTALLATION INSTRUCTIONS 3) Before inserting the cooktop into the Installing the Pressure Regulator opening in the countertop, remove the grates and burner caps, turn the WARNING: Never reuse old flexible connectors. The use of old flexible connectors can cause cooktop upside down and place the gas leakage and personal injury. Always use new flexible connectors when installing a gas appliance.
INSTALLATION INSTRUCTIONS INSTALLATION INSTRUCTIONS 1) The gas inlet is located on the bottom of the cooktop at the rear and 8 ½” from the right hand • edge of the cooktop. Make gas connection through rear wall, or on cabinet floor at rear. Install Warning - Do not use a flame to check for leaks from gas connections. Checking for leaks with a flame may result in a fire or explosion. the house gas supply at least 1” from the back wall. 2) When installing, fit a safety tap at the end of the pipeline.
INSTALLATION INSTRUCTIONS INSTALLATION INSTRUCTIONS Electrical Connection Assembling the Burners Before making the connection, make sure that: The electrode of the electronic ignition system is positioned above the surface of the burner base. Do 1) The safety circuit-breaker and the electrical system are able to with stand the load of the not remove a burner cap or touch the electrode of a burner while another is turned on. Damage or electrical shock may occur. appliance.
INSTALLATION INSTRUCTIONS INSTALLATION INSTRUCTIONS LP/Propane Gas Conversion A. ADJUST THE REGULATOR This appliance can be used with Natural Gas or LP/Propane gas. It is shipped from the factory for use with natural gas. A kit for converting to LP gas is supplied with your cooktop. The kit is marked a) Disconnect all electrical power, at the main circuit breaker or fuse box. "FOR LP/PROPANE GAS CONVERSION". b) Shut off the gas supply to the cooktop by closing the manual shut-off valve.
INSTALLATION INSTRUCTIONS INSTALLATION INSTRUCTIONS B. CHANGE BURNER NOZZLES 3) Remove the retainer pin (see Figure 21). INSTALLATION TIP: First remove all nozzles and then start replacing them. This will help to prevent the possibility that some may not be replaced. 1) Remove the burner grates, burner caps and burner heads. Figure 21 2) Using a 7mm nut driver, remove the burner nozzles. 4) Reverse the retainer pin and put back into the regulator cap.
INSTALLATION INSTRUCTIONS INSTALLATION INSTRUCTIONS D. TESTING FLAME STABILITY C. ADJUST BURNER FLAMES 1) Turn all burners on highest setting and check the flames. They should be blue in color and may have some yellow tipping at the ends of the flame when using LP gas. Foreign particles in the Test 1——Turn the knob from “HI” to “LO” quickly. If the upper row of flames goes out at this setting, increase the flame size and test again.
IMPORTANT Do Not Return This Product To The Store If you have a problem with this product, please contact Cosmo Customer Support at +1(888)784-3108 DATED PROOF OF PURCHASE, MODEL #, AND SERIAL # REQUIRED FOR WARRANTY SERVICE IMPORTANT WARRANTY AND SERVICE Ne pas Réexpédier ce Produit au Magasin Pour tout problème concernant ce produit, veuillez contacter le service des consommateurs Cosmo Customer Support au +1(888) 784-3108 UNE PREUVE D’ACHAT DATEE EST REQUISE POUR BENEFICIER DE LA GARANTIE.
Cosmo is constantly making efforts to improve the quality and performance of our products, so we may make changes to our appliances without updating this manual. Electronic version of this manual is available at: www.cosmoappliances.