
User Guide
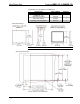
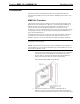
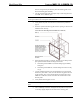
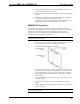

Table Of Contents
Mud Mount Kits Crestron MMK-12L & WMKM-12L
them on enough to keep the fastener plate and mounting plate as one
fastener/mounting plate assembly.
3. Use the second fastener plate and repeat steps 1 and 2 using the lower
two PMK-12L (or BB-12L) pins.
NOTE: When installing into the PMK-12L, verify that the 18 AWG bus wire
securing the cables for the touchpanel remain attached.
4. Verify that the drywall cutout meets the measurements specified on
page 2.
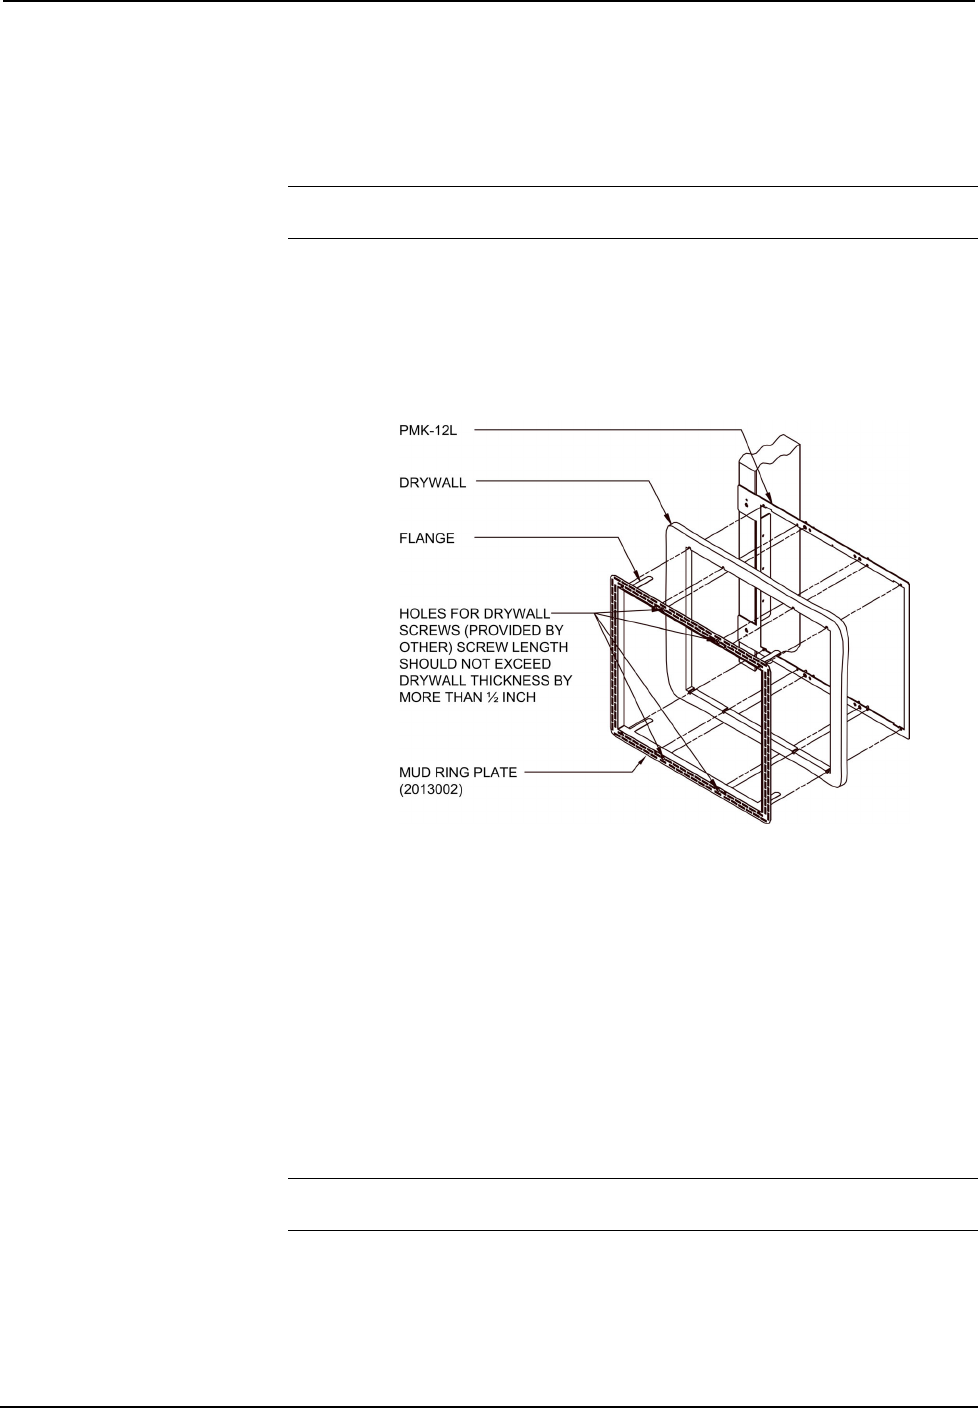
5. Insert the symmetrical mud ring plate into the opening, as shown in the
illustration after this step.
Insert and Secure Mud Ring Plate into PMK-12L (or BB-12L)
6. When the mud ring plate is in position, bend the top two flanges of the
plate upward and the bottom two flanges downward.
• If mounting into the PMK-12L, bend the flanges approximately
90 degrees.
• If mounting into the BB-12L, bend the flanges back as far as they
can go.
7. Use four standard drywall screws (length should not exceed drywall
thickness by more than ½ inch) to secure the mud ring plate to the rest
of the assembly. The screws pass through the clearance holes in the
PMK-12L (or BB-12L) and are secured in the extruded holes of the
fastener plates.
8. Verify that the mud ring plate is level.
NOTE: Do not over tighten screws. Doing so may over-dimple or rip the mud ring
plate.
9. Use a #2 Phillips screwdriver and tighten the drywall screws by hand
so that they slightly dimple into the holes in the mud ring plate.
4
• Mud Mount Kits: MMK-12L & WMKM-12L Installation Guide – DOC. 6359