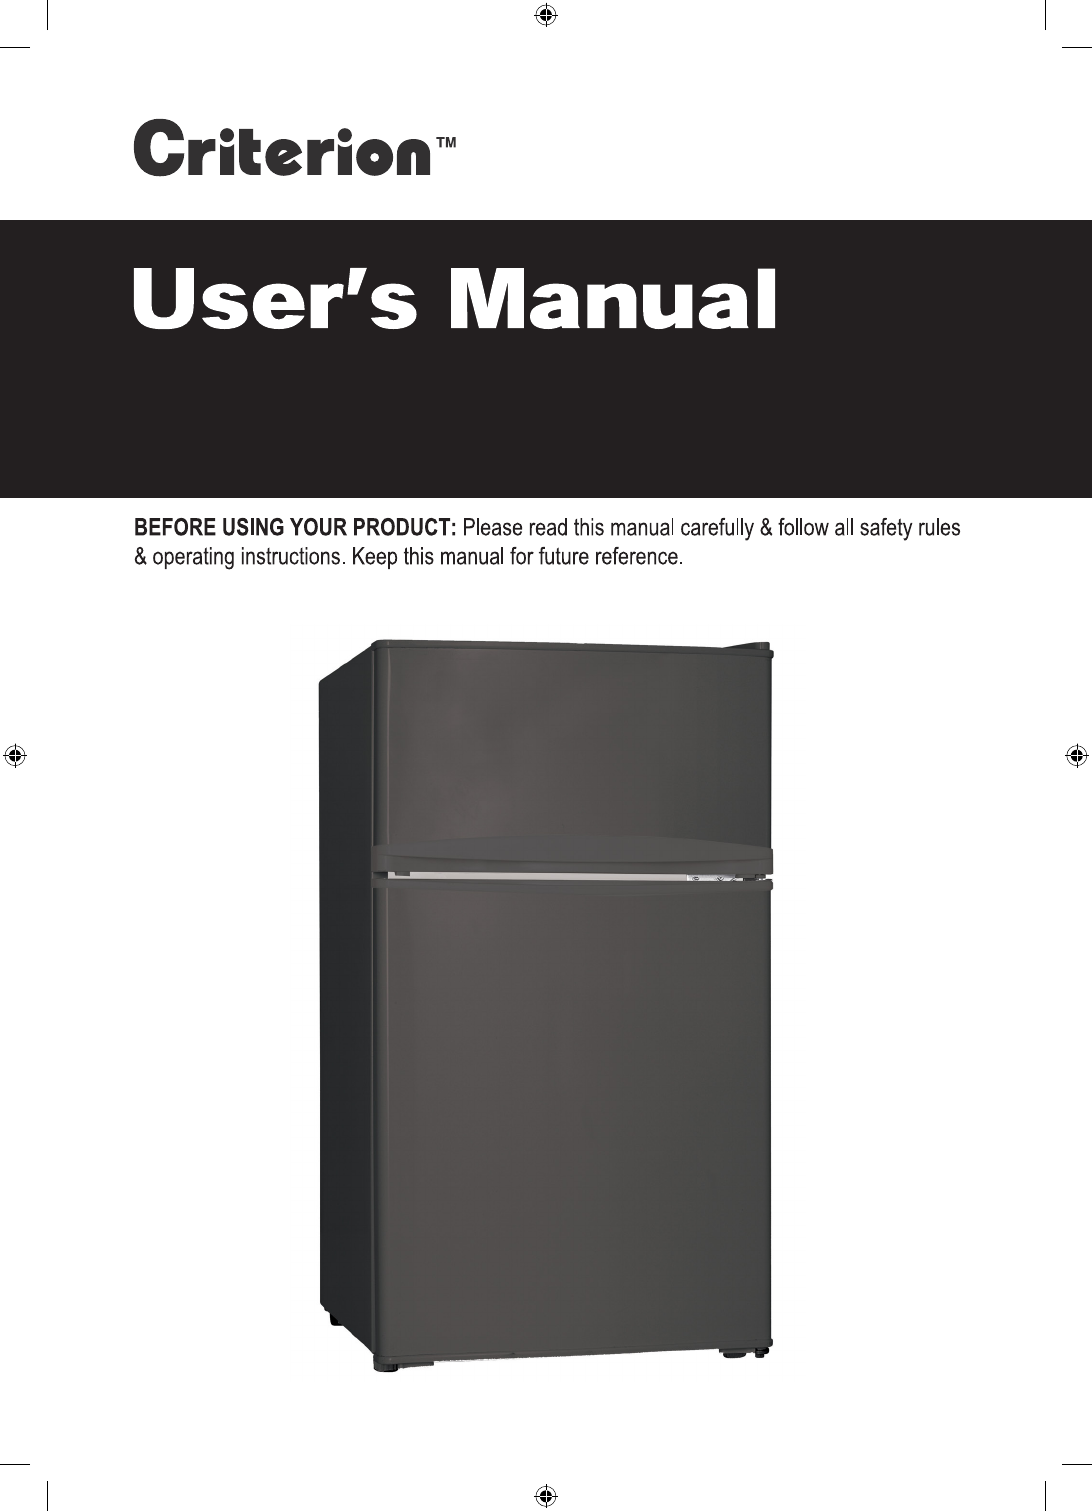
3.1 Cu.Ft.
Installation INSTALLATION Location When selecting a position for your unit you should make sure the floor is flat and firm, and the room is well ventilated with an average room temperature of between 16°C and 32°C. Avoid locating your unit near a heat source, e.g. cooker, boiler or radiator. Also avoid direct sunlight as it may increase the electrical consumption. Extreme cold ambient temperatures may also cause the unit not to perform properly.
INSTALLATION 2. Remove the top right hinge cover. 3. Undo the screws. Then remove the hinge bracket. unscrew 4. Remove the top left screw cover. 5. Move the core cover from left side to right side. And then lift the upper door and place it on a padded surface to prevent it from scratching.
INSTALLATION 6. Take off the middle hinge by removing the screws. And then lift the lower door and place it on a padded surface to prevent it from scratching. 7. Remove the screws’ covers and place them to the opposite side. 8. Remove the screws and bottom hinge. Then remove the adjustable feet from both side. Unscrew 9. Unscrew and remove the bottom hinge pin, turn the bracket over and replace it.
INSTALLATION 10. Refit the bracket fitting the bottom hinge pin. Replace both adjustable feet. Transfer the lower door to the property position. Screw 11. Move the hinge hole cover of lower door from left side to right side. 12. Make the middle hinge reverse the direction 180°C, then transfer it to the left property position. Make the middle hinge pin in the upper hole of the lower door, then tight the bolts.
INSTALLATION 16. Put the hinge cover and the screw cover back. 17. With the doors closed, check that the doors are aligned horizontally and vertically and that the seals are closed on all sides before finally tightening the bottom hinge. Re-adjust the levelling feet as needed. Levelling the Unit To do this adjust the two levelling feet at the front of the unit. If the unit is not level, the doors and magnetic seal alignments will not be covered properly.
INSTALLATION Cleaning Before Use Wipe the inside of the unit with a weak solution of bicarbonate soda. Then rinse with warm water using a ‘wrung-out’ sponge or cloth. Wipe completely dry before replacing the shelves and salad bin. Clean the exterior of the unit with a damp cloth. If you require more information refer to the Cleaning section. • Before Plugging in YOU MUST Check that you have a socket which is compatible with the plug supplied with the unit.
Product Overview Freezer Compartment Temperature Control (with integrated Interior light assembly) Wire Shelf Crisper with Glass Cover Leveling Leg Freezer Door Refrigerator Door Can Rack 2-Liter Bottle Bin
Operation Switching On Your Unit 1 3 2 4 0 7 6 5 1. Connect the mains cable to the mains socket. The internal temperature of your unit is controlled by a thermostat. There are eight settings, of which position 7 is the coldest and position 0 turns the unit off. 2. Adjust the thermostat control dial to the desired position, bear in mind that the higher the number, the lower the temperature. Position 3 or 4 is the recommended setting when operating at normal room temperature. 3.
Shopping for Chilled Foods • • • • • Take a quick look at the chilled food package and make sure it is in perfect condition. Try to keep chilled food together whilst shopping and on the journey home as this will help to keep the food cold. Don’t buy chilled food unless you can chill it straight away. Specially insulated bags can be bought from most supermarkets and hardware shops. These bags can keep chilled food cold for longer while transporting.
Preparations for Freezing • • • • • • • • • • Use quality food and handle it as little as possible. Freeze food in small quantities as it freezes faster, takes less time to defrost and enables you to control the quantity you need better. Leave cooked food to cool completely. Chill food before freezing if possible. Consider how you will want to cook the food before freezing it. Don’t freeze food in metal containers if you may want to microwave it straight from the freezer.
Cleaning Defrosting Frost might build up in the freezer compartment after it has been used for a period of time. Scrape away the frost using a plastic scraper (not included). Do not use a metal or sharp instrument to scrape away the frost, nor should you use any electrical appliances to aid defrosting. We recommend that defrosting should be carried out when the frost layer builds up to 10mm (~0.39”). Choose a time when the stock of frozen food is low, follow these procedures: 1.
Maintenance Changing the Internal Light 1. Before carrying out the bulb replacement always adjust the thermostat control dial to Position 0, then disconnect the mains supply. 2. Use a flat bladed screwdriver and gently prise off the light bulb cover. 3. Remove the old bulb by unscrewing in an anticlockwise direction. 4. Replace with a new bulb (10W ). 5. Refit the light bulb cover and reconnect the unit to the mains supply and switch on by adjusting the thermostat.
Safety Warnings For your continued safety and to reduce the risk of injury or electric shock, please follow all the safety precautions listed below. • • • • • • • • • • • • • • Read all instructions carefully before using the unit and keep them for future reference. Retain the manual. If you pass the unit onto a third party, make sure to include this manual. Keep ventilation openings in the unit enclosure clear of obstructions.