
Installation Guide


58
WARNING: It is critical to sand and seal the baluster ends. If
not thoroughly sealed, the balusters will wick water and rot.
Mark the shoerail according to the baluster centerpoint
spacing determined earlier. Invert the balusters and place
inverted shoerail in position aligning balusters with marked
centerpoints. At each centerpoint drill two
1
/8" holes, offset-
from-center, through the shoerail and into the bottom of the
baluster, as pilot holes. Now position the shoerail so the
holes at each centerpoint can be drilled out to
1
/4" without
drilling into the balusters.
Fasten the shoerail to the balusters using two 3" x #12
screws offset from center. Once all balusters are attached,
stand the assembly upright.
Position the handrail base on top of balusters and align with
the shoerail. At the same centerpoint spacing as the shoerail,
drill one
1
/8" hole at each centerpoint in the handrail base
and into the top of the baluster. Remove the handrail base
to allow drilling each centerpoint to
1
/4" without boring into
the balusters. Realign the handrail centerpoints and assemble
with 2" x #12 screws.
After balusters are secured to the handrail base, drill two
1
/8"
holes through the handrail base at a position centered
between the balusters and 1" in from each outside edge.
Spread a thin layer of exterior wood glue along the top of
the handrail base. Be careful to keep the glue
1
/4" from the
edges to minimize glue leakage when the handrail cap is
attached to the base. Position the handrail cap on the base
and align evenly. At previously drilled points between the
balusters, secure the cap to the base with 1
1
/2" x #8 screws
from the underside of the base. Any glue leakage must be
quickly wiped away. Any area where you have wiped away
glue should be lightly sanded. The handrail section is now
complete and ready to be painted or stained.
T HE P ROMENADE
S ERIES
APPENDIX 4
5
7
Baluster placement depends on the size of balusters and
desired look, with a recommended spacing between
centerpoints of 6" to 10". Determine placement for
consistent spacing between all centerpoints (balusters and
newels). This will help you figure the number of balusters
required.
WARNING: Although the Promenade Series is designed for
exterior use, any wood is subject to weather damage if not
properly sealed. To preserve the beauty of your Promenade
balustrade, it is critical to adequately seal all ends of the
rail, newels and balusters that may be exposed to the
elements. Sealing is achieved by using careful
measurement, cutting for precise fit and applying a good
quality wood sealer. After sanding and applying wood
sealer, thoroughly seal the ends with paint. Sealing of all
exposed ends during construction and upon completing of
the balustrade will not only protect the wood but increase
the beauty of the final finish. Failure to properly seal the
exposed components will void any claims against defects.
of course, all parts must be primed and painted with high-
grade exterior paint.
Newels are installed first. Drill a
7
/16" hole through the
center of the base. Two additional
1
/4" holes should be
drilled through the base for drainage. Using a
3
/8" lag screw
with a fender washer, secure the base to a structural framing
member. Position the newel box over the neck of the base,
and secure to the base using galvanized finish nails or
screws. The cap is installed later.
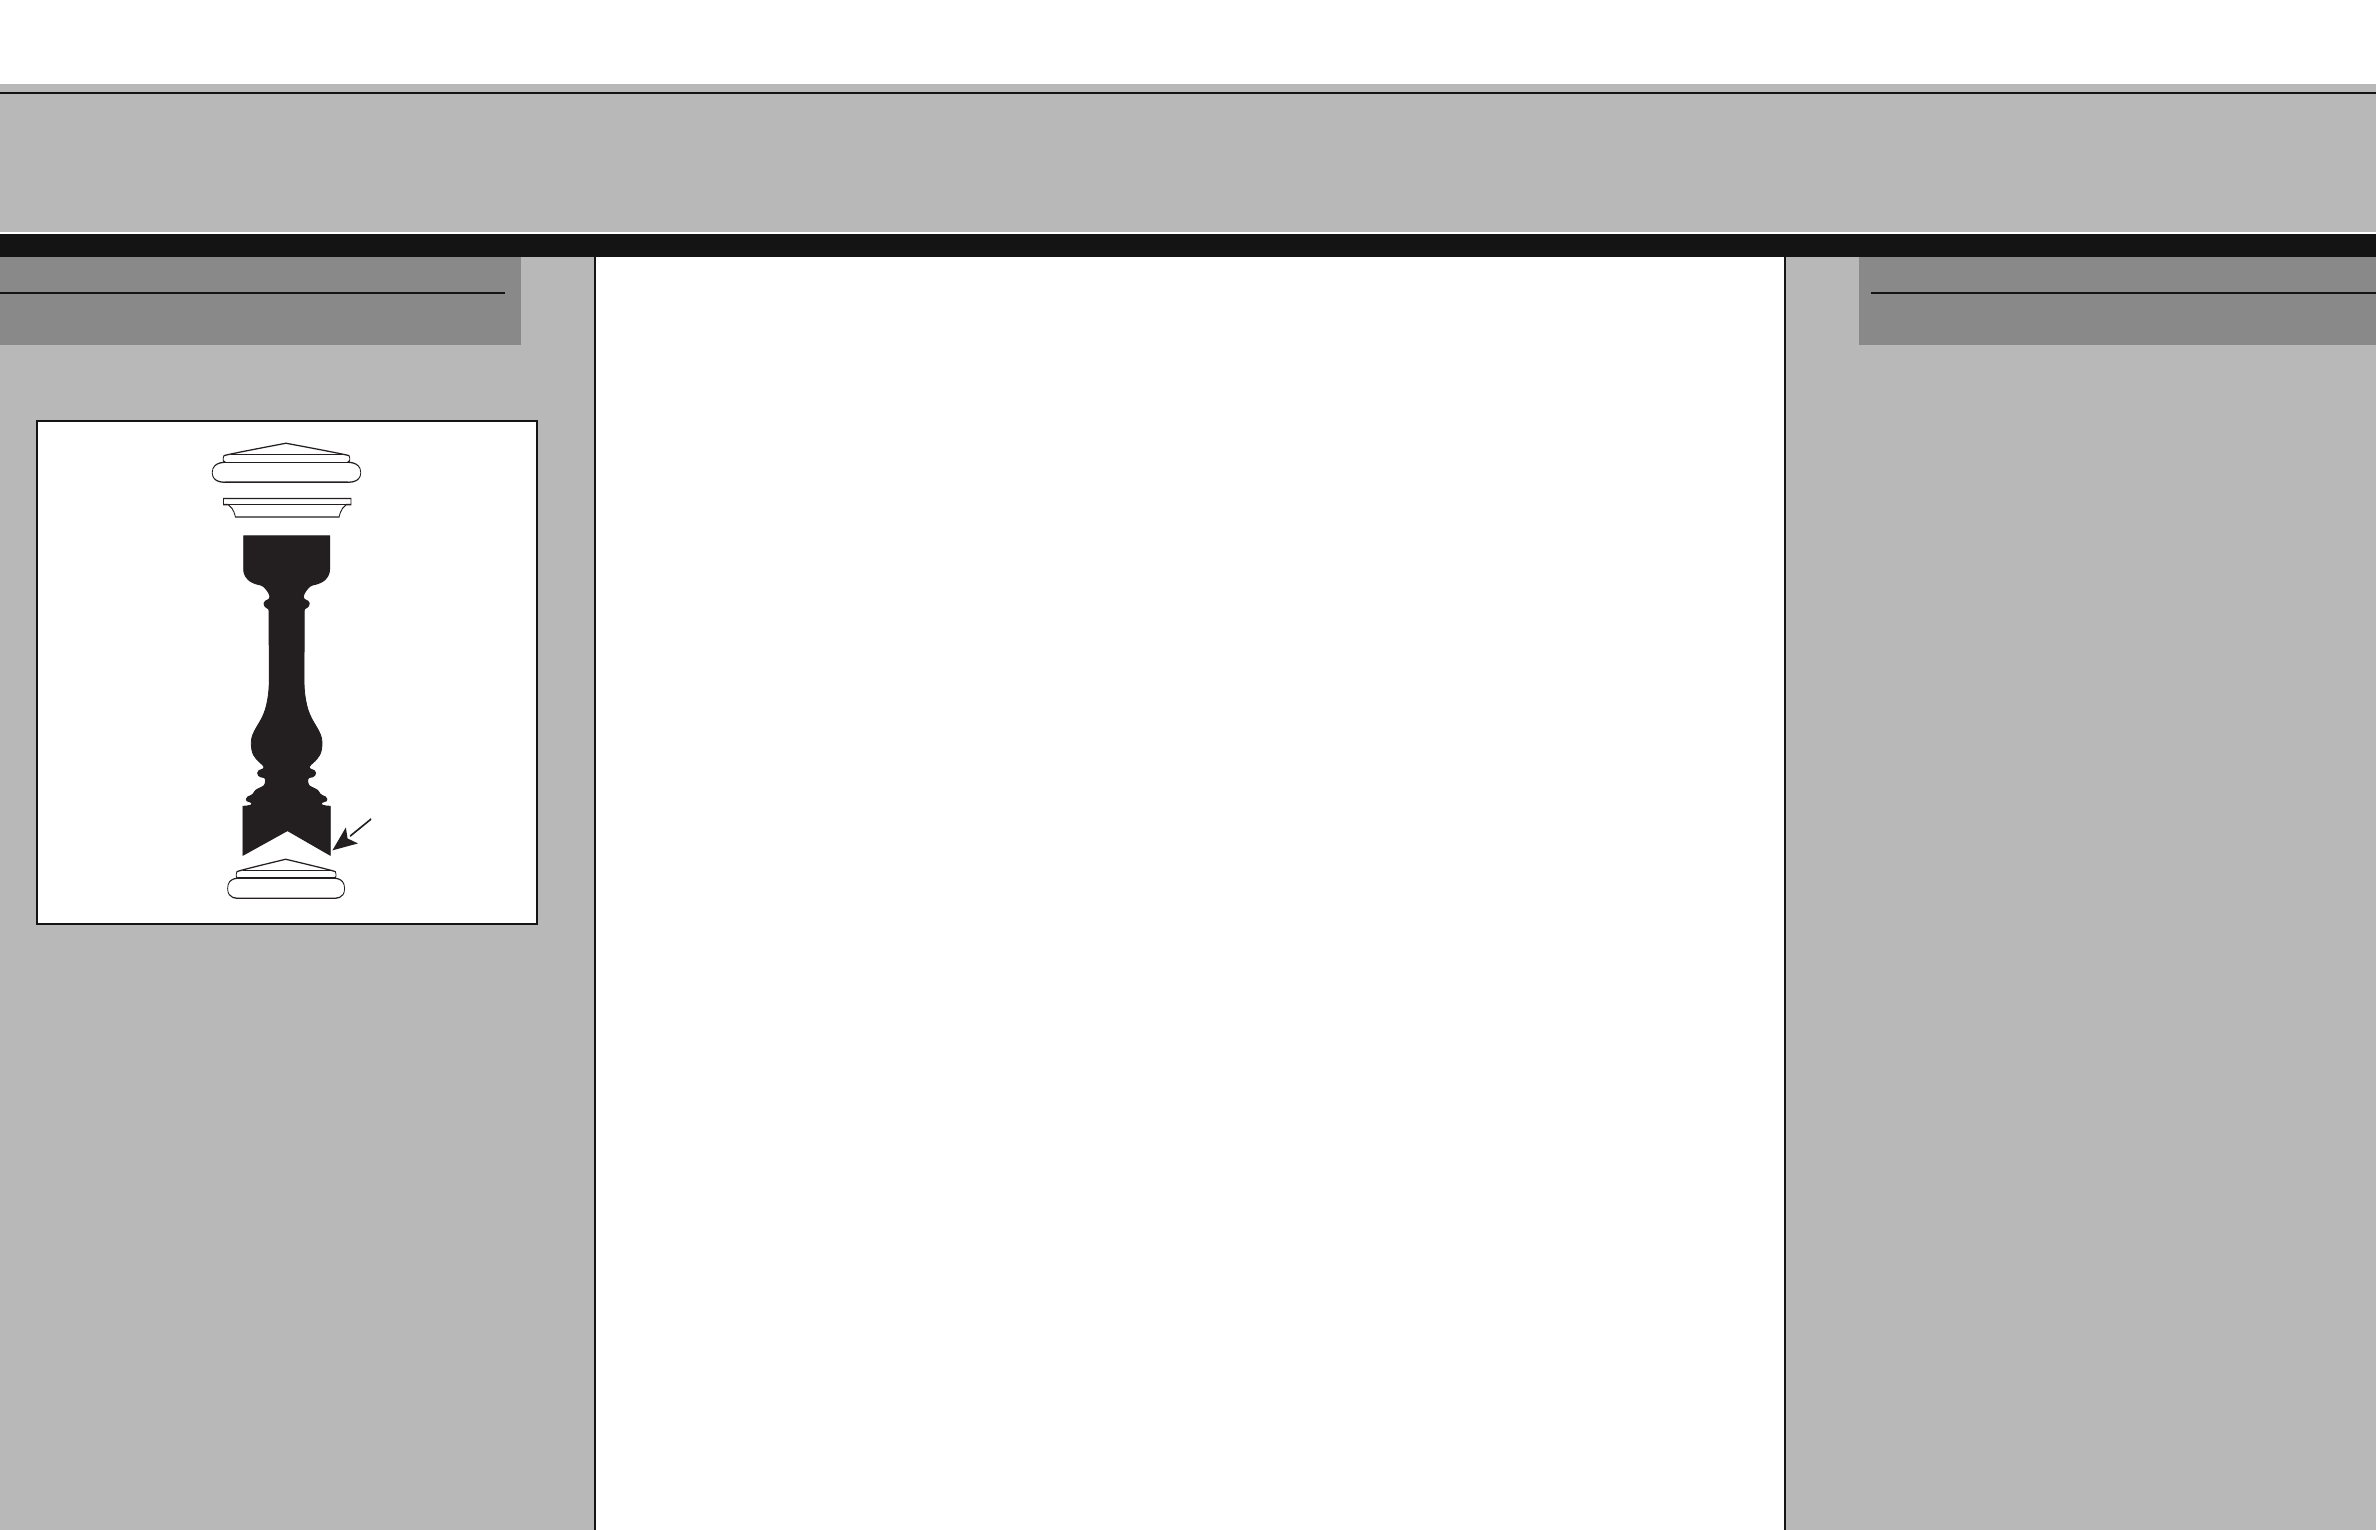
The cons
truction of the Promenade handrail begins with
preparation of the balusters. Cut a 1" long section of the
shoerail for a template. The balusters will be cut to fit on
the shoerail as shown in Fig. A5-2. With the template flush
to the bottom of the baluster, trace the outline onto the
baluster. Carefully cut out this section of the baluster. Begin
with rough cuts, and then trim for best fit.
Cut to
fit shoerail
APPENDIX 4
T HE P ROMENADE
S ERIES
FIG. A5-2 - Promenade baluster installation