
Installation Guide


6
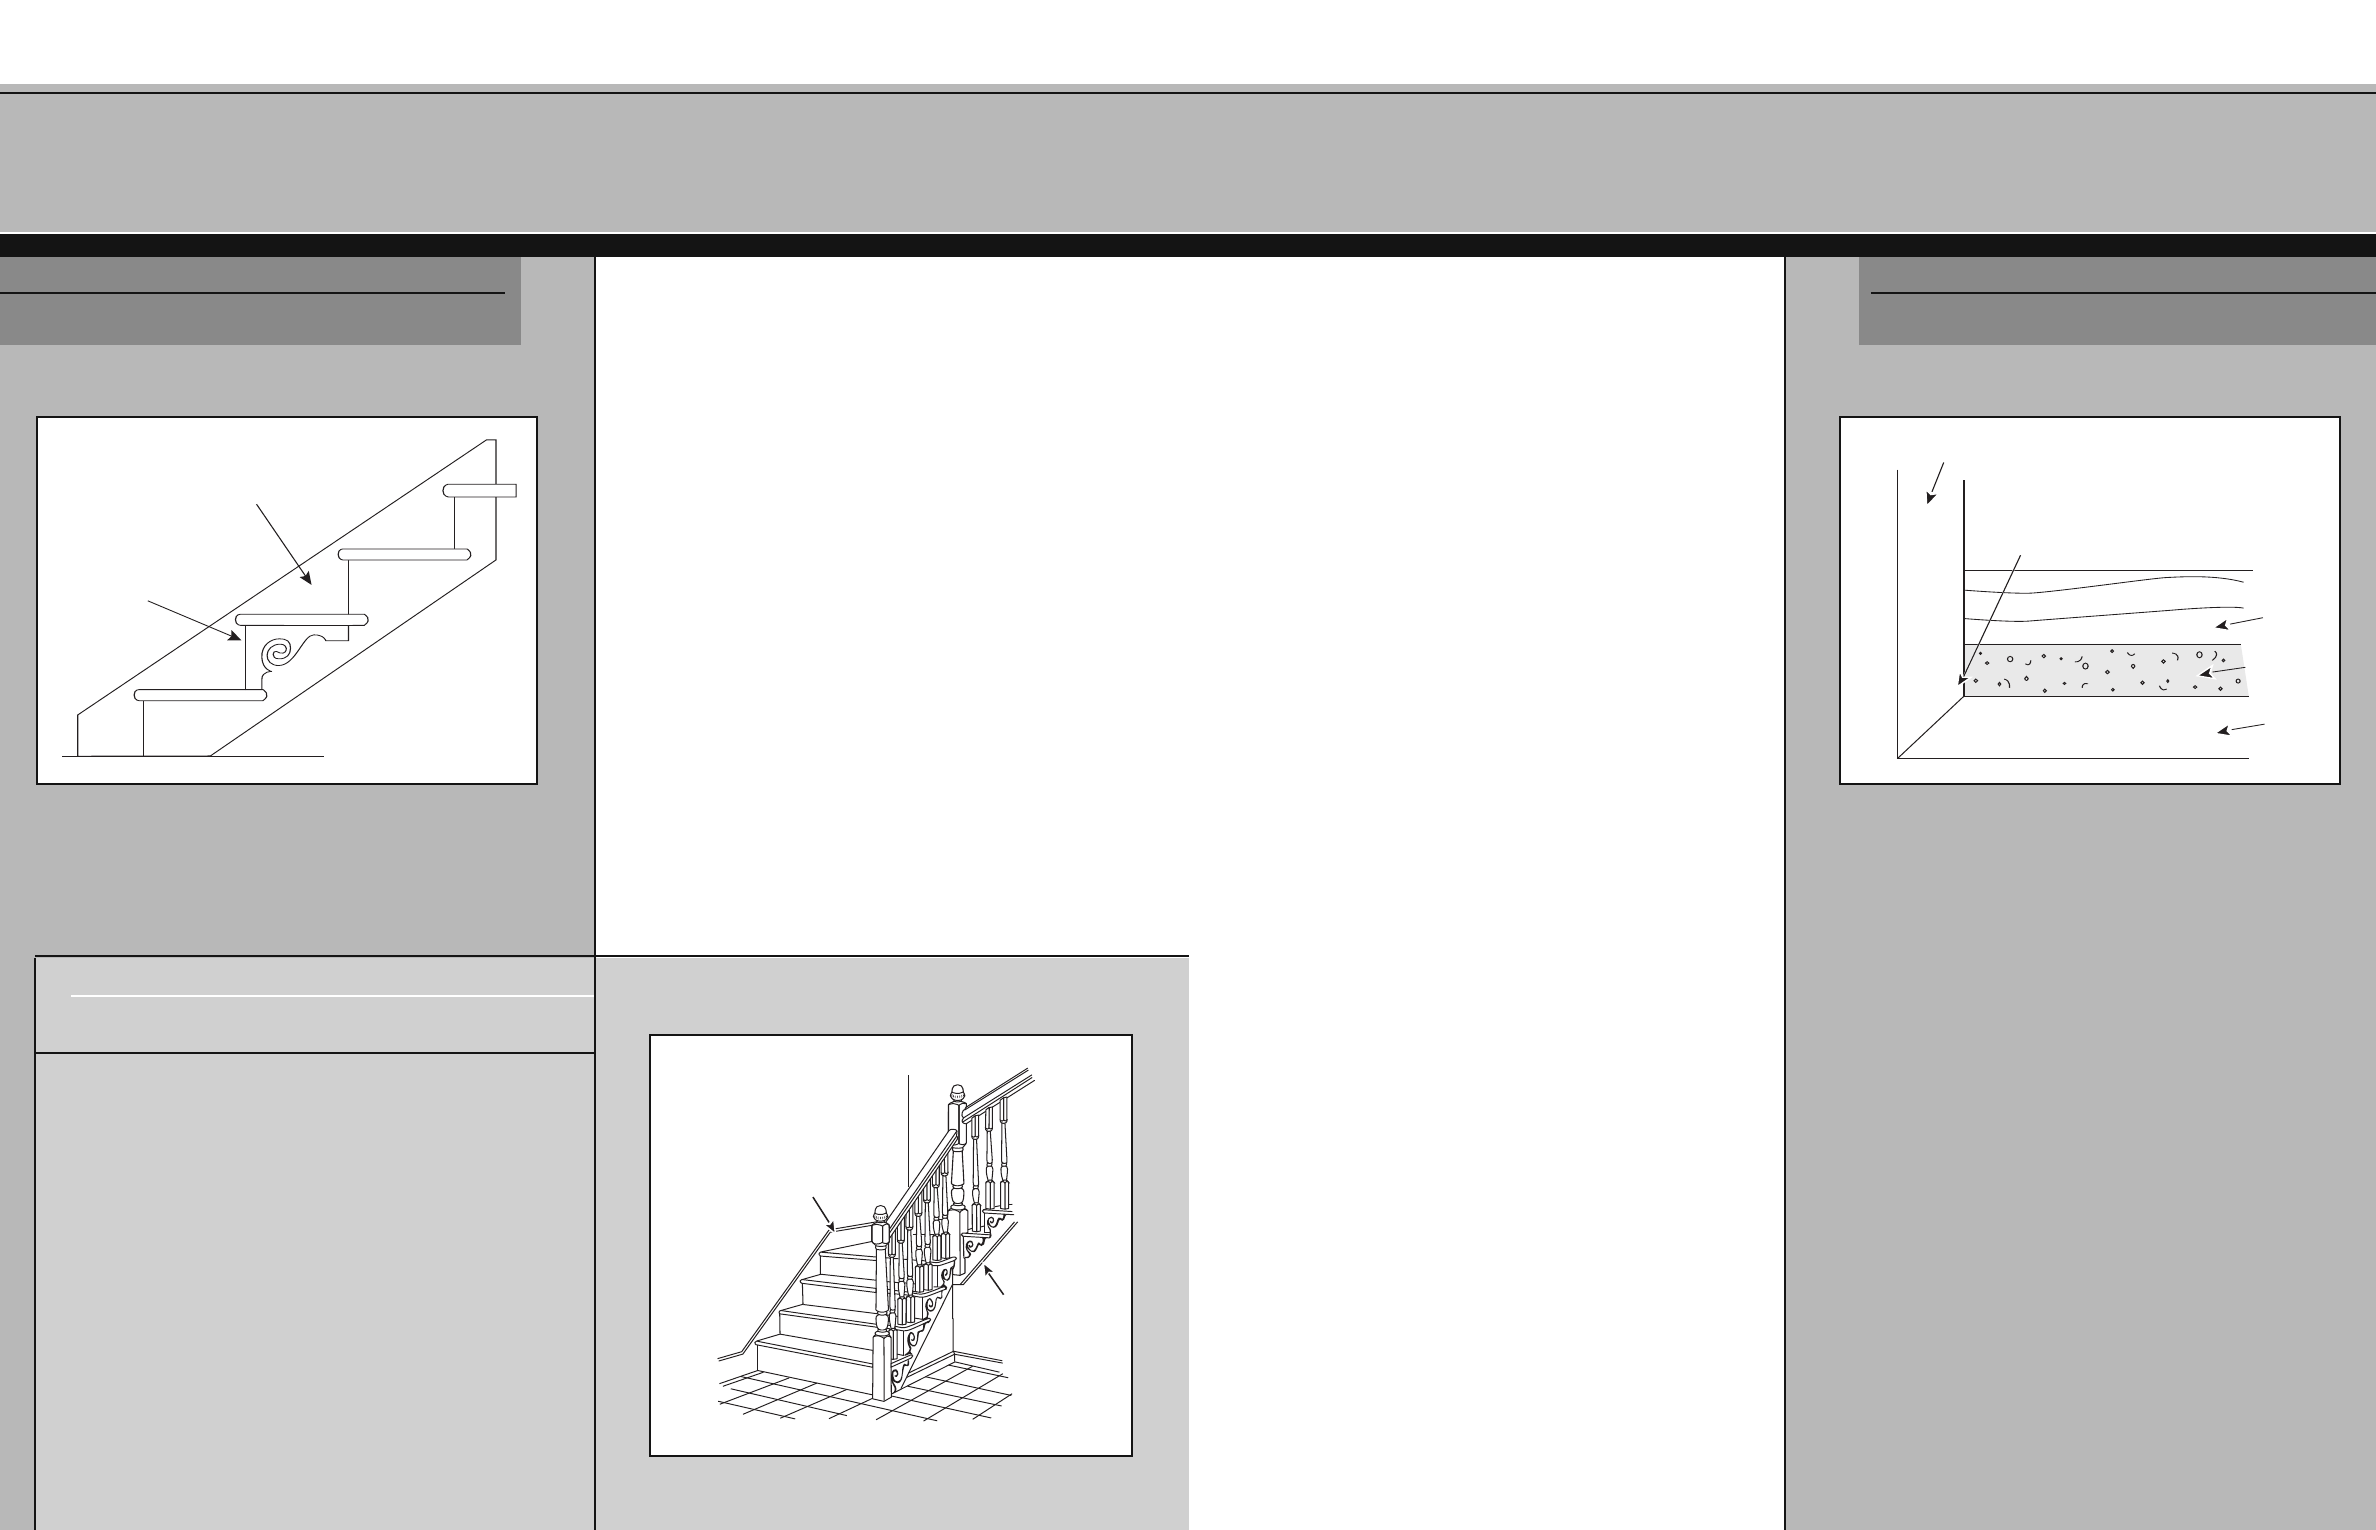
STEP A.5 – Install the Risers
Risers need to be trimmed to the proper height and length.
Measure the rise of all steps to ensure consistency. Rip the
risers
1
/16" less than the smallest rise. Each riser must be cut
to length individually. For a stairway that is open on one
side, place the riser across the stringers and butt up to the
wall skirt board. Scribe a line on this end, transferring the
actual contour of the skirt board to the end of the riser.
Trim to this line. Butt the riser back to the wall skirt board,
allowing the other end to project out past the mitered skirt
board. Make a mark on the front side at the bottom of the
riser where it intersects the outside of the mitered skirt
board. Make a mark on the back side at the top of the riser
where it intersects the skirt board and transfer this mark to
the front side using a tri-square. Draw a line connecting
these two marks and cut on this mark at a 45˚ miter. Use
carpenter’s glue on the miter and apply construction
adhesive on the stringers before nailing securely. Follow this
procedure on each riser.
For a stairway that is open on both sides, follow the same
procedure as described above to rip the risers. Marking the
length is a matter of placing the riser across the stringers so
that each end of the riser projects past the long point of
t
he skirt board miter. Make a mark on the front side at the
bottom of the riser where it intersects the outside of the
mitered skirt board. Make a mark on the back side at the
t
op of the riser where it intersects the skirt board and
transfer this mark to the front side using a tri-square. Draw
a line connecting these two marks and cut on this mark at a
45˚ miter. Use carpenter’s glue on the miter and apply
construction adhesive on the stringers before nailing
securely. Follow this procedure on each riser.
R
iser
M
itered joint
Skirt
board
Sheetrock
Stringer
S TEP
A.5
SECTION A
5
STEP A.4 – Install Skirt Board
See StairNote Four: Why Use Skirt Boards?
Install skirt boards (optional) wherever the stair treads will
butt against a wall (see Fig. 4-1). Outside skirt boards are
installed after the open wall is finished with sheetrock or
other finishing material. If outside skirt boards are
specified, miter the riser ends and the riser cut on the skirt
board at a 45° angle to avoid the need for skirt brackets
(see Fig. 4-2).
NOTE: Mitering a skirtboard is considered advanced
carpentry. Another option is to cut them to the same
pattern as the stringers, using a square cut. This will leave
the ends of the risers exposed, to be covered at a later stage
with a skirt bracket.
Skirt board installed between
s
tairway and adjacent wall
Decorative Bracket
SECTION A
S TEP
A.4
FIG. 4-1 - Skirt board can enhance a stairway
FIG. 4-2 - Skirt board and risers may be mitered to conceal exposed ends
S T
AIR
N O
TE
F OUR
W HY U SE
S KIR
TB
O
ARDS
?
Skir
t board is an optional design featur
e t
hat can enhance a
stairway in two ways: First, when used against a wall, especially
a shee
tr
ock boar
d or other soft porous surface, a skirt board
lo
w
er
s maint
enance b
y pr
o
viding a scuff-and impact-resistant
surface at the tread level. Second, skirt board presents a design
oppor
tunity b
y continuing t
he baseboard theme along one or
bo
t
h sides of t
he s
t
air
w
ay, and providing an opportunity to
border the stairway with either woodgrain or painted (to
com
plement t
he r
isers) vertical surfaces for a more finished
look (See F
ig. S-4).
Skirt board
on open
wall side
Skirt board
FIG. S-4 - Skirt board against stairway wall and against
open wall with overlay of decorative skirt brackets