
Installation Guide


44
B.l1a – Stairways with Pin Top Balusters
Working with one flight at a time, glue all of the balusters
into their correct positions in the tread.
Apply construction adhesive in each hole you have drilled in
the handrail. Working with another person, set the rail onto
the baluster tops. Start at the bottom and ease the tops into
their holes one at a time.
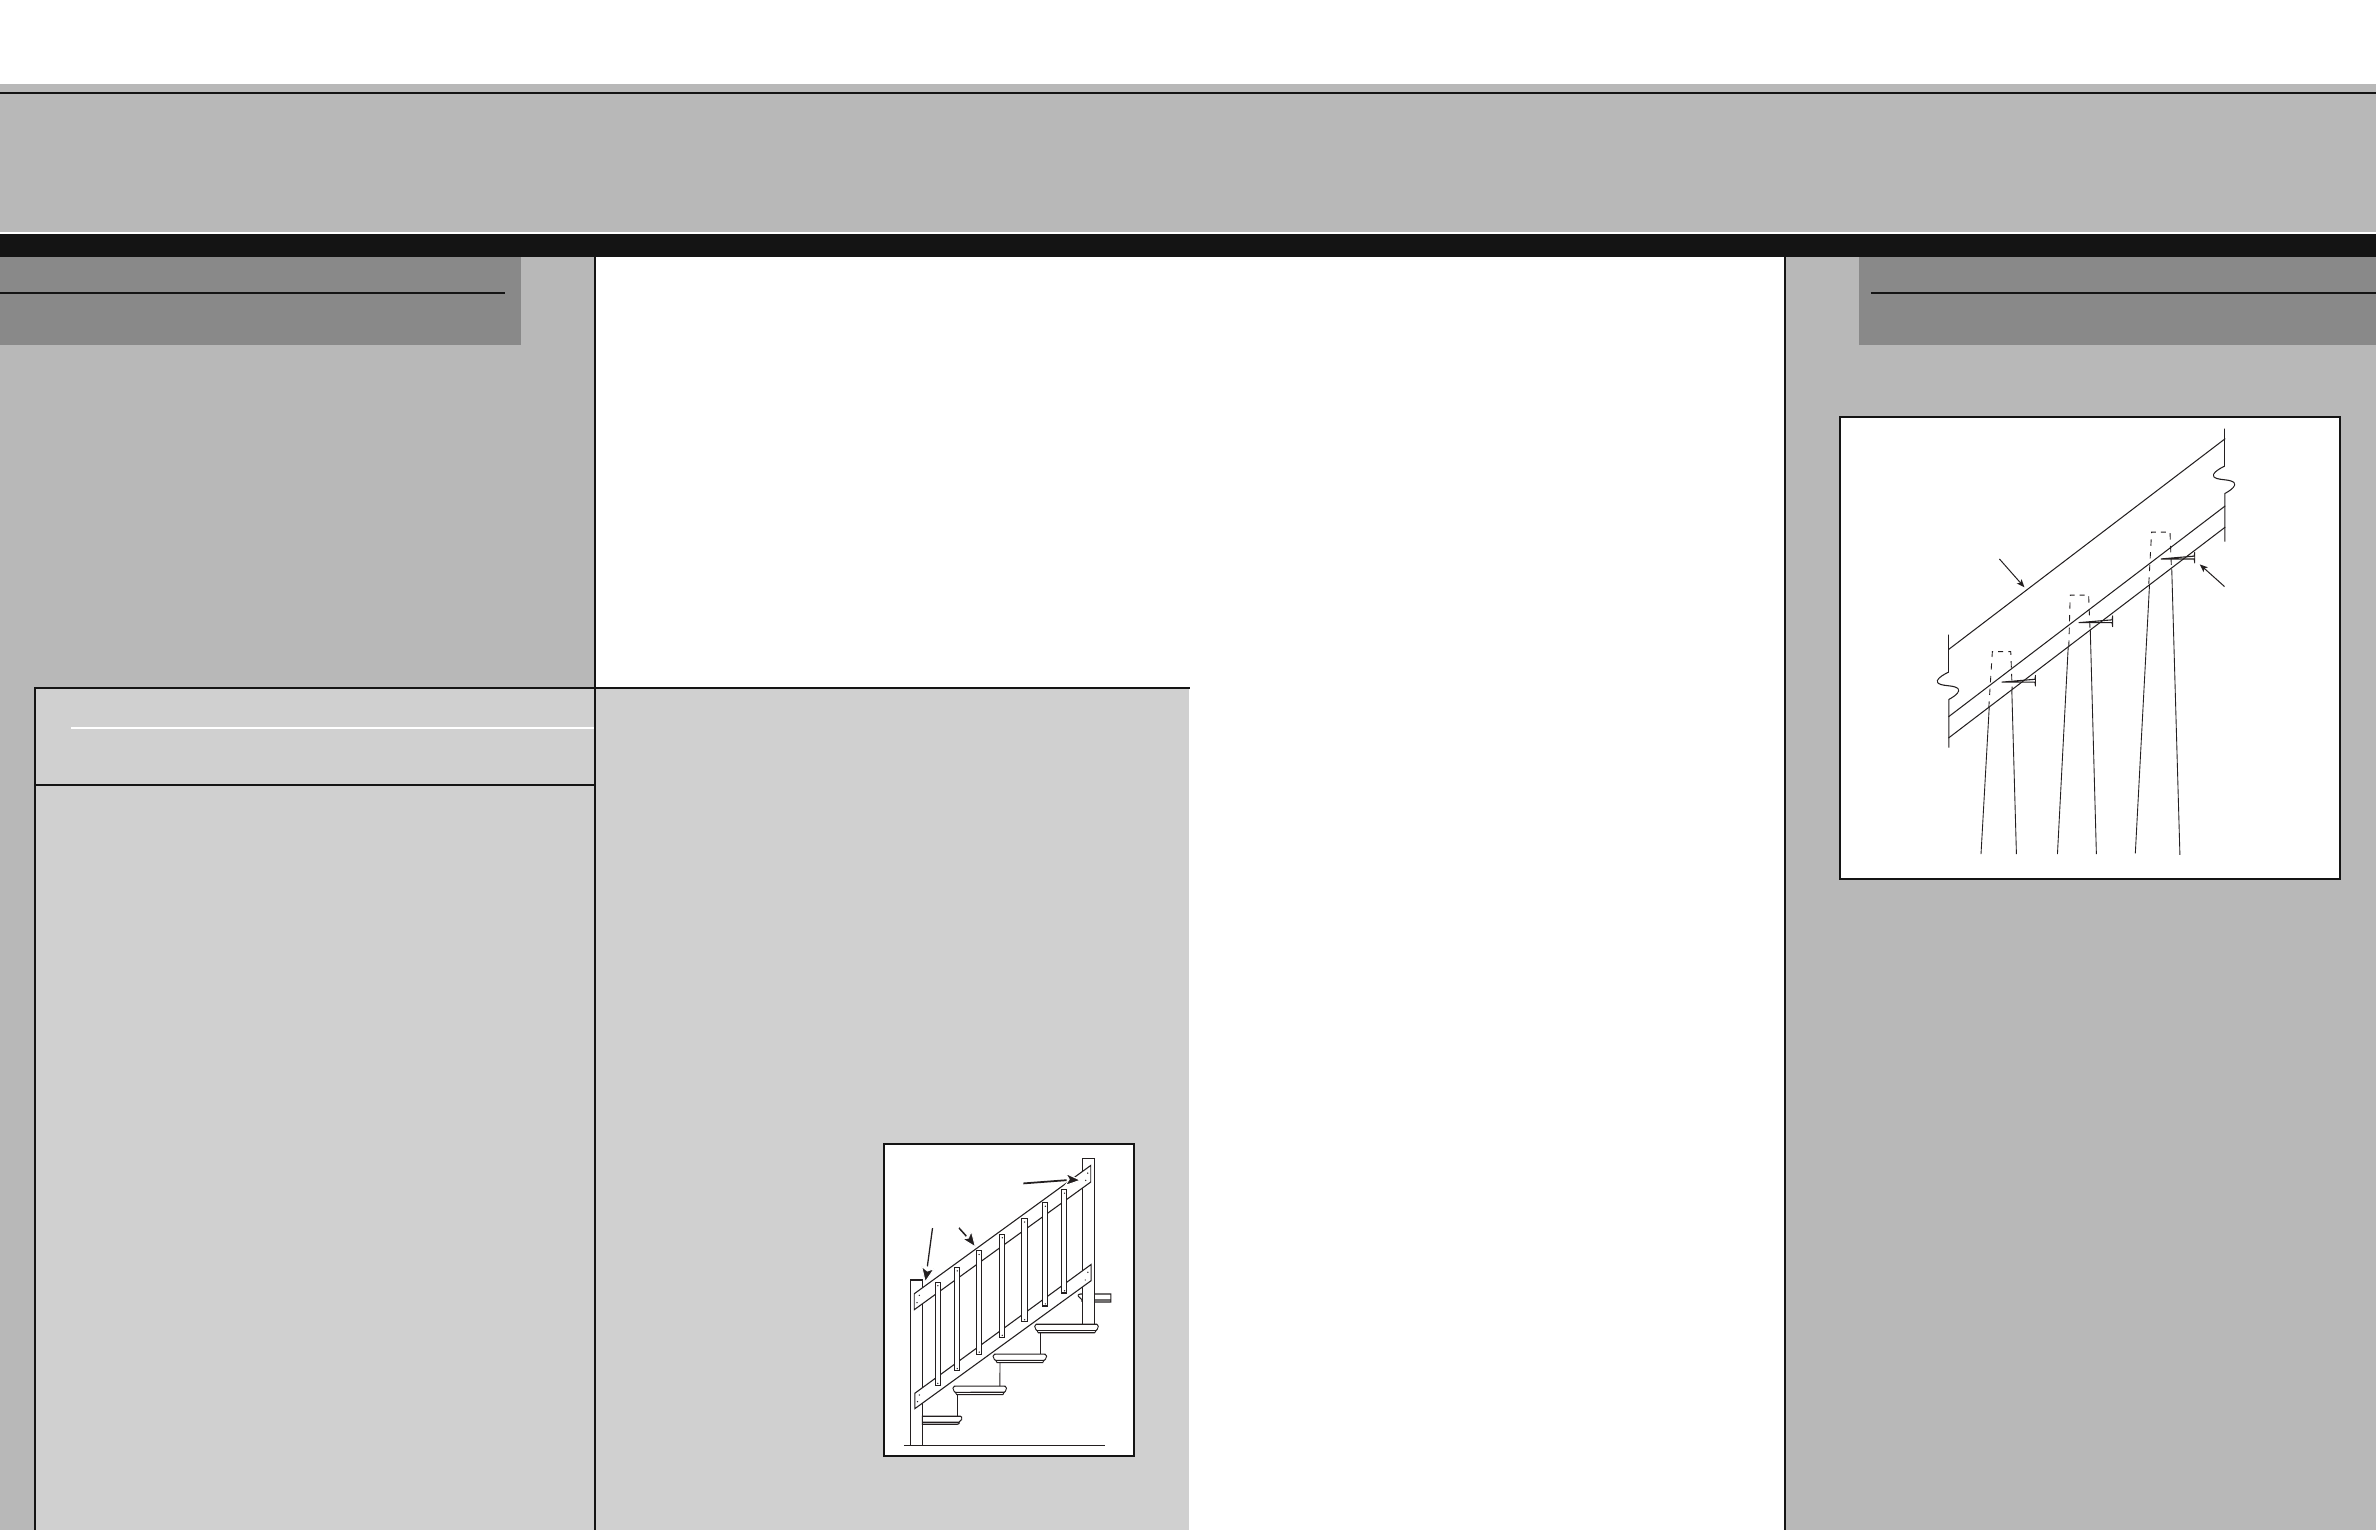
Press the rail in place and complete the permanent
installation. Be sure to align the bottom squares of the
balusters with the risers and the finished wall, or skirt board,
before the glue begins to set. To maintain this alignment, a
small finishing nail may be used through the underside of
the rail into the top of the baluster (see Fig. 18-1).
S TEP
B.11a
SECTION B
4
3
STEP B.11 – Complete the Balustrade Assembly
At this point, all of the components of the balustrade
system have been trimmed and fitted, and are ready for final
assembly. Treads and newels have been permanently
mounted, and the handrail and balusters have been dry
fitted. The next (and final) step in the process is applying
finishing materials. You may wish to integrate Step B.11 and
Step B.12 since some pre-finishing operations are easier to
complete before the final assembly is complete.
SECTION B
S TEP
B.11
S TAIRN OTE
E LEVEN
T HE C LASSIC
C OLLECTION:
B REAKING A LL THE R ULES
The Crown Heritage Classic Collection is the easiest to install
of all balustrades. It is easy to understand, easy to buy
(simplified parts list) and offers several options as to attachment
of rails and balusters.
The understated Classic Collection is at home in contemporary
residences as well as those with period designs. Inspired by
Shaker styling, Classic produces a crisp look that makes a bold
s
t
at
ement in several architectural settings.
Begin planning your Classic balustrade by familiarizing yourself
wit
h t
he cat
alog illustrations of the available components. The
lighter 1
1
/4" balusters and 3
1
/2" newels will yield an airier, more
delicate look. Likewise, the 1
3
/4" balusters in combination with
4" new
els pr
oduce a heavier, more solid design. It is also
perfectly acceptable to match 1
1
/4" balusters to 4" newels or
1
3
/4" balusters to 3
1
/2" newels. Either combination of
com
ponents will yield a balus
tr
ade that has excellent
structural stability.
The handr
ail also comes in tw
o s
tyles 2
13
/1
6
" high or 5
1
/2" high.
(The 2
13
/16" style is most often used as “shoe rail”; mounted
parallel to the handrail, but close to the stair treads.)
Careful measurement, notching and anchoring of newels is the
key to building a sturdy Classic balustrade. Follow the same
principles as with other Crown Heritage newels. Remember,
Classic is for “post-to-post” installations, and the newels should
project above the handrail.
Once newels are installed, the handrail and/or shoe rail may
be clamped into position and marked for final cut. The rails
may be installed between posts in true post-to-post fashion or
f
ace-applied (see F
ig. S-11). Use Crown Heritage Rail
Hardware #3 or #4, or wood screws and adhesive to achieve
maximum durability.
Balusters should be installed
last (dry fitting Classic
balustr
ades is not as
important as with more
complex balustrades). The
mos
t popular method of
ins
t
alling t
hese balus
t
ers is
to side mount them to the
handr
ail and shoerail.
Use wood screws and
adhesive for rails
and balusters
FIG. S-11 - Face-applied
installation of Classic balustrade
Top of Rail
Finishing Nail
FIG. 18-1 - Maintaining alignment on pin top balusters