
Installation Guide


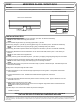
Table Of Contents
INSTALLATION WALKTHROUGH:
For more information log onto www.curtmfg.com, & for helpful towing tips log onto www.hitchinfo.com
3) Remove (2) tail lights, (1) per side, by removing
plastic wing nut on the interior panel. Set aside
for reassembly.
NOTE: For other models remove (2) M10
per light, gently pull sideways away from vehicle.
4) Remove (4) M10 bolts for plastic brackets
which support the rear fascia, (2) per side.
Set aside for reassembly.
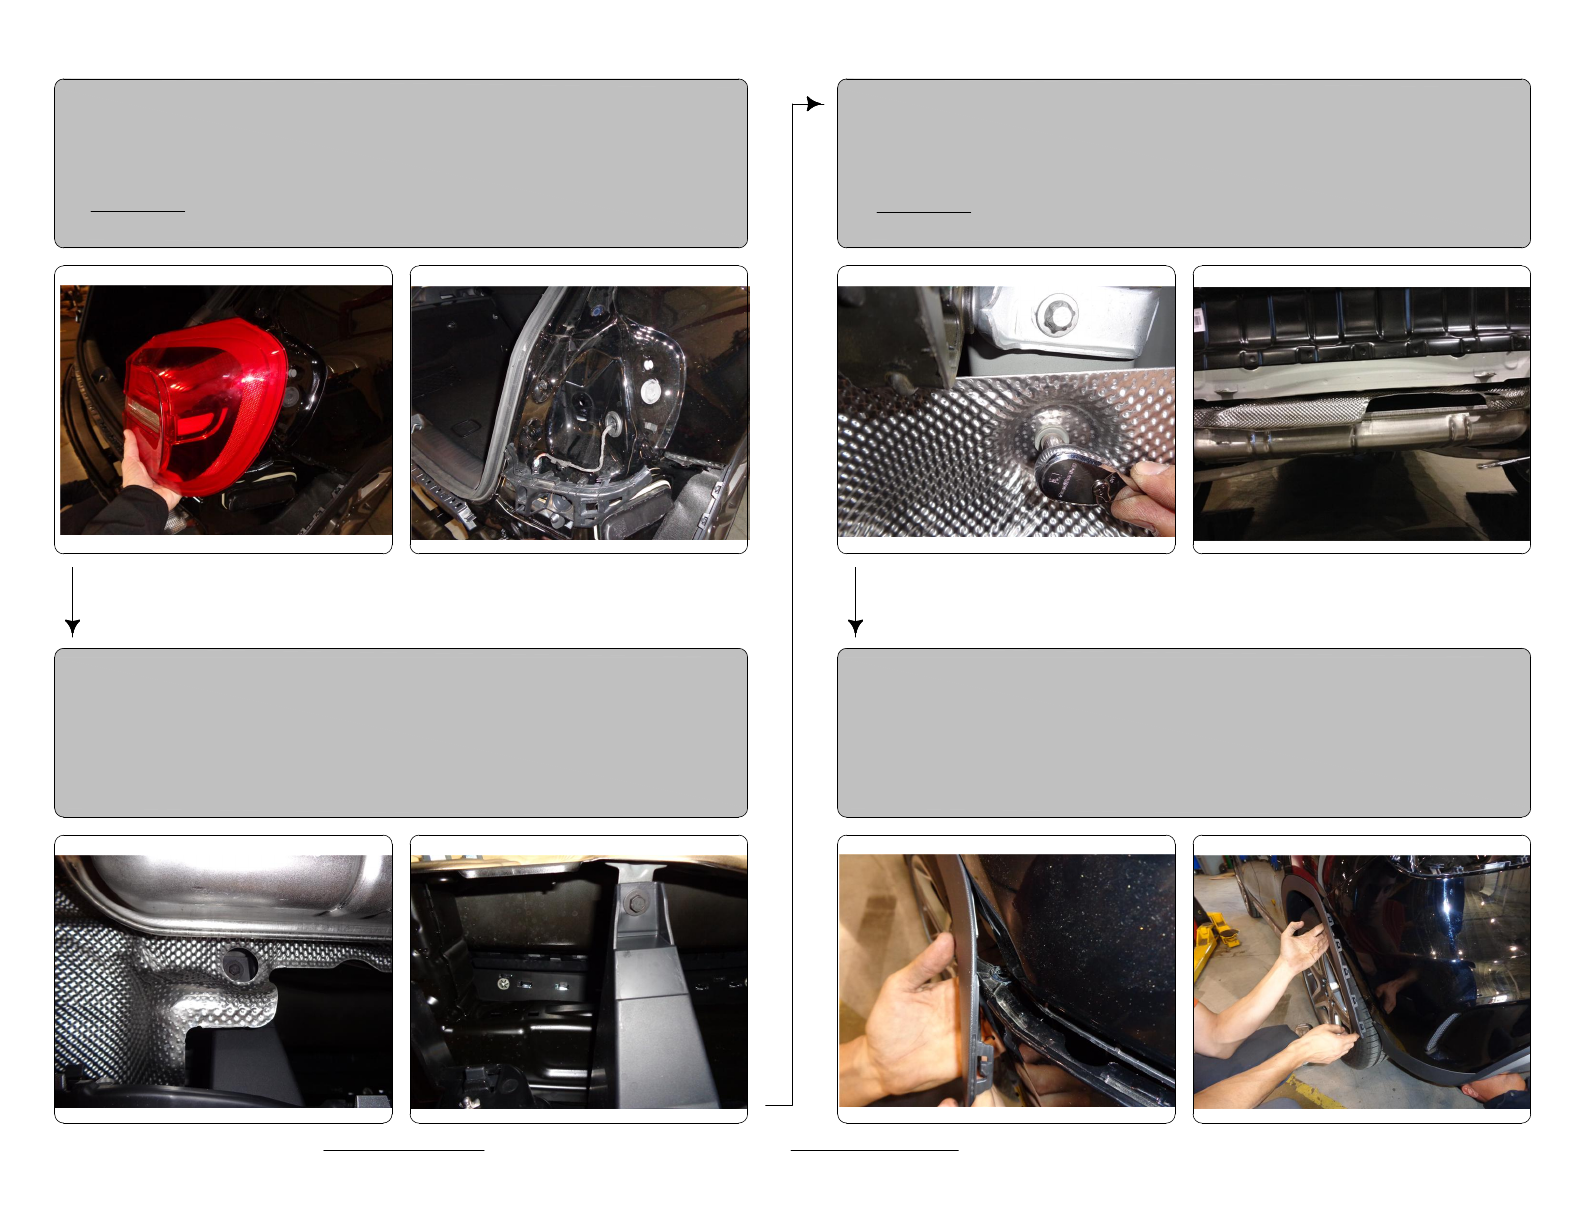
5) Remove (6) M6 bolts from exhaust heat shield.
Do not remove heat shield, leave in place.
Lower and lay on exhaust.
NOTE: For other models remove (6) M8
bolts.
6) Partially remove (2) rear wheel well trim pieces,
(1) per side, by unclipping and gently pulling
away from the vehicle.