
Operation Manual


Table Of Contents
- Contents
- Introduction
- PowerDirector Editing Modes
- PowerDirector Workspace
- PowerDirector Projects
- Importing Media into PowerDirector
- Importing Media Files
- Capturing Media
- Capturing from a DV Camcorder
- Capturing from an HDV Camcorder
- Capturing from a TV Signal
- Capturing from a Digital TV Signal
- Capturing from a Webcam
- Capturing from a Microphone
- Capturing from a CD
- Capturing from an AVCHD Camcorder
- Capturing from an Optical Device
- Captured Content
- Quality Profile Setup
- Capture Settings
- Capture Preferences
- Downloading Media
- Detecting Scenes and Extracting Audio
- 3D Media
- Arranging Media in Your Production
- Editing Your Media
- Content Aware Editing
- Splitting a Clip
- Unlinking Video/Audio Clips
- Trimming Video and Audio Clips
- Setting a Media Clip's Duration
- Setting TV (Video Clip Interlacing) Format
- Adjusting Video Clip Aspect Ratio
- Stretching Images
- Cropping Images
- Changing the Shape of Media
- Fixing and Enhancing Images/Videos
- Utilizing Keyframes on Media
- Power Tools
- Muting Audio
- Advanced Audio Editing
- Time Info
- Magic Fix
- Magic Cut
- Adding Effects
- Creating PiP Effects
- Adding Particle Effects
- Adding Title Effects
- Using Transitions
- Mixing Audio and Recording Voice-Overs
- Adding Chapters
- Adding Subtitles
- Producing Your Project
- Creating Discs
- PowerDirector Preferences
- PowerDirector Hotkeys
- Appendix
- Technical Support
- Index
190
CyberLink PowerDirector
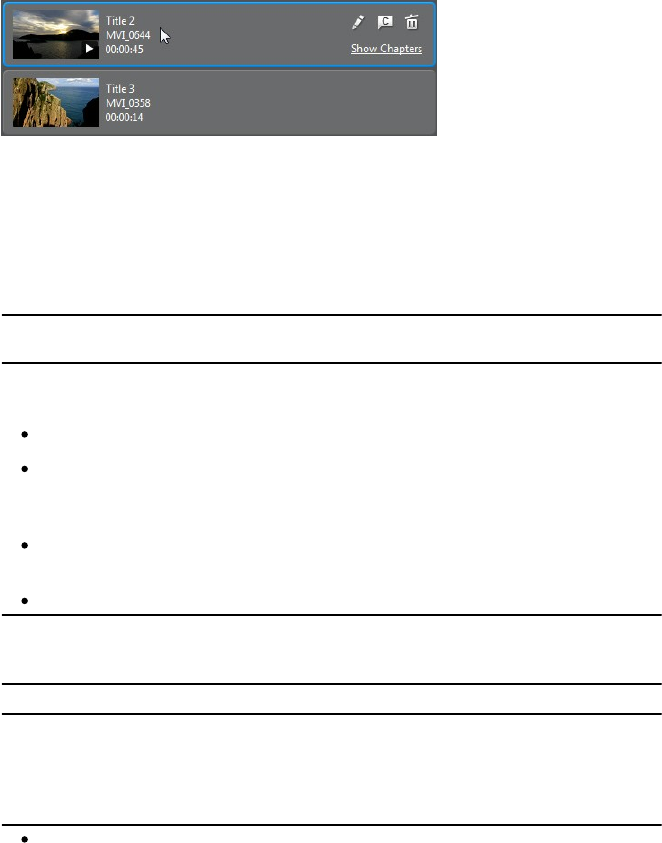
The order of the titles on the Content tab is the order they are burned to disc.
Selecting a Disc Menu
Click on the Menu Preferences tab to select the disc menu template in your menu
library that you want to include on your disc. To preview the pages in a disc menu,
just click on its thumbnail in the library.
Note: if you do not want to include a menu on your final disc, select the No M enu
template in the menu library.
Most of the disc menu templates in CyberLink PowerDirector are multi-layered, and
can consist of the following pages:
a main menu home (Root) page.
if you have more than one title (video or project), your disc will have a Scenes
page in the Disc Preview Window. Note that when in the Menu Designer, it is
called the Titles page.
a Chapters page where you can navigate through your titles, if chapters were
added.
a Subtitles page that lets you enable/disable the subtitles on your disc.
Note: the Subtitles page in a disc menu is only available if you selected Create
subtitles for disc when creating subtitles in the Subtitle Room. See Adding
Subtitles for more information.
To set the disc menu template for your disc, do either of the following:
Note: you can set menu templates to all the pages in your disc menu, or either to
just the home/root page or to the sub pages (titles/chapters and subtitles pages).
If you don't want to set the menu template to all the pages, ensure the page that
you want to set it to is displayed in the disc menu preview window first before
selecting your template.
Right-click on the menu template's thumbnail in the menu library that you
want to use and then select: