
User Manual
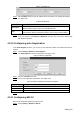
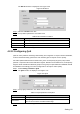
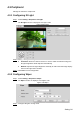
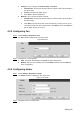
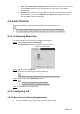
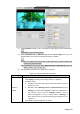
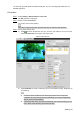
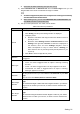
Table Of Contents
- Cybersecurity Recommendations
- Regulatory Information
- Foreword
- 1 Product Introduction
- 2 Basic Settings
- 3 Daily Operation
- 3.1 Live
- 3.2 PTZ
- 3.2.1 Bullet Camera
- 3.2.2 Dome Camera
- 3.2.2.1 Configuring Protocol
- 3.2.2.2 Configuring PTZ Functions
- 3.2.2.2.1 Configuring Preset
- 3.2.2.2.2 Configuring Tour
- 3.2.2.2.3 Configuring Scan
- 3.2.2.2.4 Configuring Pattern
- 3.2.2.2.5 Configuring Pan
- 3.2.2.2.6 Configuring PTZ Speed
- 3.2.2.2.7 Configuring Idle Motion
- 3.2.2.2.8 Configuring Power Up
- 3.2.2.2.9 Configuring Time Task
- 3.2.2.2.10 Restarting PTZ Manually
- 3.2.2.2.11 Restoring PTZ to the Default Settings
- 3.2.2.3 Operating PTZ
- 3.2.2.4 Configuring Preset Backup
- 3.3 Playback
- 3.4 Reports
- 3.5 Alarm
- 4 Setting
- 4.1 Configuring Camera
- 4.1.1 Configuring Lens
- 4.1.2 Configuring Video Parameters
- 4.1.3 Configuring Audio Parameters
- 4.2 Configuring Network
- 4.3 Peripheral
- 4.4 Smart Thermal
- 4.5 Event
- 4.6 Temperature Measuring Settings
- 4.7 Storage Management
- 4.8 System Management
- 4.1 Configuring Camera
- 5 System Maintenance
- 6 Additional Accessing Methods
Setting 86
Auto: Select Start Tem and Stop Tem as the temperature range for heater to start,
and click Save. When the sensor temperature is in the range, heater works
automatically.
Manual: When you think it’s cold enough and you want to let the camera work in a
warm condition, you can select Manual as the Mode. Select the On check box,
and click Save to finish configuration.
Smart Thermal 4.4
Configure the Device’s common behavior analysis, fire alarm and hot trace.
Functions of different devices might vary, and the final interface shall prevail.
You cannot enable common behavior analysis and fire alarm in the meanwhile.
4.4.1 Configuring Smart Plan
You need to enable smart plan before intelligent rules function.
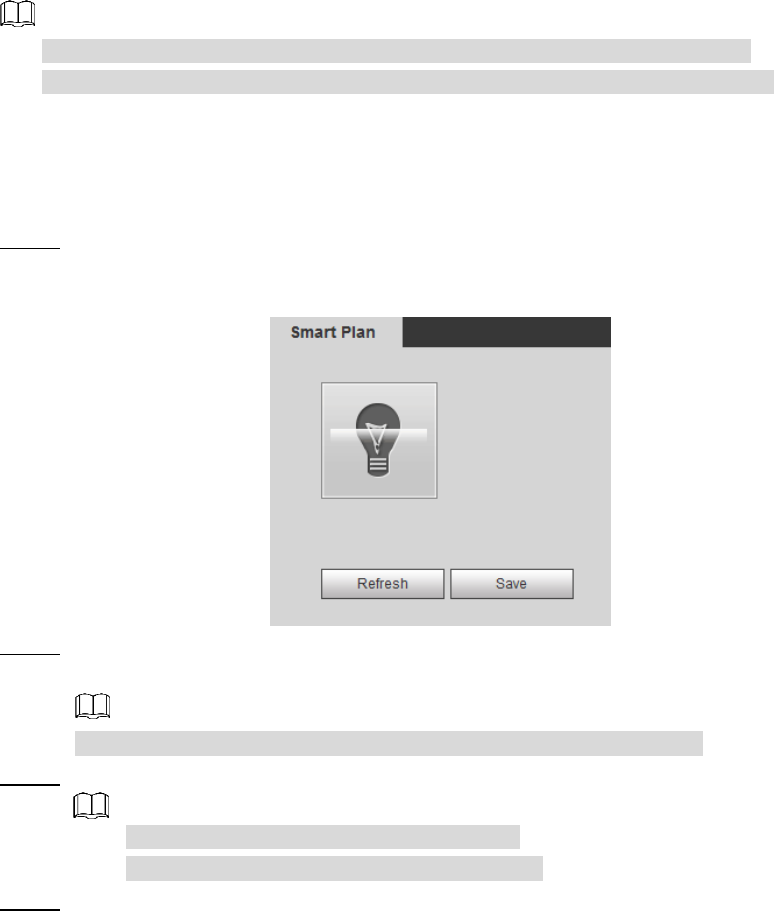
Select Setting > Event > Smart Plan. Step 1
The Smart Plan interface is displayed. See Figure 4-42.
Smart Plan Figure 4-42
Select a preset in Add Plan. Step 2
A solution corresponding to presets is displayed.
You need this step only when presets are supported in your Device.
Click the icon in the Smart Plan interface. Step 3
The icon you have selected will be lighted.
Click the icon again to cancel the smart plan.
Click Save to finish configuration. Step 4
4.4.2 Configuring IVS
4.4.2.1 Basic Scene-Selecting Requirements
The target should occupy no more than 10% of the whole image.