
Specifications

LCD KEYPAD
8
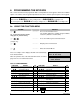
6. PROGRAMMING THE KEYPADS
This section describes how to program the address and partition of each keypad, as well as the available
options. The address of the keypad is important because this is how the panel supervises the keypads.
FACTORY DEFAULTS:
Master Code: when using a 4-digit code, or for a 6-digit code
Go To Program code: when using a 4-digit code, or for a 6-digit code
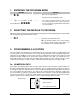
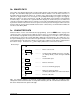
6a. USING THE FUNCTION MENU
ACTION RESULT
Tip: If you know the function numbers
simply press [ function number].
Accesses the Function menu.
The display will begin scrolling though available
functions. (Table 6-1 shown below.)
(example only)
Press the number(s) listed for that function.
Displays the next menu item.
#
Exits the Function Menu.
Select an Option
Press for help
These are samples of the displays that will scroll automatically
in the Function Menu.
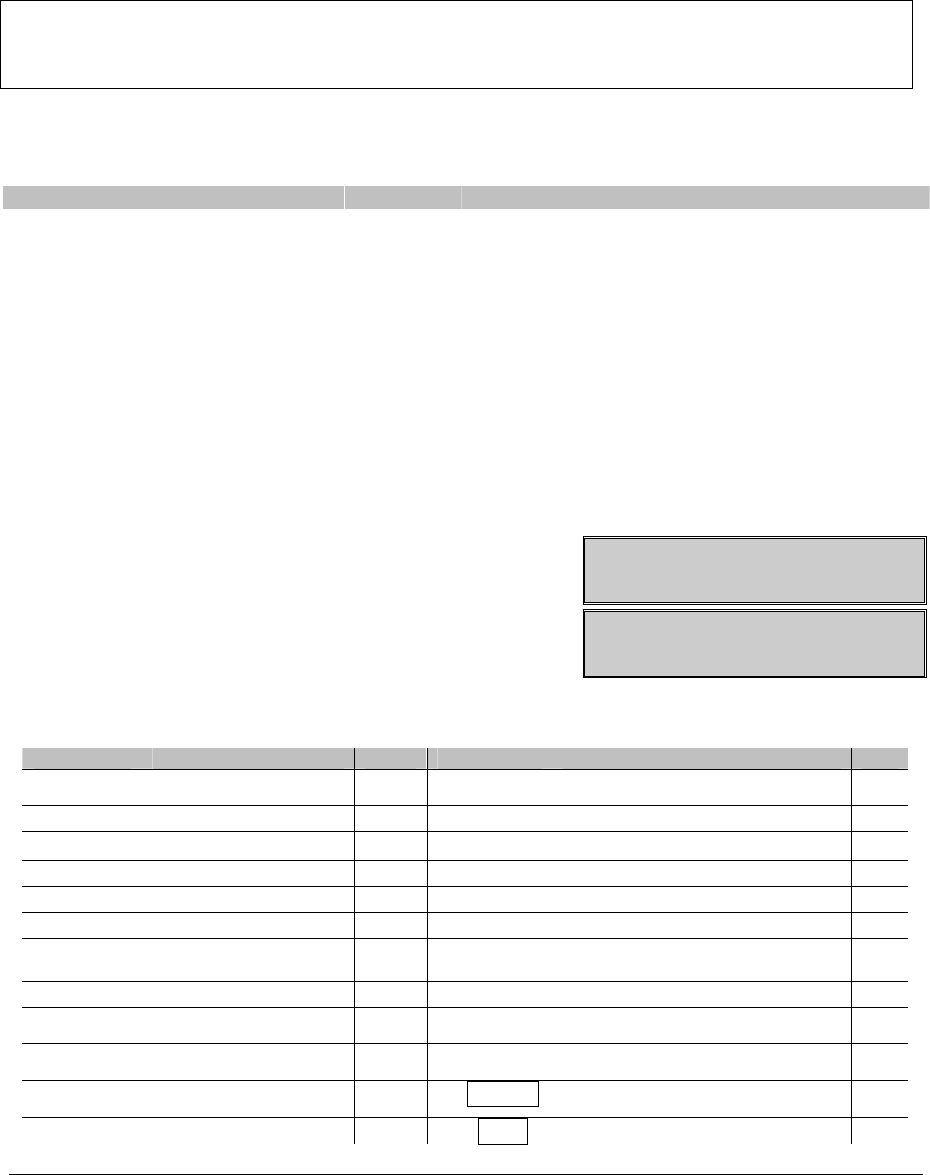
Table 6-1 provides a list of the Function Menu items, as well as
page references for further instructions.
Select an Option
= Zone Review
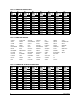
Table 6-1 FUNCTION MENU
FUNCTION RESULT PG FUNCTION RESULT PG
Adjust keypad tone 14
Reset function
18
Temp Master Mode 19
Log review 12
View zone status 14
Adjust view / brightness of LCD 9
Service menu 21
Programming custom messages 9
View alarm memory 15
Set keypad options 10
Test function 15
Set keypad number and partition 11
Display test function 15
Set elapsed time in minutes since
last autotest
13
Light control for X-10 15
Set system time and date 14
House codes for X-10 16
Call back for download 18
Change languages
16
Seize phone line for download 18
Changing user codes
16
CHIME
Walk Test 18
Assigning user authority 17
EXIT
Silent Exit