92-2590-01 Rev.
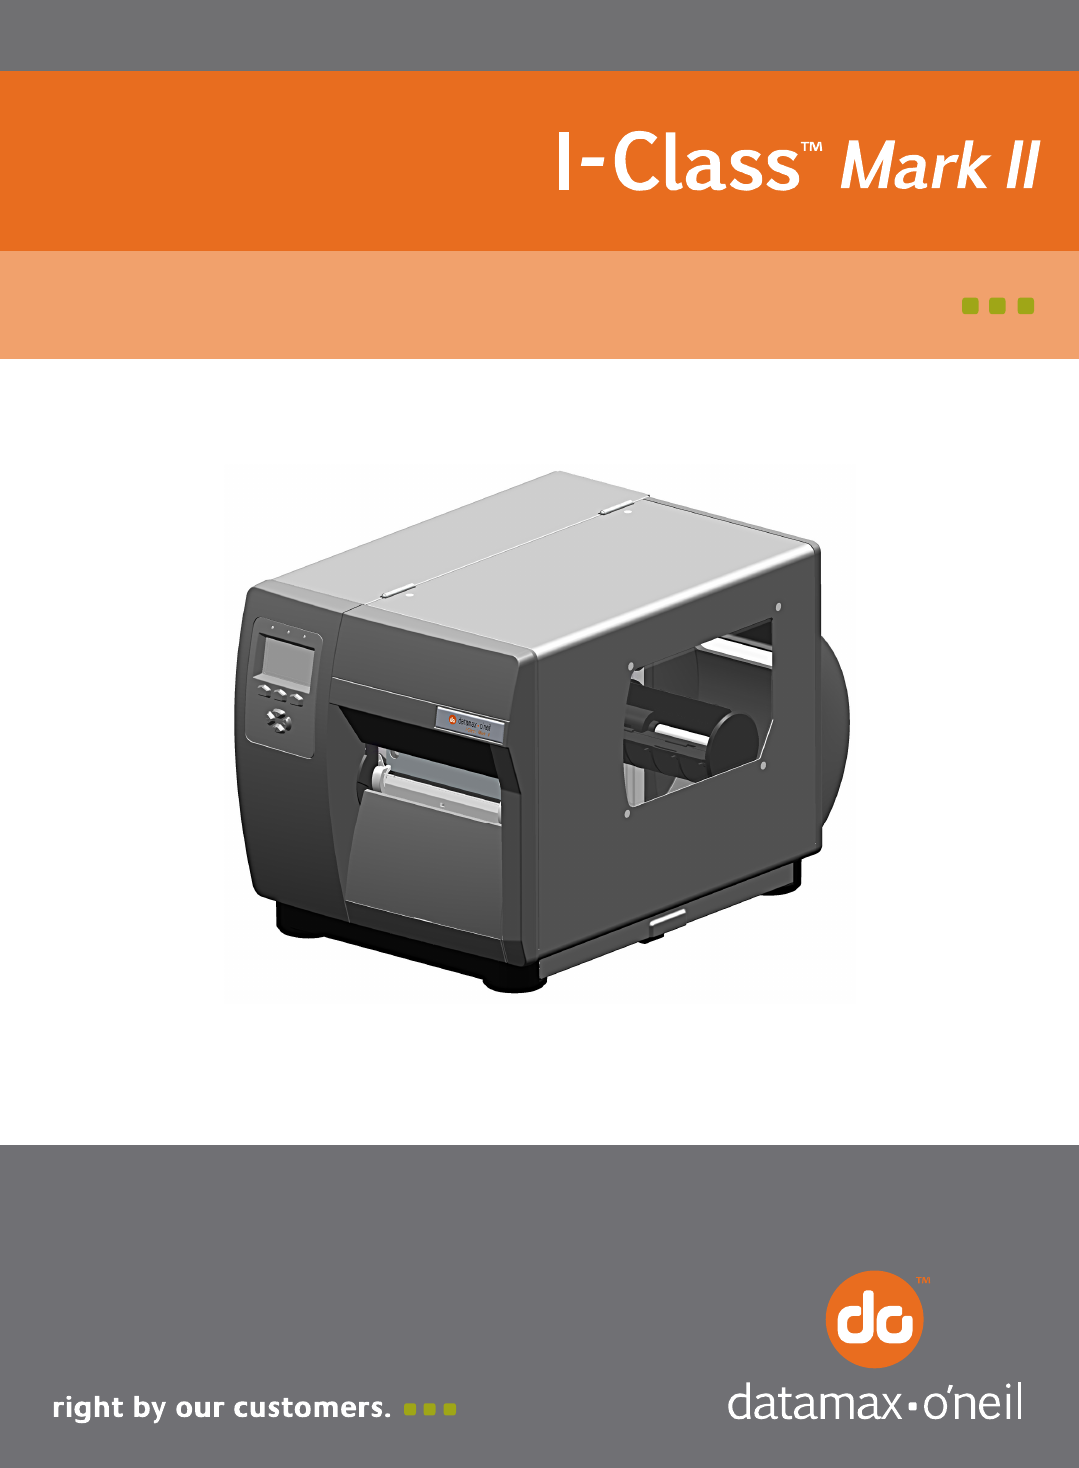
Overview This document describes the installation and use of the Media Tray option for the I-Class Mark II printer. Follow the steps to begin installing the option. For safety and to avoid equipment damage, turn OFF the power switch and CAUTION unplug the AC power cord from the printer before starting this installation. Contents This kit contains the following items: Media Tray Assembly Tools Required There are no tools required to install the Media Tray Option.
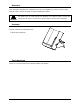
Installing the Option The Media Tray Option can be used with the Standard Cutter. Follow the steps below to install the tray on your printer. A) Position the Media Tray Assembly on the front of the printer. The Notch on the Media Tray Assembly should be inserted into the slot on the printer.
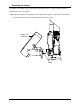
Adjusting the Media Tray A) Loosen the Adjustment Knobs on the Side of the Media Tray. The tray should be adjusted so that the edge of the tray is below the throat (output) of the cutter. When the tray is adjusted correctly tighten the Adjustment Knobs. B) The Media Tray can also be adjusted to the length of labels being cut. Loosen the bottom Adjustment Knob, (under the tray) and move the Media Guide to accommodate your cut label size, then tighten the Adjustment Knob.