DPP450 USER MANUAL DPP450
CONTACT INFORMATION Mobility Sales/Technical Center: Infinite Peripherals, Inc. 1641 McGaw Avenue Irvine, CA 92614 Toll Free: (866) 278-7860 Office: (949) 222-0300 Fax: (949) 222-0375 Headquarters/Main Warehouse: Infinite Peripherals, Inc. 2312 Touhy Elk Grove Village, IL 60004 Toll Free: (800) 278-7860 Phone: (847) 818-1260 Fax: (847) 818-1287 Technical Support: Infinite Peripherals, Inc.
LEGAL NOTICE The Bluetooth® word mark and logos are owned by the Bluetooth® SIG, Inc. and any use of such marks by Infinite Peripherals is under license.
CONTENTS Compatability Error! Bookm ark not defined.
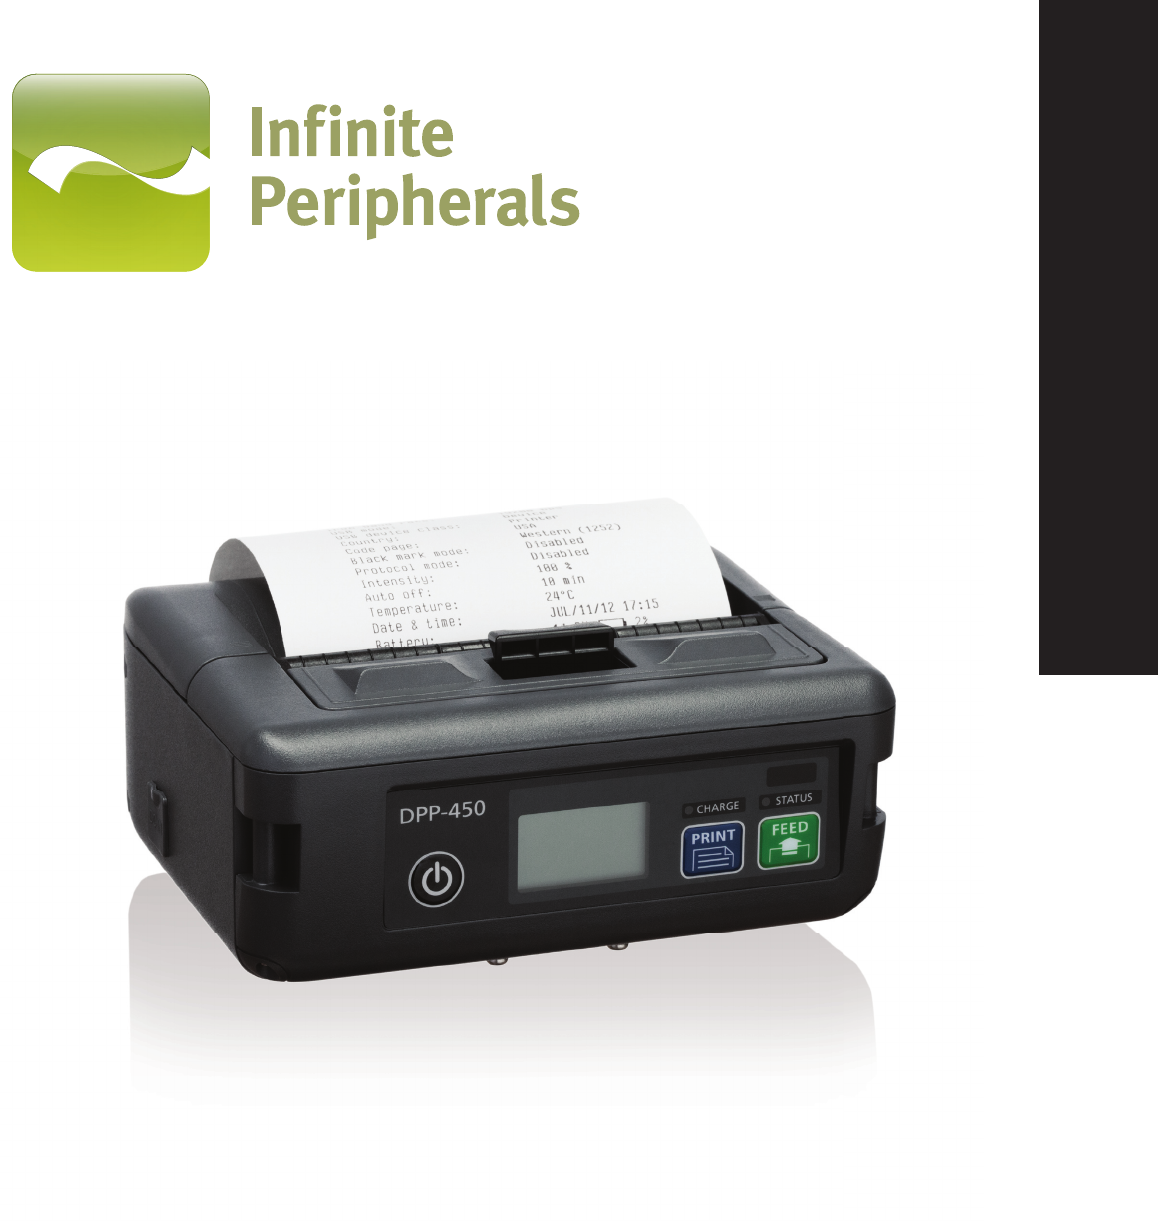
OVERVIEW DPP-450 is a mobile ESC/POS and LABEL thermal printer. It can be used in dynamic working conditions and its abundant built-in features allow it to be widely used for different applications. The printer can quickly and easily print text and/or graphics, depending on customer’s needs – barcodes, logo, etc.
TECHNICAL DATA General Specifications: Printing Method Total Dots Line Thermal Dot Printing 832 dots / line Dot Density 8 dots / mm (203 dpi) Print Speed 150 mm / sec Print Width 104 mm Characters per Line Font A: 48 characters / line Font B: 64 characters / line Recommended Paper Thermal Paper Roll: 115 mm / Ø 45 mm, thickness 60 µm Label Paper Roll: 115 mm / Ø 45 mm Interface RS-232C with optional special cable (1200 – 115200 bps) USB 1.
BOX CONTENTS Your DPP-450 comes with the following items listed below: Item Part Number Descriptions 1 DPP-450 - Base version RS232/USB DPP-450BT - Base version plus BlueTooth DPP-450W - Base version plus WiFi DPP-450BTW - Base version BlueTooth + WiFi Mobile Thermal Printer 2 Contact Sales Belt Clip 3 Contact Sales Shoulder Strap 4 Contact Sales Power Supply 5 Contact Sales Sample Paper Roll Image Table 2 Software ( Drivers & SDK ): Because of the continually evolving SDK, the la
GETTING STARTED The DPP-450 allows you to print from your mobile device using various communication methods. Before using your DPP-450 the battery should be properly charged. The following Quick Start guide will help to get your DPP450 ready for use.
ABOUT YOUR DPP-450 1. 2. 3. 4. 5. 6. 7. Power Button Print Button Paper Feed Button Battery Location USB / RS232C Port Paper Cover Paper Cover Latch 7 6 1 5 2 4 3 Figure 1 8.
STANDARD PAPER LOADING 1. Push lever in the direction of the arrow to open paper cover. Figure 3 1 2. To set paper size – pull up green lever and slide right for small paper or left for wider paper. 2 Figure 4 3. Drop in new paper roll with about ½ fold over the front of the printer as shown in the figure below then close the paper cover securely.
LABEL PAPER LOADING 1. Push lever in the direction of the arrow to open paper cover. Figure 6 1 2. Slide peeler in the direction of the arrow below. 2 Figure 7 3. Thread label through the peeler as shown in the figure below then close the paper cover securely.
STATUS AND OPERATIONAL MODES The DPP-450 uses LEDs to indicate various conditions of operation. This may be charging, active or online, battery low conditions. The following explains these conditions and LED indication. LED Status Solid indicates battery charged. CHARGE Flashing indicates charging. Off indicates printer ready. STATUS Solid indicates paper empty. Flashing indicates error. Table 4 1. LED location shown below.
CHARGING YOUR DPP-450 The DPP-450 uses a Lithium Ion rechargeable battery pack. Before first use, the battery pack should be charged for at least (3) hours from full empty. To prevent electrical damage to the DPP-450 and/or battery pack, please use approved AC adaptors cables only. 1. Connect 24V charger cable to the DC charging jack as shown below. Insert cable to DC jack to start charging. 2.
REPLACING BATTERY To replace the battery in the DPP-450 thermal printer follow the steps below. 1. Open the battery cover as shown in the figure below: 1 Figure 11 2. Slide locking lever to release battery as shown in the figure below: 2 Figure 12 Tips: Disconnect all cables including AC adaptor and turn off the DPP-450 printer before attempting to remove the battery.
BELT CLIP ASSEMBLY The DPP-450 is designed to be worn on the belt using belt clip accessory. To assembly the printer and belt clip, follow the steps below. 1. Attach the belt clip to the base of the DPP-450 as shown below. 1 Figure 13 Caution: • When securing the belt clip to the DPP-450 printer, use only the supplied screws to prevent damage to the printer. • Failure to use the recommended screws may not securely fasten belt clip to printer and cause the printer to separate from belt clip.
SELF-TEST The DPP-450 has a built-in test pattern that shows the printer’s current configuration as well as the various resident printer fonts. The self-test can also be used as a troubleshooting tool to determine printing problems or battery level. The steps below show how the self-test is printed activated. • Holding button while power on for ~ 0.5 seconds (first beep) sound signals the short self-test will be printed as shown in the figure on the right.
LONG-TEST • Holding button for ~ 5.5 seconds (third beep) while powering on the DPP-450 will signal the long-test will be printed as shown in the figure on the right.
HARDWARE SETUP • Holding the button while power on the DPP-450 printer for more than 6 seconds will enter hardware setup mode. The “STATUS” (red led) will blink once and DPP-450 will print the message in the figure below: Figure 16 • While in hardware setup mode, press button to enter Hardware menu options. The DPP-450 will print the current saved settings.
CONFIGURATION MENU OPTIONS • FACTORY DEFAULT o o • MEMORY SWITCHES: o o o o o o o o o o o o o o • • • • 115200 bps 38400 bps 31200 bps 2400 bps 4800 bps 9600 bps 19200 bps 57600 bps IrDA BAUD RATE - Changing the IrDA communication speed o o o o o • ENABLE SOUND Enable/Disable printer's buzzer EXECUTE AS Disable CR/CR is executed as LF DISABLE COMMAND Enable/Disable LF DISABLEAFTER Disable LF immediately after CR DEFAULT SMALL FONT Set the small font as default USE GAP SENSOR
• PRINT DARKNESS - Changing the printing darkness o o o o o o o • 120 % 140 % 160 % 60 % 75 % 90 % 100 % CHARACTER TABLE - Changing the printer's character table o o o o o o o o o o o o o o o o o o o o o o o o o o o Western (1252) CE (1250) Turkish (1254) Baltic (1257) Cyrillic (1251) Greek (1253) Hebrew ( 1255) Katakana Arabic Arabic (1256) Arabic (1256A) Arabic (1256F) Thai (874) VISCII English (437) Latin 1 (850) Portuguese (860) Lithuanian Latin 2 (852) Polish Turkish (857) Baltic (775) Bulga
DIAGNOSTIC INFORMATION The DPP-450 has several built-in diagnostic modes. • Holding button while power on for ~ 0.5 sec (first sound signal) – short self-test. • Holding button while power on for ~ 2.5 sec (second sound signal) – start dump mode. All input data are printed hexadecimal and as text. • Holding button while power on for more than 8.5 sec (fifth 4-tone sound signal) – enter firmware updating mode.
DEVELOPING SOLUTIONS Integrating the DPP-450 into your mobile solution requires the use of the DPP-450 PDA & Smartphone SDK. The SDK incorporates API specific to developing printing applications and using the capabilities of the DPP-450 mobile printer. The table below shows the SDKs currently available for PDA & Smartphone devices. OS Language SDK - IDE RIM BlackBerry Java JDE 4.1 and higher BlackBerry Java Android Java Eclipse Windows & Windows Mobile VB.
PROTOCOL MODE Protocol mode is active when hardware switch 11 is on. The purpose of this mode is to give stronger real time access to the printer. All input data are sent in packets as described below. The printer returns an answer to the packet immediately.
The defined channels are: • 1Printer. • 16 (10h) Optional card reader. Commands for the printer channel (1): • Command 2 - Send data The data is copied into the printer’s print buffer. If there’s not enough space into the print buffer the packet is rejected, and a status byte with value 3 is returned in the answer. • Command 3 - Receive data If there is data to be transmitted from the printer to the host, it is transmitted in the data field of the packet, otherwise an empty packet is received.
RESIDENT COMMAND SET 1 2 3 4 5 6 7 8 9 10 11 12 13 14 15 16 17 18 19 20 21 22 23 24 25 26 27 28 29 30 31 32 33 34 35 36 37 39 40 41 42 43 44 45 46 47 48 49 50 51 52 53 54 55 56 57 58 59 60 BEL HT LF FF CR DC2 = DC3 DC3 + DC3 DC3 A DC3 B DC3 C DC3 D DC3 F DC3 L DC3 M DC3 P DC3 p DC3 v CAN ESC FF ESC RS ESC SP ESC # ESC $ ESC % ESC & ESC ! ESC * ESC + ESC ESC .
61 62 63 64 65 66 67 68 69 70 71 72 73 74 75 76 77 78 79 80 81 82 83 84 85 86 87 88 89 90 91 92 93 94 95 96 97 98 99 100 101 102 103 104 105 106 107 108 109 110 111 112 113 ESC _ ESC ` ESC a ESC b ESC c5 ESC d ESC i ESC o ESC pair= ESC pwd= ESC r ESC s ESC u ESC v ESC x ESC y ESC { GS FF GS $ GS ) GS * GS / GS : GS B GS C GS H GS L GS Q GS R GS S GS T GS U GS W GS X GS Z GS \ GS ^ GS c GS f GS h GS k GS p GS q GS w GS x FS ! FS & FS FS .
TROUBLESHOOTING If you are having problem printing refer to the table below for possible causes. Item 1 Problem Paper feeds after issuing a print job but no printed text visible on paper. Possible Cause Thermal media is specially coated on outside of roll. Remove paper roll and reload properly. See section “Loading Paper” for details on loading paper. Paper cover not installed properly. See section “Loading Paper” for details on replacing paper cover. Paper not properly loaded. Press FEED button.
DIMENSIONS Figure 19 USER MANUAL | 26
FEDERAL COMMUNICATIONS COMMISSION Federal Communications Commission (FCC) Statement 15.21 You are cautioned that changes or modifications not expressly approved by the part responsible for compliance could void the user’s authority to operate the equipment. 15.105(b) This equipment has been tested and found to comply with the limits for a Class B digital device, pursuant to part 15 of the FCC rules.