
User's Manual
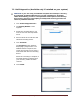
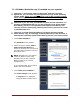
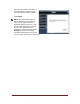
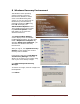
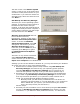


Table Of Contents
- Dell™ Backup and Recovery Manager V1.0 Overview
- Overview Screen
- Data Backup and Restore
- Backing up your system
- Restoring your system
- Managing your system backups
- Dell Recovery Tools
- Windows Recovery Environment
- Operating Systems Supported
- Supported Optical Media
- Other information you need to know
- Why do I need to back up?
- Backup Options Summary
- Restore Options Summary
Dell™ Backup and Recovery Manager V1.0 Page 21
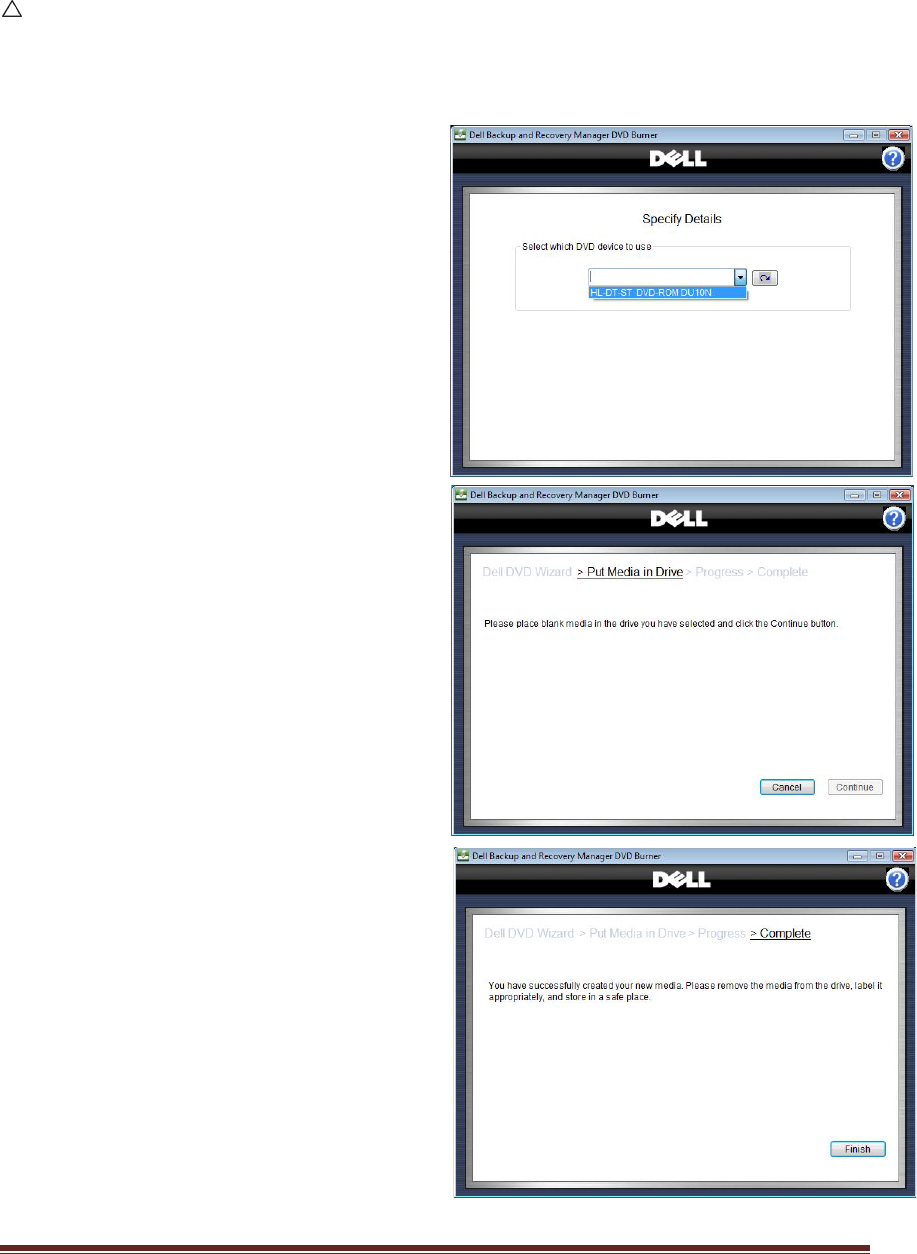
7.2 Dell Diagnostics (Available only if installed on your system)
CAUTION: If you are using a notebook computer for backup or recovery,
it is strongly recommended that you run the computer on AC power
rather than battery power to avoid potential interruption to the backup
and recovery process. Interrupting a backup and recovery process can
result in potential data loss.
1. Click Create Diagnostic CD....
2. The Specify Details screen
appears.
3. Select the recording device you
want to use from the drop-down
menu.
4. Place a blank CD or DVD into the
selected recording device.
5. Click Continue.
The Progress screen appears,
displaying a progress bar. If an
additional disk is required, the
screen will prompt you to place a
new blank disk into the recording
device.
When the recording is complete, a
message appears indicating that
your recovery media has been
created.
6. Click Finish.