
Troubleshooting


Table Of Contents
- Dell Latitude 5520/E5520/E5520m Owner's Manual
- Working on Your Computer
- Battery
- PC Card
- Secure Digital (SD) Card
- Subscriber Identity Module (SIM) Card
- ExpressCard
- Back Panel
- Keyboard Trim
- Keyboard
- Optical Drive
- Hard Drive
- Wireless Local Area Network (WLAN) Card
- Wireless Wide Area Network (WWAN) Card
- Memory
- CPU Door
- Heat Sink
- Processor
- Palm Rest
- ExpressCard/Smart Card/PCMCIA Module
- Bluetooth Card
- Display Assembly
- Brackets
- Modem Card
- Audio Board
- System Board
- Coin-Cell Battery
- Input/Output Panel
- Power Connector
- Modem Connector
- Thermal Fan
- Speaker
- Display Bezel
- Display Panel
- Display Hinges
- Camera
- Specifications
- System Setup
- Diagnostics
- Contacting Dell
Related Links
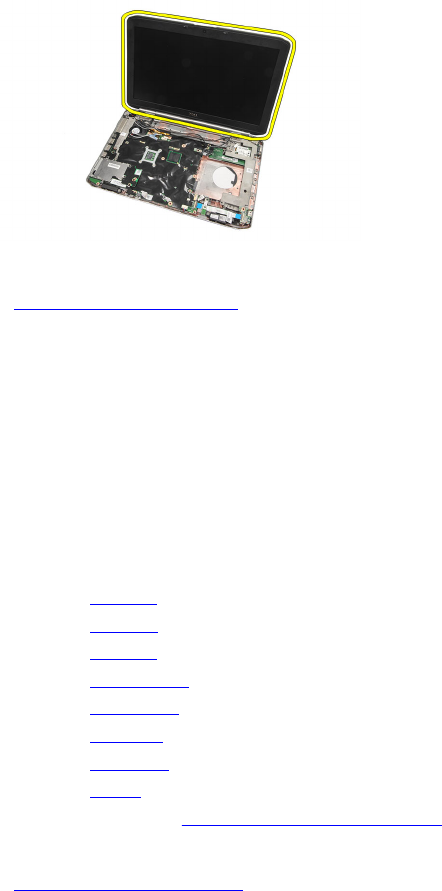
Installing the Display Assembly
Installing the Display Assembly
1. Attach the display assembly to the base of the computer.
2. Tighten the screws to secure the display assembly.
3. Connect the low-signal differential signaling (LVDS) cable to the system board.
4. Connect the camera cable to system board.
5. Push the antenna through the opening to the bottom of the computer.
6. Secure the antenna cable to the routing channels.
7. Connect the antenna to the WLAN/WLAN cards.
8. Replace the palm rest.
9. Replace the CPU door
10. Replace the keyboard.
11. Replace the keyboard trim.
12. Replace the optical drive.
13. Replace the hard drive.
14. Replace the back panel.
15. Replace the battery.
16. Follow the procedures in After Working Inside Your Computer.
Related Links
Removing the Display Assembly
55