
Human Machine Interface User Manual


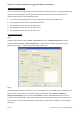

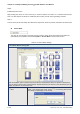

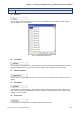
Table Of Contents
- Cover
- Preface
- Table of Contents
- Chapter 1 Introduction
- Chapter 2 Creating and Editing Screens
- 2.1 ScrEdit (Screen Editor) Setup
- 2.2 How to Start ScrEdit
- 2.3 Menu Bar and Toolbar (File)
- 2.4 Menu Bar and Toolbar (Edit)
- 2.5 Menu Bar and Toolbar (View)
- 2.6 Menu Bar and Toolbar (Element)
- 2.7 Menu Bar and Toolbar (Screen)
- 2.8 Menu Bar and Toolbar (Tools)
- 2.9 Menu Bar and Toolbar (Options)
- 2.10 Menu Bar and Toolbar (Window)
- 2.11 Menu Bar and Toolbar (Help)
- Chapter 3 Element Function
- Chapter 4 Macro Function
- Chapter 5 Control Block and Status Block
- Chapter 6 Internal Memory
- Chapter 7 Example Explanation
- Appendix A Specifications and Installation
- Appendix B USB Flash Drive Function
- Appendix C Main Menu Operation of HMI System
Chapter 2 Creating and Editing Screens|ScrEdit Software User Manual
Revision Apr. 30th, 2007, 2007PDD23000002 2-115
Step 4:
Connect to the printer and startup the HMI. When “Report List” button is pressed, the printer will start to print.
Please note that it will take some time when there are too many print screens or the sampling data of the
print element is too much.
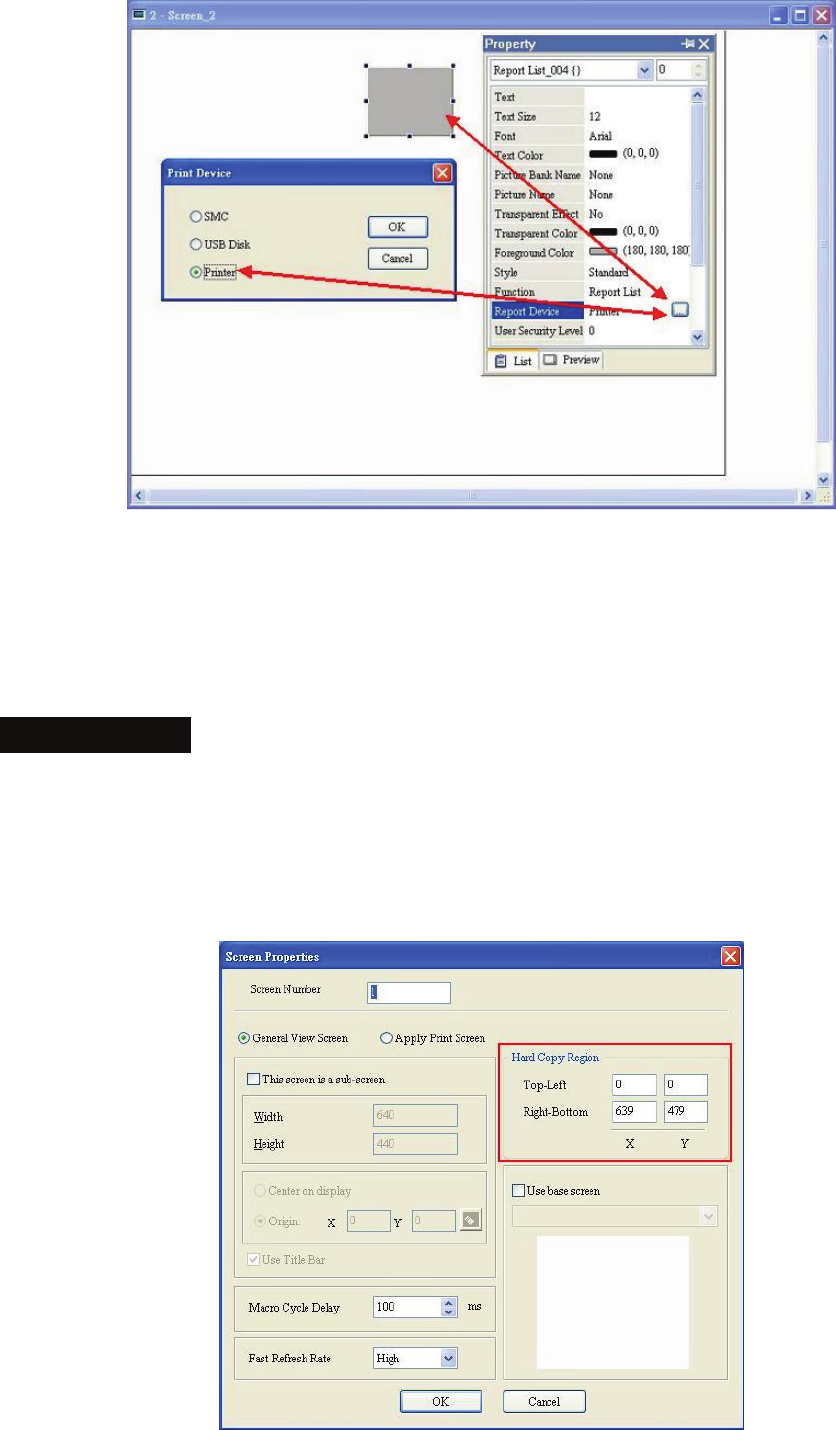
Hard Copy Function
The Hard Copy function is available only when the screen is a “General View Screen”. If HMI detects the
“Print Typesetting” function is already set for the editing screen, the “Hard Copy” function will be ineffective.
Step1:
Set the Hard Copy Region in Screen Properties tab.