
Human Machine Interface User Manual
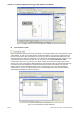
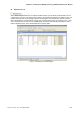
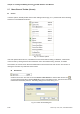
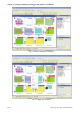
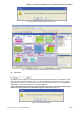
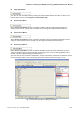
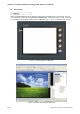
Table Of Contents
- Cover
- Preface
- Table of Contents
- Chapter 1 Introduction
- Chapter 2 Creating and Editing Screens
- 2.1 ScrEdit (Screen Editor) Setup
- 2.2 How to Start ScrEdit
- 2.3 Menu Bar and Toolbar (File)
- 2.4 Menu Bar and Toolbar (Edit)
- 2.5 Menu Bar and Toolbar (View)
- 2.6 Menu Bar and Toolbar (Element)
- 2.7 Menu Bar and Toolbar (Screen)
- 2.8 Menu Bar and Toolbar (Tools)
- 2.9 Menu Bar and Toolbar (Options)
- 2.10 Menu Bar and Toolbar (Window)
- 2.11 Menu Bar and Toolbar (Help)
- Chapter 3 Element Function
- Chapter 4 Macro Function
- Chapter 5 Control Block and Status Block
- Chapter 6 Internal Memory
- Chapter 7 Example Explanation
- Appendix A Specifications and Installation
- Appendix B USB Flash Drive Function
- Appendix C Main Menu Operation of HMI System
Chapter 2 Creating and Editing Screens|ScrEdit Software User Manual
2-52 Revision Apr. 30th, 2007, 2007PDD23000002
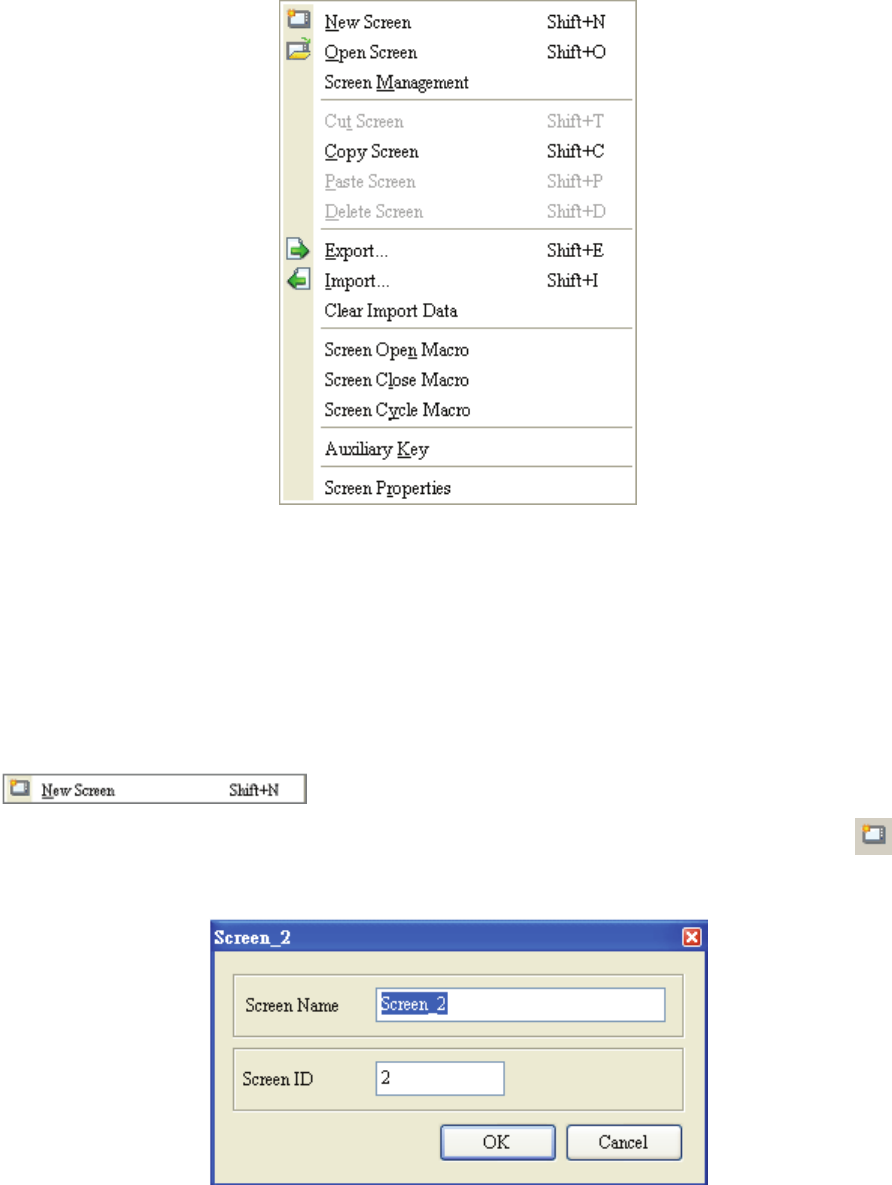
2.7 Menu Bar and Toolbar (Screen)
Screen
In Screen options, ScrEdit provides some screen editing functions (Fig. 2.7.1). Please refer to the following
sections for more detailed introduction.
Fig. 2.7.1 Screen options
If the user presses the close box, it will hide the current screen without exiting. In Windows, it will exit the
current screen by clicking close box and remind the user to save before exiting. However, in ScrEdit
environment, the current screen will not be deleted and it will not remind the user to save. The function of
clicking the close box only hides the current screen.
New Screen
Create a new screen. The user can choose Screen > New Screen or click the New Screen icon
,
or use keyboard shortcuts by pressing Shift + N to open a new editing screen. The new screen can be
named and numbered by the user. The setting dialog box is shown as Fig. 2.7.2.
Fig. 2.7.2 New Screen dialog box