
User guide
NVR
28
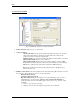
There are two kinds of users available: Master User and Exclusive Master User.
While an exclusive master user selects a camera, that camera will not be available to other users.
It is worth mentioning that “Exclusive Master User” has the ability to halt any active user.
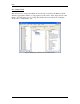
To assign a camera to the user, camera has to be moved from the available cameras list to the assigned
camera list by clicking on “>” button.
Important Note:
If you are going to be a part of the NVR’s Domain Network, you have to create “Exclusive Master User”
without any cameras attached to it. Its username and password will be used for authorization in
intercommunications between NVRs, inside the NVR’s Domain Network.
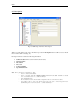
For each assigned camera, assign user rights, and sub-camera settings. This is done by selecting line from
Video-in combo box and setting video-in properties.
Video-in has the following properties:
• Can use (activate/inactivate the video input)
• Can PTZ (allow/forbid to control the camera connected to this video input)
• Max FPS (if not zero restricts MAX FPS from this video-input, for this particular user)
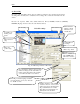
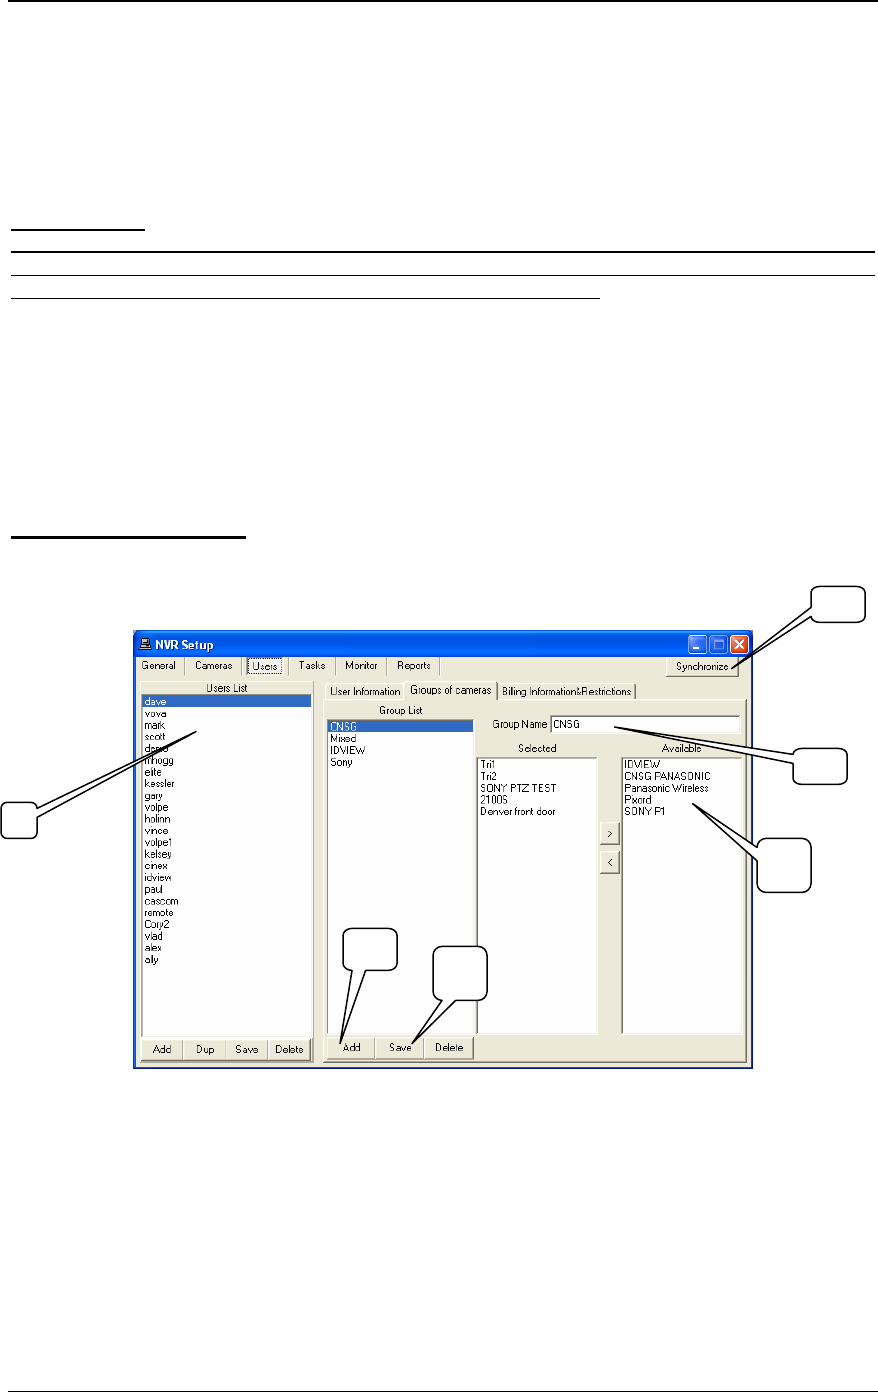
3.b. Groups of Cameras
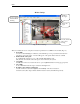
To setup Groups of cameras for a user, select “Groups of Cameras” tab. (Fig. 19.).
Several cameras can be grouped together to facilitate simultaneous display.
Fig. 19. NVR Setup→Users→Groups of cameras
In order to create groups of cameras for each user,
I. Select a user from the “Users list”.
II. List of the cameras assigned to this particular user is shown in the “Available” list.
III. Click on “Add” button at the bottom of the “Group List”
IV. Enter a particular name into the “Group Name” space
Note: Any camera can be selected from the available list and moved in to the “Selected” list.
V. Click on Save button
VI. Click on Synchronize button
Add, Del, or Save buttons can be used to add, delete or save group settings respectively.
1
3
4
2
5
6