
Owner's manual
User Manual-5.0
Page 30 of 65
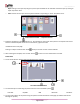
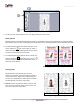
o Presets : This option gives you certain in-built effects that you could use on the photo. Click on the photo and
then on the desired preset to apply it. You can reset all the given effects with a single click from ‘Reset all’ button.
o Blend : There are 13 blending modes that help you achieve the desired effect for the photo. Click on the photo
and then select the blend option of your choice to apply.
In this way the Calendar gets personalized, now you can save the Calendar and export it.
Create Calendars with Advance Features
Organize days for social, religious, commercial or administrative purposes in the form of Calendar with advance
features. Calendar Xpress provides you ready list of event collection sorted under Special days and also allows you to
add your personal event list in your designed Calendar in an easy way and personalize it by adding the photos or even
event photos to it.
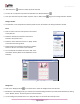
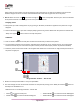
The Tool Bar
The tool bar at the top of the screen has a variety of options that makes Calendar Xpress user friendly and easy to
work with. These options are explained below.
Icon
Use
<Lock>
Can be used to lock or unlock the photos as per the requirement.
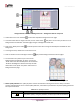
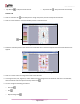
<Arrange objects>
The four options in this tool – Send to Back, Send Backward, Bring to Front, Bring
Forward – help in moving objects forward and backward depending on the page layout.
Click on the object and then choose the option required to move the photo accordingly.
<Page based alignment>
This option can be used to move the object around with respect to the page. Click on the
object and then select the option on the bar to apply the changes.
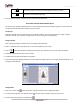
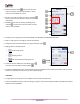
<Object based alignment>
This option can be used to move the object around with respect to the other objects on
the page. Click on the object and then select the option on the bar to apply the changes.
<Equal spacing>
Helps to equalize the horizontal and vertical spacing between objects. Select the object
for which you wish to equalize spacing. Click on the tool and select either ‘Vertical’ or
‘Horizontal’ as per your choice.
<Equal size>
Helps to equalize the size of photos on a page. Select the photos for which you wish to
make size changes. Then click on this tool and select the parameter for equalizing:
Width, Height and Size.
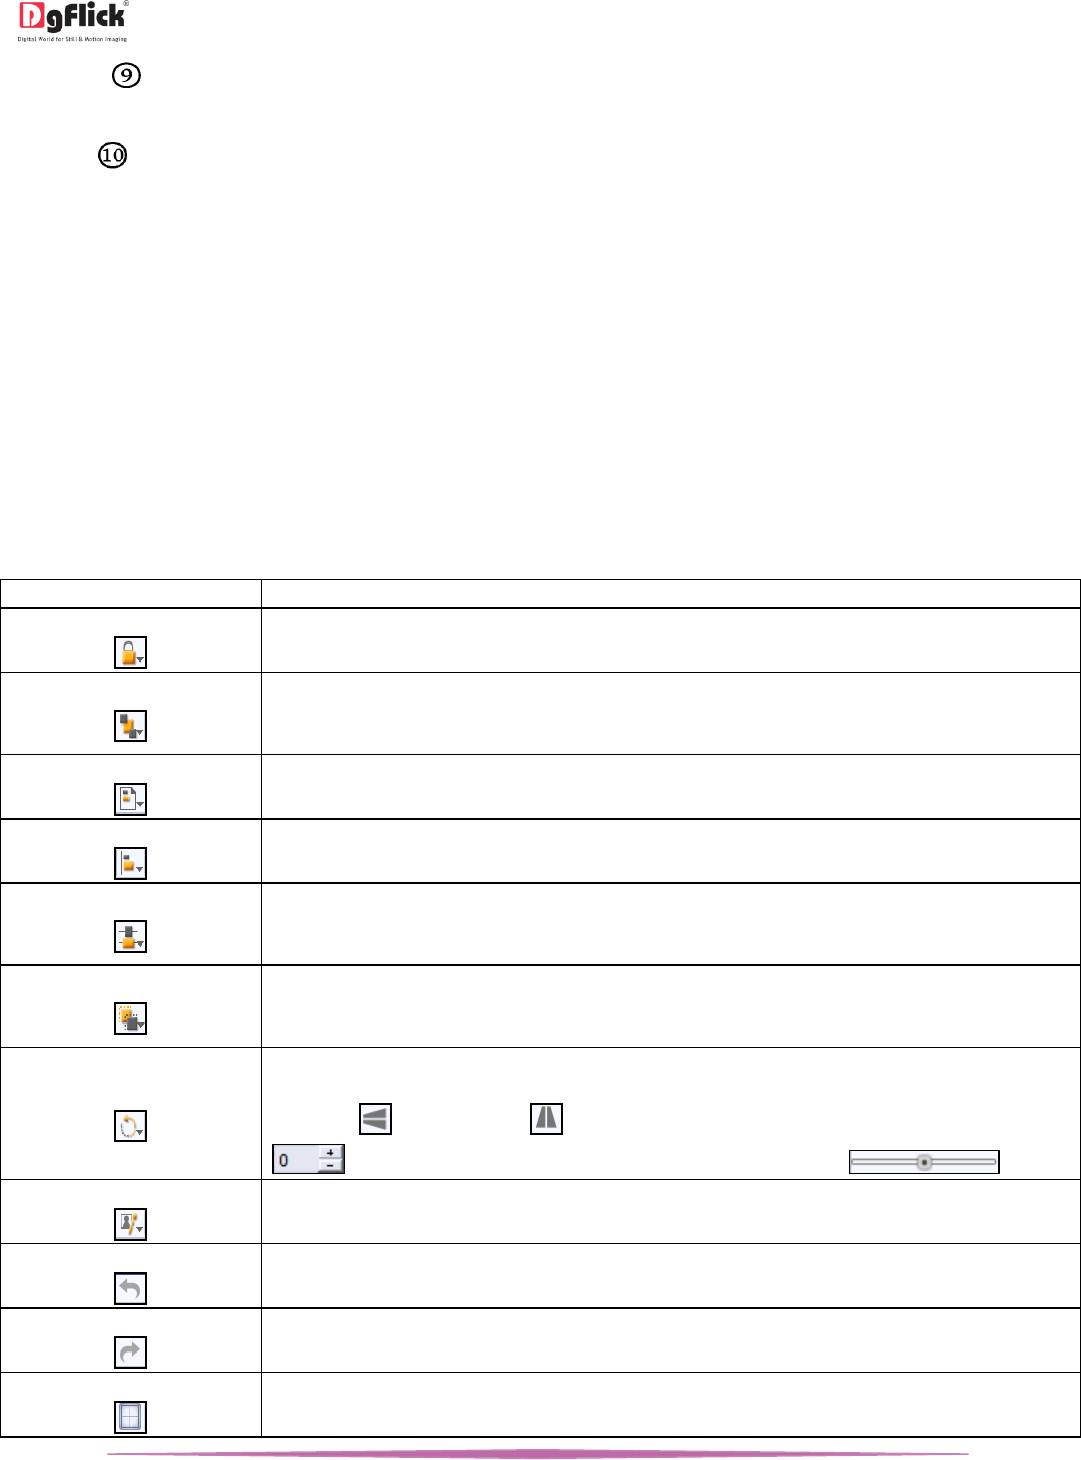
<Rotate object>
Rotates the object. To rotate the object as per your requirements, click on the tool and
alter the x, y and z axis. You could also rotate it by 90 or 270 degrees and flip them
vertically or horizontally . You could also rotate the image manually by using
and entering the value of your choice or using the slider .
<Edit photo>
Helps you to enhance the photos.
<Undo>
To reset the change you made to the page.
<Redo>
To redo a change you made to the page.
<Show/hide margins>
Shows/hides the margins on the page.