
Instruction manual
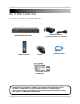
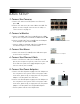

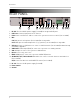
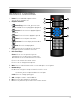
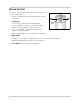

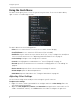
Table Of Contents
- Getting Started
- Basic Setup
- Front Panel
- Rear Panel
- Remote Control
- Using the System
- Setting the Time
- Recording
- Search (Playback)
- Backup
- Using the Main Menu
- FLIR SyncroIP NVR Central Management Software
- System Requirements
- Prerequisites
- Installing FLIR SyncroIP NVR CMS
- Adding a NVR from the Local Area Network (LAN)
- Adding a NVR using a DDNS address
- Using Alarm Rec (Event Search)
- Using Playback Mode
- Configuring Monitoring Tasks and Projects
- Using E-Map
- Configuring the CMS
- Adding User Accounts to the CMS
- Multi-Monitor Support
- Remote Viewing on Internet Explorer
- Mobile Connectivity
- Appendix A: System Specifications
- Appendix B: Setting up Remote Viewing
- Appendix C: Auto Port Forwarding Wizard
- Appendix D: Setting Up DDNS Service
- Appendix E: Remote Firmware Upgrade
- Appendix F: Hard Drive Installation
- Appendix G: Connecting an External Monitor
- Troubleshooting
9
Using the System
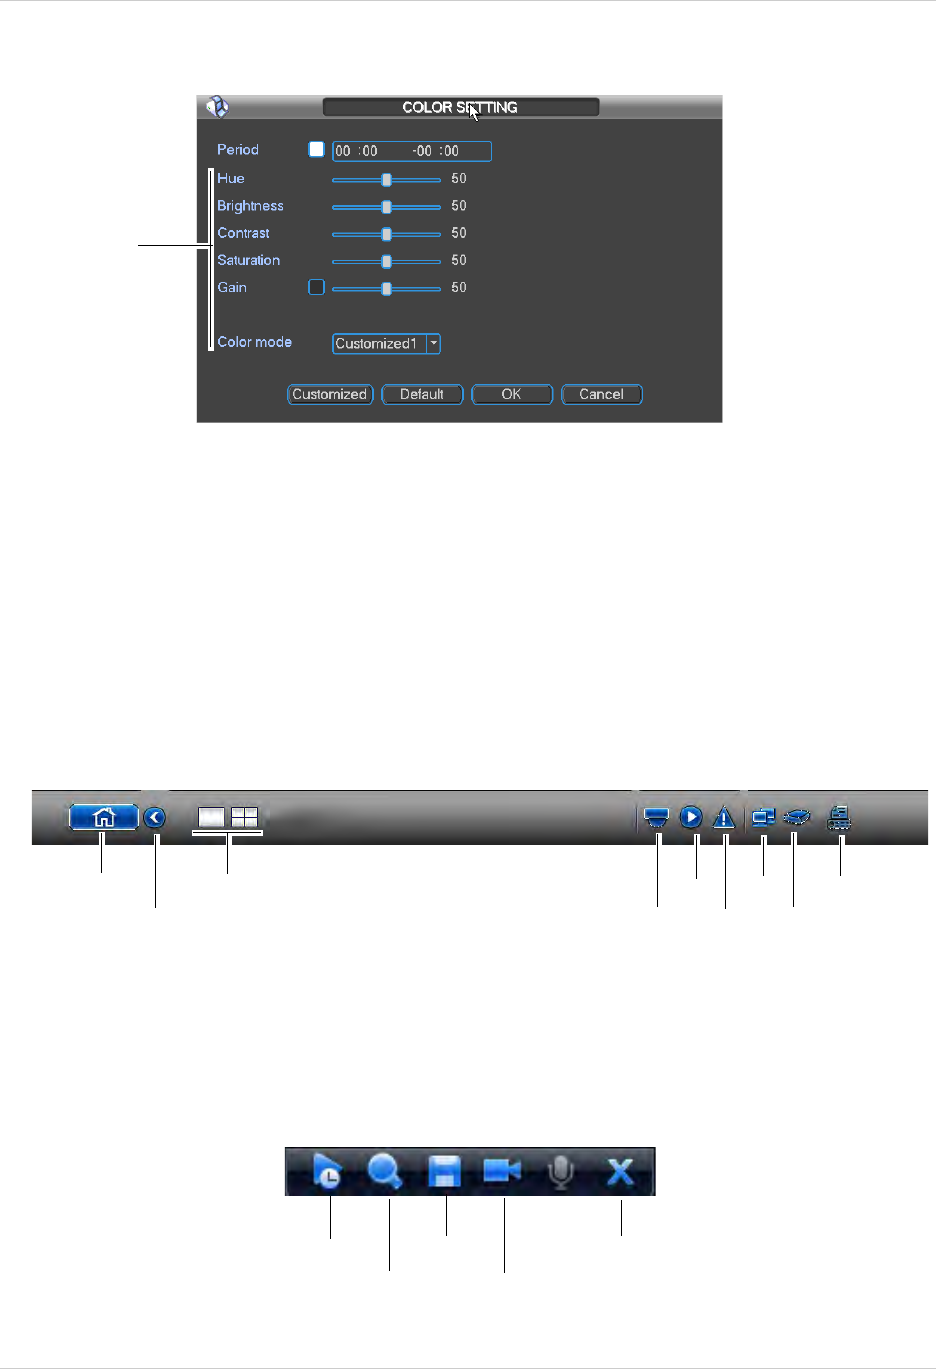
OR
Use Color mode t
o select a preset color profile.
Configure color
settings for the
first time period
NOTE: Color settings will update once you save changes.
NOTE: To configure the Cus
tomized1~4 profiles, click Customized.
3. Click OK to
save changes.
Using the Navigation Bar
The Navigation Bar gives quick access to certain functions and menus.
To open the Navigation bar:
• Left click on the screen to open the Navigation
Bar
. The Navigation Bar has the following
options:
Using the Camera Toolbar
The Camera Toolbar is used to perform actions on a specific channel.
To access the Camera Toolbar:
• Move the mouse to the top of the channel display. The Camera Toolbar has the following options:
Main Menu
Collapse
Select display
layout
PTZ
Search
Alarm
Status
Network
HDD
Manage
View system
info
Quick Playback
Digital Zoom
Real-time
backup
Device
Search
Close