
Instruction manual
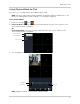
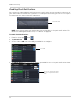
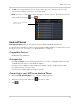
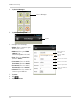
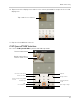
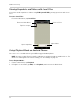
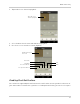


Table Of Contents
- Getting Started
- Basic Setup
- Front Panel
- Rear Panel
- Remote Control
- Using the System
- Setting the Time
- Recording
- Search (Playback)
- Backup
- Using the Main Menu
- FLIR SyncroIP NVR Central Management Software
- System Requirements
- Prerequisites
- Installing FLIR SyncroIP NVR CMS
- Adding a NVR from the Local Area Network (LAN)
- Adding a NVR using a DDNS address
- Using Alarm Rec (Event Search)
- Using Playback Mode
- Configuring Monitoring Tasks and Projects
- Using E-Map
- Configuring the CMS
- Adding User Accounts to the CMS
- Multi-Monitor Support
- Remote Viewing on Internet Explorer
- Mobile Connectivity
- Appendix A: System Specifications
- Appendix B: Setting up Remote Viewing
- Appendix C: Auto Port Forwarding Wizard
- Appendix D: Setting Up DDNS Service
- Appendix E: Remote Firmware Upgrade
- Appendix F: Hard Drive Installation
- Appendix G: Connecting an External Monitor
- Troubleshooting
80
Mobile Connectivity
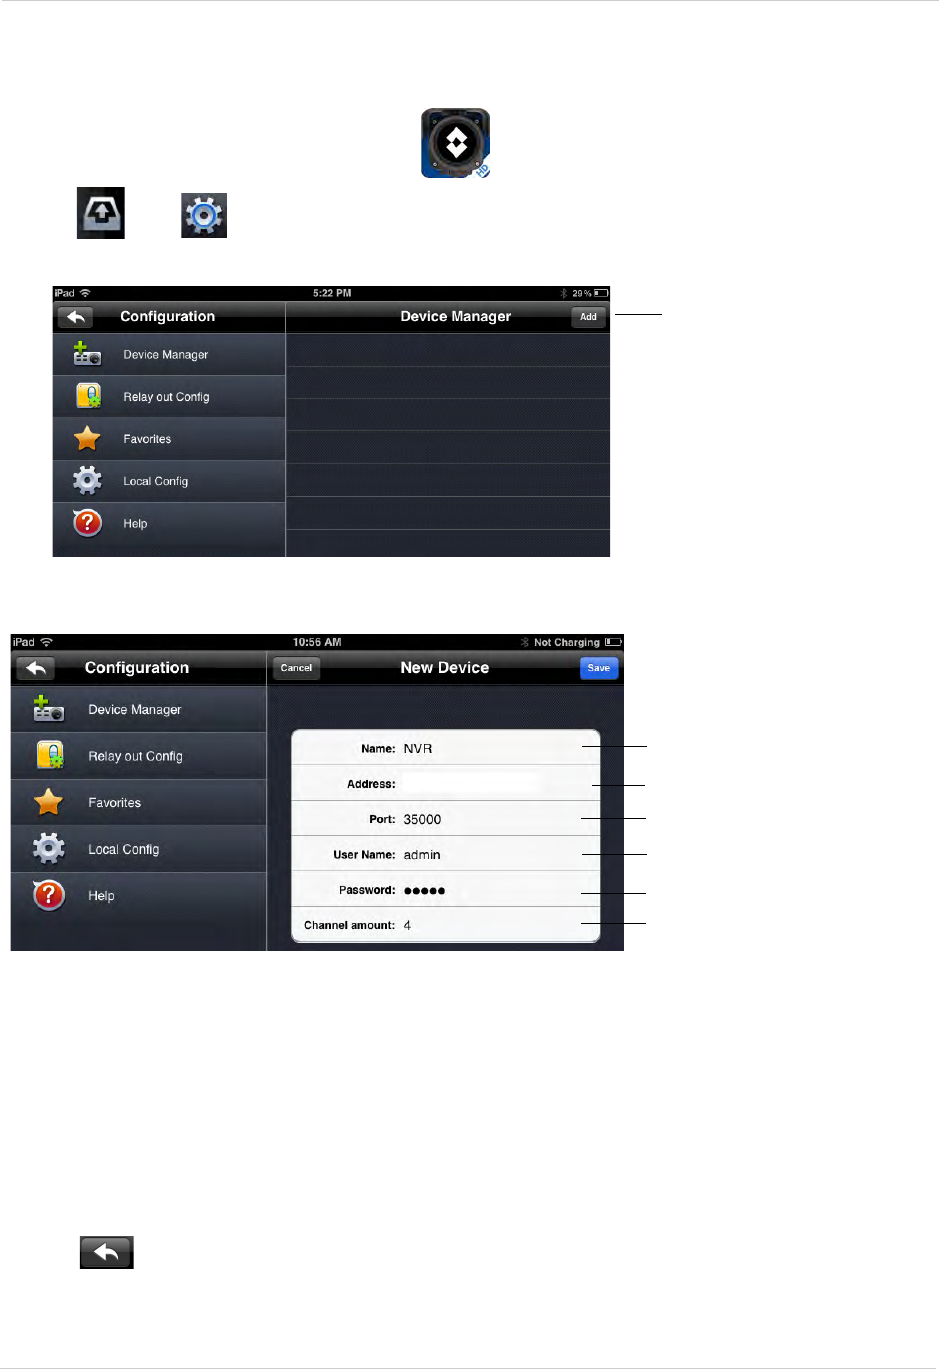
Connecting to your NVR on an Android Tablet
1. Install FLIR SyncroIP NVR HD for free from the Google Play Store.
2. Tap on the FLIR Syncro
IP NVR HD icon ( ) to start the app.
3. Tap
then .
4. Tap Device Manager.
Tap Add
5. Tap Add.
6. Configure the following:
Enter a name for your NVR
Enter the DDNS address
Enter the Client Port
Enter the user name
Enter the password
Enter the number of channels
tomsmith.myddns-flir.com
• Name: Enter a name for your NVR of your choice.
• Address: Enter your DDNS address (e.g.
tomsmith.myddns-flir.com
).
• Port: Enter the Client Port (default: 35000).
• Username: Enter the NVR’s User Name (default: admin).
• Password: Enter the NVR’s Password (default: 000000).
• Channel amount: Enter the number of channels your NVR has.
7. Tap Sav
e.
8.
Tap
.