
Installation guide

Digital Monitoring Products, Inc.
1912XR Programming
Page 27
13.5 PARTITION NUMBER - Enter the area's partition number where this loop is
being assigned.
13.5A AREA NUMBER - If you are programming an area system, enter the area
number where this loop is being assigned.
13.5B AREA ASSIGNMENT - For Area systems, enter the area number. All/Perimeter,
choose INTERIOR or PERIMETER. Home/Away,choose PERIMETER,
INTERIOR, or BEDROOMS. Press a SELECT key under your selection.
13.5C ARMING LOOP AREA ASSIGNMENT - If the loop has been programmed as an
Arming Type (AR), the only information to enter after the type selection are the
areas it controls. If the partition has been programmed as an All/Perimeter or
Home/Away, then Area 1 = Perimeter and Area 2 = Interior.
When the loop is shorted, the selected areas are armed. When restored to
normal, the selected areas are disarmed and any alarm bells are silenced. If the
loop is opened from a normal (disarmed) state, a trouble is reported. If opened
from a shorted (armed) state, an alarm is reported and the loop is disabled until
you disarm the area(s) from either a keypad or Remote Access™ computer.
To visually indicate the armed state of the area(s), you can assign an Armed
Output and use a remote LED at the keyswitch. The LED turns on or off to
indicate to the user the armed state of the area(s). If any bad loops are present
when the keyswitch loop is armed, the LED delays lighting for five seconds. If
during the five second delay the keyswitch is turned to the disarmed position, no
arming takes place. If the keyswitch stays in the armed position for the entire five
seconds, the bad loops are force armed and the LED turns on.
13.6 NEXT LOOP - When YES is selected, the programming for the loop terminates
and the display returns to section 13.2 allowing you to enter a new loop number.
To make any alterations to the Alarm Action for a loop, answer the Next Loop
prompt with NO. The Alarm Action is then defined in sections 13.7 through 13.17.
Loops 100 through 199 have wireless capability:
If you are programming loops 100 to 199,
selecting NO to NEXT LOOP - NO YES displays the prompt WIRELESS NO. This display is not
visible unless you are programming loops in this range. If the loop you are programming is intended
for wireless devices, select YES and refer to the programming instructions below. Select NO to
continue programming non-wireless loops in the 100 to 199 range.
13.6A WIRELESS - Select YES if you are programming a wireless loop. Press the
COMMAND key to continue with wireless programming.
13.6B CHECK IN TIME - You can set transmitters to check in automatically every 10,
30, or 60 seconds or not at all. To change the default of 60 seconds, press any
SELECT key to display the default display of NONE 10 30 60. Press the
SELECT key under the check in time you want for this loop. Use NONE for the
C100 ad FA100 Wireless Receivers.
13.6C INTERNAL CONTACT - Select YES to use an internal contact on the wireless
transmitter. Select NO to use an external contact. When NO, the following two
prompts are displayed.
13.6D END OF LINE - Select YES to supervise an external contact connected to the
transmitter. At the contact, install a 2.2k Ω End Of Line resistor in parallel for
Normally Open contacts and in series for Normally Closed contacts.
13.6E NORMALLY OPEN - Select NO if the contact connected to the transmitter is a
Normally Closed type.
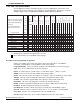
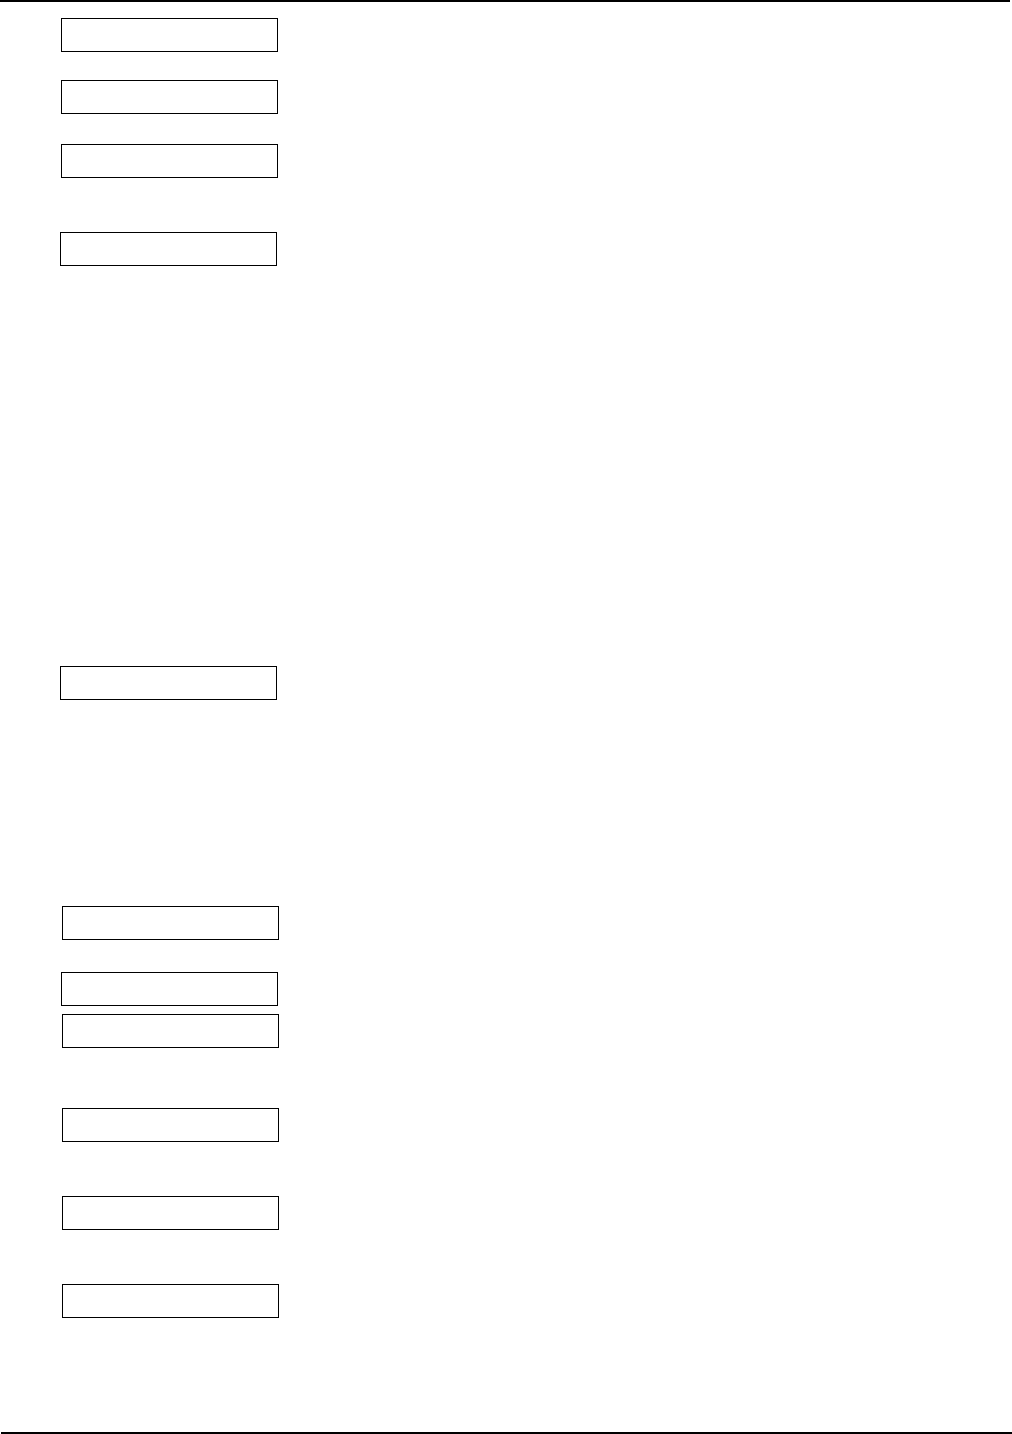
AREA NO: 1
NEXT LP? NO YES
AREAS : 1 2 3 4
AREA : PERIMETER
PARTITION NO: 1
WIRELESS NO
INT CONT NO
E O L NO
NRM OPEN YES
NONE 10 30 60
CHECK IN TM: 60
13-LOOP INFORMATION