Technical data
Manuals
Brands
Digital Manuals
Home building and Decor
TSZ07
91
92
93
94
95
96
97
98
99
100
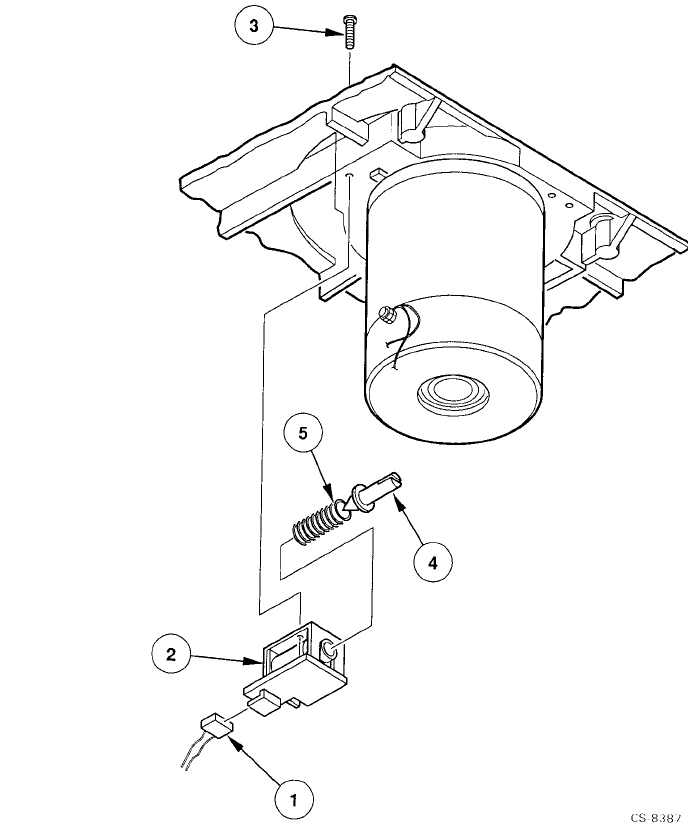
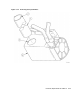
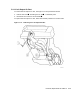
Figure
5–13:
Removing
the
Hub
Lock
Solenoid
Removal/Replacement
Procedures
5–23
1
...
...
90
91
92
93
94
...
...
155