TRT 250D TRANSPONDER OPERATION/INSTALLATION MANUAL Trimble 2105 Donley Austin, Texas 78758 (512) 432-0400 PRINTED IN U.S.A.
TRT 250D TRANSPONDER OPERATION/INSTALLATION MANUAL PUBLICATION NUMBER 1910-0009-01 Trimble 2105 Donley Austin, Texas 78758 (512) 432-0400 PRINTED IN U.S.A.
TRT 250D TRANSPONDER OPERATION/INSTALLATION MANUAL TABLE OF CONTENTS SECTION I .................................................................................................................................. 1 1. INTRODUCTION ............................................................................................. 1 1.1 SCOPE ................................................................................................. 1 1.2 DESCRIPTION ..............................................................
SECTION IVA .......................................................................................................................... 28 4A. OPERATION (MOD STATUS 3 AND ABOVE) .......................................... 28 4.1A SCOPE ............................................................................................... 28 4.2A OPERATION ..................................................................................... 28 4.3A SQUAWK MODE ..........................................................
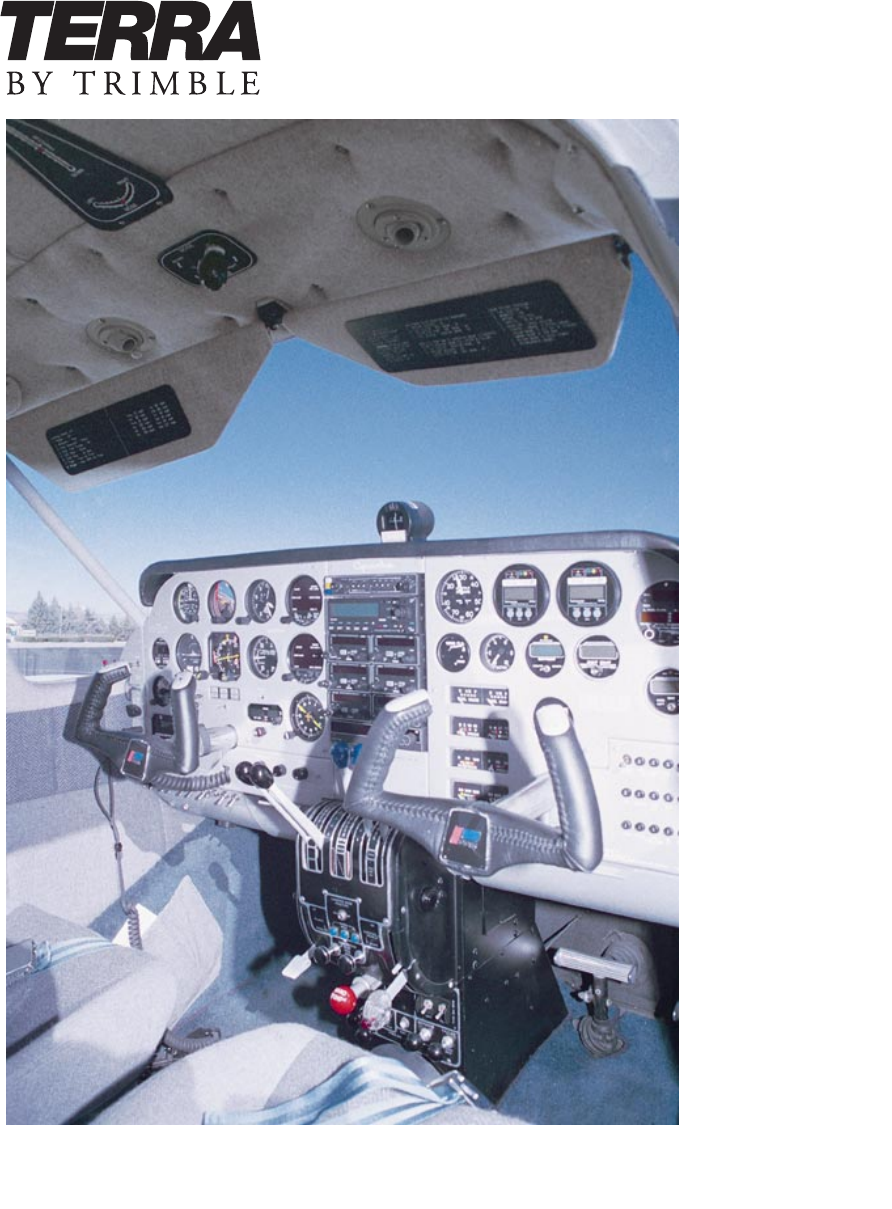
SECTION I 1. INTRODUCTION 1.1 SCOPE This manual provides installation and operation instructions for the Terra by Trimble Model TRT 250D ATC Radar Transponder designed and manufactured by Trimble, Austin, Texas. 1.2 DESCRIPTION The Terra by Trimble TRT 250D Transponder is designed for mounting in the instrument panel or radio panel of General Aviation aircraft and functions in the environment of the Air Traffic Control Radar Beacon System (ATCRBS).
1.3 SPECIFICATIONS (CONTINUED) C74c of Part 37 of its Rules and Regulations. It may, therefore, be installed and operated in civil aircraft of United States registry and in aircraft of other countries that accept FAA TSO approval. 1.3.1 MECHANICAL SPECIFICATIONS Mounting: Mounted in the avionics panel using the mounting tray or ATI-3 adapter as provided. Overall Dimensions: 12.80" long, 3.125" wide, 1.625" high (32.512 cm long, 7.938 cm wide, 4.128 cm high). Mounting Dimensions: 11.45" long, 3.
1.4 EQUIPMENT SUPPLIED The equipment supplied will depend upon the “system” you have ordered. The part numbers and descriptions listed below indicate the equipment supplied with the TRT 250D only. If a system other than those listed below was ordered, additional equipment will have been supplied and listed in another manual. 0990-5304-00 TRT 250D, Single System 1. 1 ea. 2. 1 ea. 3. 1 ea. 4. 1 ea. 5. 1 ea. 6. 7. 1 ea. 1 ea.
1.6 LICENSE REQUIREMENTS The owner of the aircraft in which the Terra by Trimble TRT 250D is installed is required by the FCC to hold an Aircraft Station License. This license may be obtained by filing an FCC Form 404. The transponder should be identified as CCX8G1TRT250 under Type Acceptance Number, frequency is 1090 MHZ and the power output at 200 watts peak. If a copy of the filed Form 404 is kept in the aircraft, the TRT 250D may be operated up to 30 days while awaiting the formal license.
SECTION II 2. INSTALLATION 2.1 GENERAL This section contains all necessary installation instructions and check-out procedures for the Terra by Trimble TRT 250D Transponder. 2.2 PREPARATION FOR USE Every precaution has been taken to protect the TRT 250D during shipment. Upon receipt of the equipment, perform the following inspection: 1. 2. 3. Remove the unit from the shipping container and visually inspect for damage. Check controls and switches to determine if they may have been damaged.
2.3.2 ANTENNAS The three cardinal points for antenna installation are location, mounting and electrical characteristics. Antenna Location: Select a location that provides an adequate ground plane, a continuous unbroken surface of metal. Provide an area where shadowing of the antenna will not occur (e.g. blocking of the signal by other parts of the aircraft).
2.3.3 WIRING AND HARNESSING Construct the installation wiring harness carefully from the avionics manufacturer’s wiring diagram. Be extremely careful to note recommended wire sizes, the need for shielded wiring (if any), and decide upon any optional wiring to be included. Measure carefully and plan the harness layout to avoid interference of cable harness with existing avionics, instruments or controls. Remove the connector plates from the rear of the trays.
Noise and/or interference are usually heard in the audio systems, although it may also be detected as an interference to indicator operation. Unless a strong suspicion of the exact source is suspected, it is best to begin a process of elimination, in the following order: 2.3.4 NOISE AND INTERFERENCE 1. 2. 3. 8 Power Source: Check for low voltage when the avionics load is applied. A high resistance battery cell in the A/C can cause numerous problems.
2.3.4 NOISE AND INTERFERENCE (Continued) 4. 2.3.5 Compromise: In some cases noise or interference may be subdued but not eliminated. With the inefficient and imperfect platform provided by the aircraft for antennas and power source, etc, complete elimination of the problem may be very expensive or impossible (e.g. if there is simply not enough space to provide ground plane or antenna separation as recommended). Or, the aircraft strobe noise is audible but not objectionable, etc.
2.4 INSTALLATION Installation of any equipment in an aircraft requires that the work be performed by a Certificated Radio Repair Station with appropriate ratings. The installing agency must complete an FAA Form 337 and compute a new weight and balance for the aircraft for insertion in the Aircraft Flight Manual. Unless the mechanic is the designated inspector for a Certificated Radio Repair Station or holds an Inspection Authorization, the work is subject to inspection and approval of an FAA inspector.
2.4 INSTALLATION (Continued) 7. 8. 2.5 EXTERNAL SUPPRESSION IN (Pin 6) - Accepts standard (ARINC) suppression pulses from DME. Interference may be noted when the transponder is turned on with the DME tuned to certain frequencies. Though such interference is rare, a suppression circuit is included in the TRT 250D. When connected to the DME suppression output, this circuit will suppress the transponder at appropriate times to eliminate the interference.
2.5 ANTENNA INSTALLATION (Continued) CAUTION: Before drilling any mounting hole for the antenna, determine that there is adequate clearance inside the fuselage for the antenna and its cable connector. NOTE: To protect the aircraft skin from damage, install a 2 inch square or circular doubler of the same thickness as the aircraft skin on the inside of the aircraft skin. Attach with rivets of type and quantity as required by current FAA regulations.
2.7 FINAL INSPECTION (Continued) 2. 3. 4. 5. 6. Revision H August 19, 1996 Have installation inspected by someone authorized under Federal Aviation Regulation Part 65. Add the Terra by Trimble TRT 250D to the aircraft equipment list, including serial number. Complete FAA Form 337 and make required airframe logbook entries. A weight and balance change will be required. Complete FCC Form 404 as required and file. The Type Acceptance Number for the application is CCX8GITRT250.
THIS PAGE INTENTIONALLY LEFT BLANK 14 Revision H August 19, 1996
SECTION III 3 .
Figure 3-2 Outline Dimensions Revision H August 19, 1996 17-18
Figure 3-3 Outline Dimensions Revision H August 19, 1996 19-20
Figure 3-4 Coax Connector Instructions Revision H August 19, 1996 21
THIS PAGE LEFT BLANK INTENTIONALLY 22 Revision H August 19, 1996
Figure 3-5 Interconnect Drawing Revision H August 19, 1996 23-24
SECTION IV 4. OPERATION 4.1 SCOPE This section is to instruct the owner/operator in the proper use and care of their new Terra by Trimble TRT 250D Transponder with a Mod level of 2 or below. If your TRT 250D is a Mod level 3 or above use section 4A for operation instructions. 4.2 OPERATION NOTE: See Figure 4-1 for locations and descriptions of Front Panel Controls. The TRT 250D Transponder is designed to operate in the environment of the Air Traffic Control Radar Beacon System (ATCRBS).
4.3 SQUAWK MODE (Continued) Left to right, the following will be displayed in the window: 8888T 8888 After 5 seconds the display will revert to: 1200 0000 Enter your desired code by turning the code knob on the right-hand side. The faster the knob is turned the faster the code changes for each detent. After the desired code is obtained, simply press the <—> (TRANSFER) button to move the code into the left-hand or “active” window.
4.4 NORMAL OPERATION (Continued) There are two occasions when the TEST switch (right hand knob) is used. First, it is advisable to turn the TRT 250D unit to ON briefly during a ramp check and depress the TEST switch. The “T” indicator should come on indicating that the unit is operational. The second occasion will occur when the “T” indicator has not come on for sometime. Depressing the TEST switch determines whether the unit is or is not functioning.
SECTION IV(A) 4A. OPERATION 4.1A SCOPE This section is to instruct the owner/operator in the proper use and care of their new Terra by Trimble TRT 250D Transponder with a Mod level 3 or above. 4.2A OPERATION NOTE: See Figure 4-1 for locations and descriptions of Front Panel Controls. The TRT 250D Transponder is designed to operate in the environment of the Air Traffic Control Radar Beacon System (ATCRBS). The secondary radar system interrogates transponders such as the TRT 250D.
4.3A SQUAWK MODE (Continued) Left to right, the following will be displayed in the window: 8888T 8888 After 5 seconds the display will revert to: ZZZZ XXXX ZZZZ represents the VFR code that is programmed into the VFR memory. XXXX is the code that was in the active window when the unit was powered down. Enter your desired code by one of the following methods: 1) The code can be selected by simply turning the code knob on the right-hand side.
4.4A NORMAL OPERATION (Continued) On occasion, the controller will request “IDENT”. The correct response is to depress and then release the ID button (left hand knob). This starts a timer that runs for 15-30 seconds. During this period, the SPIP pulse is added to the normal reply information and produces a “bloom” at a point on the radarscope corresponding to the position of the aircraft.
Figure 4-1 Front Panel Controls Revision H August 19, 1996 31
THIS PAGE INTENTIONALLY LEFT BLANK 32 Revision H August 19, 1996
THREE YEAR UNLIMITED WARRANTY TRIMBLE What does your warranty cover? Any defect in materials or workmanship of Terra by Trimble equipment. This warranty applies only to equipment sold after January 1, 1993. How does your warranty become effective? Your warranty does not become effective unless you mail your completed Warranty Registration card to us within 15 days after installation of your Terra by Trimble equipment.
THIS PAGE INTENTIONALLY LEFT BLANK 36 Revision H August 19, 1996