
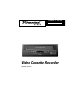
Video Cassette Recorder Owner's Guide Installation Guide
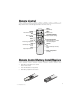


10
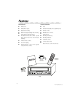
© 2001 Directed Electronics, Inc.
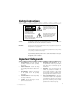
1. Turn on VCR and TV.
2. Set input mode on TV to AUX IN, VIDEO or
EXTERNAL.
3. Load a video cassette tape. VCR power
turns on automatically.
4. Press PLAY to start playback. If the tape
doesn’t have a safety tab, VCR will play-
back automatically. When playback starts,
the VCR automatically adjusts the tracking
for clear picture and sound.
5. To stop playback, press STOP.
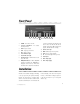
MANUAL TRACKING
For best picture quality, the VCR video head
must be aligned with the recorded track on the
tape; this alignment is called tracking.
Videocassettes recorded on other VCRs and
videocassettes with copy protection may require
some manual adjustment.
To adjust manually, press CH/TRK up or down as
necessary until the best picture possible is
achieved.
NOTE: Picture distortion often occurs at the beginning
of a tape. Let the tape play for a moment to see
if the distortion clears. If manual tracking adjust-
ments do not produce a clear picture, there may
be a problem with the videotape.
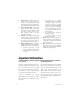
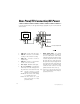
Playing a Tape
1. Turn on TV and VCR.
2. Insert videocassette tape.
3. Press the MENU button on the remote
control to access the on-screen menu. Use
the SHIFT button to select the Record
Speed function. Press the ENTER button to
select the desired recording speed. Press
MENU button to exit.
Note: Tape speed can be changed while recording; there
may be minor distortion but no interruption.
5. Press REC; the REC button will light.
6. To pause recording, press STILL/SLOW. To
resume recording, press REC.
7. To end recording, press STOP.
Recording