
Telephone User Manual
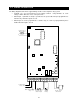
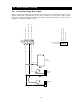
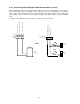

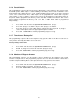
Table Of Contents
- SECTION 1 - INSTALLATION
- 1.1.1 Surface Mount 1803 and 1810 Units
- 1.1.2 Surface Mount 1803 and 1810 Units with Recess Box
- 1.1.3 Flush Mount 1803 and 1810 Units
- 1.1.4 Flush Mount Rough-in Box (applies to 1803 and 1810 only)
- 1.1.5 Flush Mount Trim Ring (use with 1803 and 1810 units only)
- 1.1.6 Flush Mount Surface Mounting Kit (use with 1803 and 1810 units only)
- 1.1.7 1802 Surface Mount Only
- 1.1.8 1808 Surface Mount Only
- SECTION 2 – WIRING
- SECTION 3 – PROGRAMMING
- Programming from the Keypad
- Programming from an Offsite Location
- Programming Notes
- 3.1.1 Master Code
- 3.1.2 Single or Multiple Systems
- 3.1.3 Relay Strike Time
- 3.1.4 Talk Time
- 3.1.5 Tone Open Numbers
- 3.1.6 Postal Switch
- 3.1.7 Touch-tone / Rotary-dial
- 3.1.8 Number of Rings to Answer
- 3.1.9 Keypad Function
- 3.1.10 Star (*) Key Function
- 3.2.1 Programming the Directory Code Length
- 3.2.2 Programming 7-digit Phone Numbers
- 3.2.3 Programming Area Codes
- 3.2.4 Programming Phone Numbers with Area Code Reference
- 3.2.5 Deleting Individual Phone Numbers
- 3.2.6 Delete All Phone Numbers
- 3.2.7 Display / Delete Phone Numbers
- 3.2.8 Display Phone Numbers with known Directory Codes
- 3.3.1 Four-Digit Entry Code Programming
- 3.3.2 Delete Four-Digit Entry Codes
- 3.3.3 Delete All Four-Digit Entry Codes
- 3.3.4 Four-Digit Entry Code Divide Number
- 3.3.5 Five-Digit Entry Code Programming
- 3.3.6 Delete Five-Digit Entry Codes
- 3.3.7 Delete All Five-Digit Entry Codes
- 3.3.8 Five-Digit Entry Code Divide Number
- 3.4.1 Time Clock Programming
- 3.4.2 Automatic Relay Activation Time Zones
- 3.4.3 Four-Digit Entry Code Time Zone
- 3.4.4 Five-Digit Entry Code Time Zone
- 3.4.5 Flash Entry Codes
- SECTION 4 – ADJUSTMENTS
- SECTION 5 – OPERATING INSTRUCTIONS
- 5.1.1 Guest Instructions
- 5.1.2 Responding to a Guest Call
- 5.1.3 Using an Entry Code
- 5.2.1 Remote Programming
- 5.2.2 Remote Relay Activation
- 5.2.3 Relay Check
- 5.2.4 Entry Code Time Zone Enable / Disable
- 5.2.5 Auto Relay Time Zone Enable / Disable
- 5.3.1 Switch Input Operation
- 5.3.2 Talk Time
- 5.3.3 Line Sharing
- 5.3.4 Connection to a PBX
- 5.3.5 Areas with 10-digit Dialing
- SECTION 6 – MAINTENANCE
2
8
3.1.1 Master Code
This programming step sets the system MASTER CODE. The master code is the four-digit number
required to gain access to the system memory. You need to know the master code prior to
performing any of the programming functions on the following pages.
NOTE: The master code cannot be programmed from an off-site location. The master code
can only be programmed from the system keypad
.
Factory setting = 9999
1. Open the cabinet of the telephone entry system and turn the master code switch (the
small toggle switch) on.
2. Enter a four-digit master code then press
(beep).
3. Turn the master code switch off and close the cabinet.
3.1.2 Single or Multiple Systems
This program sequence sets the telephone entry system to operate as a single unit on the phone line,
or to share the phone line with other units. If multiple systems are sharing the same phone line, then
each one must be set as a "multiple system" and each must have a unique master code.
Factory setting =
Single System
.
1. Press and then enter the four-digit MASTER CODE (beep).
2. Enter (beep) for a single system
or
(beep) for multiple systems.
3. Press TOGETHER to end this programming step (beeeeeep).
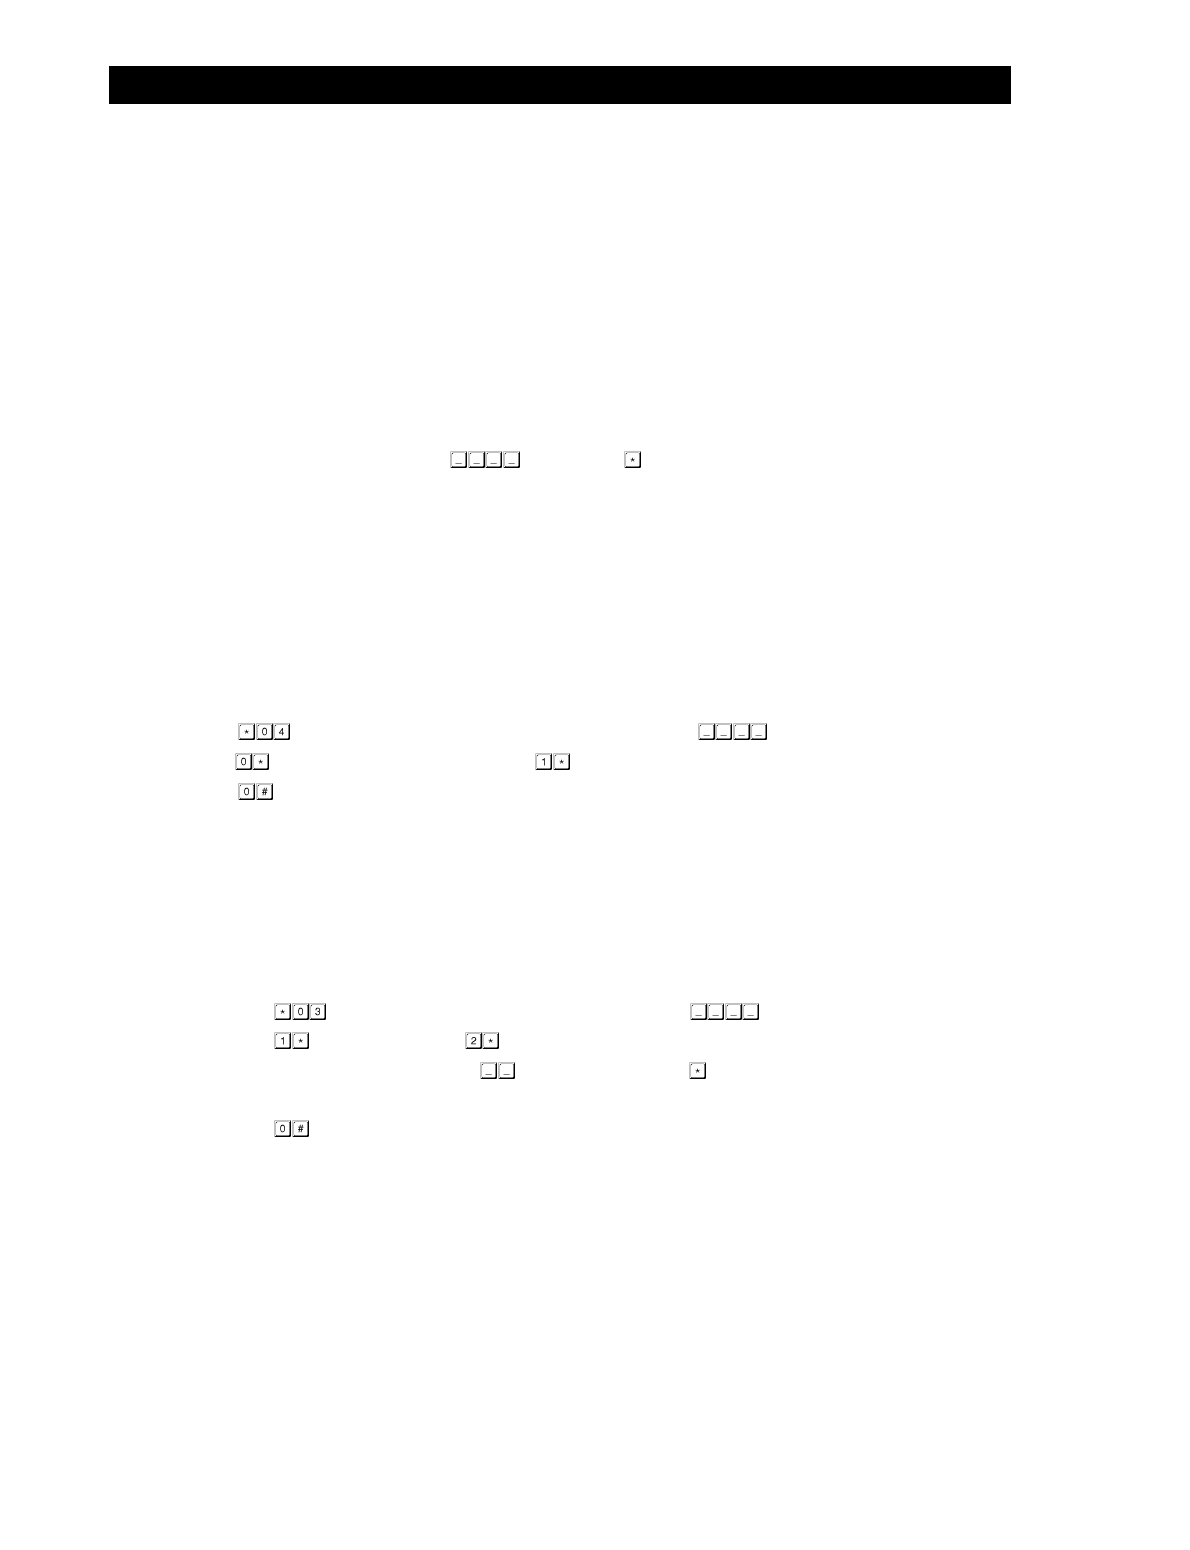
3.1.3 Relay Strike Time
These steps will program Relay 1 and Relay 2 strike times. Strike times can be programmed from 1/4
second (enter 00 in step 3) up to 99 seconds by entering the desired time in seconds.
Factory setting for relay strike times are: Relay 1 = 01, Relay 2 = 01.
1. Press and enter the four-digit MASTER CODE (beep).
2. Press to set relay 1,
or
to set relay 2 strike time.
3. Enter the two-digit strike time (00-99) then press (beep).
4. Repeat steps 2 and 3 to set the other relay strike time.
5. Press TOGETHER to end this programming step (beeeeeep).
3.1 GENERAL PROGRAMMING