PLAYBACK
Precaution IMPORTANT The lighting flash with arrowhead symbol, within an equilateral triangle, is intended to alert the user to the presence of unisulated dangerous voltage within the product's enclosure that may be of sufficient magnitude to constitute a risk of electric shock to persons. CAUTION: TO PREVENT THE RISK OF ELECTRIC SHOCK DO NOT REMOVE COVER (OR BACK). NO USER SERVICEABLE PARTS INSIDE. REFER SERVICING TO QUALIFIED SERVICE PERSONNEL.
Important Safety Instruction - READ INSTRUCTIONS - All the safety and operating instructions should be read before the product is operated. - RETAIN INSTRUCTIONS - The safety and operating instructions should be retained for future reference. - HEED WARNINGS - All warnings on the product and in the operating instructions should be adhered to. - FOLLOW INSTRUCTIONS - All operating and use instructions should be followed. - CLEANING - Unplug this product from the wall outlet before cleaning.
Table of contents Before You Start Caution on Handling Discs What's in the box Preparing the Remote Control Using the remote control Compatible Discs Advanced Operation 5 7 7 8 9 Control & Display Front Panel Display Rear Panel Remote Control Unit 11 12 13 14 Getting Started Power Connection Connecting to a TV Connecting to a Car Audio System Connecting External A/V Input Connecting to a Dolby Digital Connecting to Car Radio System Connecting to Component Video Input 4 Table of contents Basic Operati
Before You Start Cautions on handling discs Disc Only the discs including the mark shown on page 7 can be played on the DVD player. Note, however, that discs with special shapes(heart-shaped discs, hexagonal discs, irregular discs, etc.) cannot be played on the DVD player. Do not attempt to play such discs, as they may damage the player. Holding Discs Avoid touching the surface of discs when loading and unloading them.
Before You Start Cautions on handling discs - Do not get fingerprints, grease or dirt on discs. - Be especially careful not to scratch discs when removing them from their cases. - Do not bend discs. - Do not heat discs. - Do not enlarge the center hole. - Do not write on the labeled (printed) side with a ball-point pen or pencil. - Water droplets may from on the surface if the disc is moved suddenly from a cold place to a warm one. Do not use hairdryer, etc., to dry the disc.
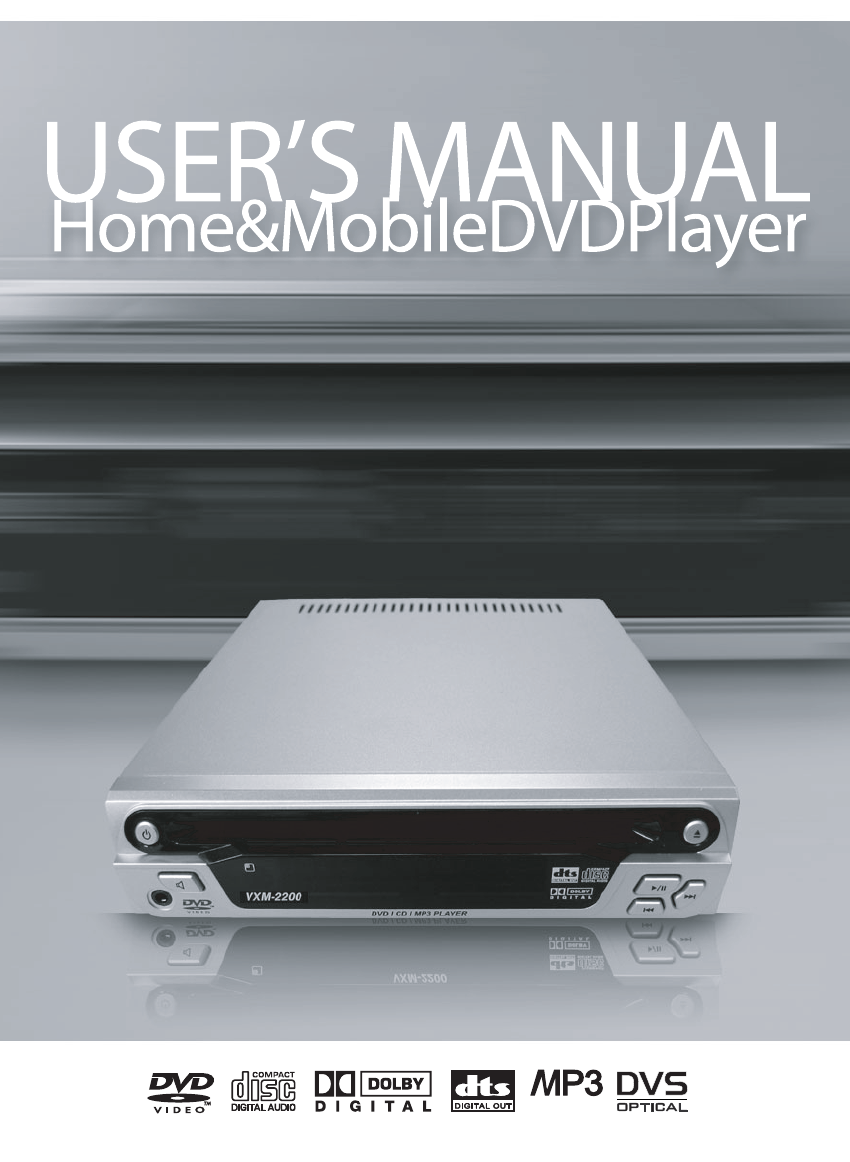
Before You Start What's in the box Thank you for buying this product. Please confirm that the following accessories are in the box when you open it. Accessories Warning : DC cable must be connected to ACC power line Preparing the Remote Control Insert the batteries into the remote controler so you can use it to operate the DVD player 1 Open the battery cover. batteries. (AAA size) 2 Insert - Make sure to match the + and - on the batteries to the marks inside the battery compartment. 3 Close the cover.
Before You Start Warning - Improper use of batteries may cause battery leakage and corrosion. To operate the remote control correctly, follow the instructions. Don't insert the batteries into the remote control in the wrong direction. Don't charge, heat, open, or short-circuit the batteries. Don't throw the batteries into fire. Don't leave dead or exhausted batteries in the remote control. Don't use different types of batteries together, or mix old and new batteries.
Before You Start Compatible Discs The types of discs listed on the table below can be used on the DVD player. The marks are indicated on the disc labels or jackets. Digital Video discs - Single sided or double sided discs. - Single layer or dual layer discs. - Dolby Digital, DTS, MPEG or Linear PCM digital audio. - MPEG-2 digital video Discs are generally divided into one or more title. Titles may be further subdivided into chapters.
Before You Start MP3 compatibility information - The CD-ROM must be ISO 9660 compatible. - Mono or stereo MPEG-1 Audio Layer 3 format, 32 or 44.1 or 48kHz fixed bit-rate. Incompatible files will not play. - Compatible with variable bit-rate (VBR) files. - This player is compatible with multi-session discs. - Audio encoded at 128Kbps should sound close to regular audio CD quality. Although this player will play 48K to 320k bit-rate. - MP3 tracks, the sound quality becomes.
Control & Display Front Panel Control 1 8 1 2 6 3 7 POWER 5 7 Turns the power on/off. 2 8 STEREO JACK FOR CAR PACK / AV IN Plug in car pack jack for stereo audio output. Plug in video and stereo audio input. EJECT Press EJECT to eject the discs. 4 DISPLAY WINDOW Display information about the current state of the player and the disc. (See next page.) DISC IN / OUT HOLE Discs are inserted and ejected here. 3 4 PLAY/PAUSE Starts disc play and pause 9 MUTE Turns the audio outputs on/off.
Control & Display Display 1 DVD/SVCD/MP3/PBC 6 Illuminates the type of the disc loaded. 2 TIME Indicates time information and displays information about operation such as PLAY, STOP, LOAD, NO DISC, etc. ROTATION Rotates when the disc is spinning. 7 3 PLAY/PAUSE Indicates the current operation mode. 4 DTS Indicates that the audio type of the disc under play is DTS. 5 Repeat/ALL Indicates the current repeat play mode.
Control & Display Rear Panel 1 2 1 4 3 9 DC INPUT 5 7 8 3 EXTERNAL REMOTE CONNECTOR Use the External Remote Control to Connect the Irmodule 4 9 10 (Wireless FM Transmitter model) VIDEO OUT AUDIO OUT (L/R) Connect to the Audio input jacks of your TV, audio/video receiver 7 ANTENNA CONNECTOR To connect antenna for internal wireless FM transmitter. It can out DVD player's audio signal to your car radio system.
Control & Display Remote Control 1 OPEN / CLOSE ( ) Ejects the disc 2 SETUP ( ) Use to set various functions according to individual preference 3 POWER ( ) Turns on or off the DVD player. 4 NUMBER Press the number button. Use the +10 button to input numbers of 10 or over. 5 TITLE ( ) Use the TITLE button to display the title screen included on DVD discs. 6 MENU ( ) Use the MENU button to display the menu screen ncluded on a DVD discs.
Control & Display 14 STEP ( ) 22 Play one frame at a time during pause. 15 SKIP ( 23 ) Select previous track, title, chapter, and index or beginning of current track, title, chapter, index. Select next track, title, chapter, index. 16 SEARCH ( SLOW MOTION ( GOTO ( ) Used to go to the chapter, track or song of the disc you want 19 SUB-T ( ) Changes the subtitle language to another available language or sets OFF (if the disc supports multiple subtitle languages).
Getting Started Power Connections using the Cigar cable 1 When - Make sure that input voltage is 12-24V - Connect to DC INPUT using the include cigar cable. To Cigar Jack connecting the DC power cable. 2 When - DC cable - This is installation should be made by a qualified service person and should confirm to all local codes. - Connect the terminal of red cable to DC 12-24V, and the terminal of black cable to ground. using the DVD player at home 3 When - Connect to DC INPUT using the AC adapter.
Getting Started Connecting to a TV L (White) R (Red) Audio Output S-Video Output Video Output (Yellow) Audio Input R L Video Input S-Video Input Connect the DVD player to your TV. the AUDIO CABLES between the AUDIO OUT L and R jacks on the back of 1 VConnect your DVD player and the corresponding AUDIO INPUT jacks on your TV. the VIDEO CABLE between the VIDEO OUT jack on the back of your DVD player 2 Connect and the corresponding VIDEO INPUT jack on your TV.
Getting Started Connecting to a Car Audio System L (White) R (Red) Audio Output Video Output (Yellow) TV Audio Input R L Video Input Connecting to a Car Audio System. the AUDIO CABLES between the AUDIO OUT L and R jacks on the back of 1 Connect your DVD player and the corresponding AUDIO INPUT jacks on your audio system. the VIDEO CABLE between the VIDEO OUT jack on the back of your DVD 2 Connect player and the corresponding VIDEO INPUT jack on your TV.
Getting Started Connecting External A/V Input External A/V Input Cable Audio Input R External AV player L Video Input Audio Output R L Video Output Game machine MD player CD player... Connecting External A/V Input function can connects your another A/V (Game machine, MD...) to monitor and 1 This car audio system. Only connect A/V input cable to your DVD player's AUDIO OUT/AV IN socket than DVD player changes to external A/V input mode.
Getting Started Connecting to a Dolby Digital System Coaxial Digital Out Video Output Coaxial Cable S-Video Output Dolby Digital Decoder Coaxial Digital In Center Speaker Front Speaker (L) Front Speaker (R) TV Rear Speaker (Left surround) Sub Woofer Rear Speaker (Right surround) Dolby Digital Dolby Digital is the surround sound technology used in theaters showing the latest movies, and is now available to reproduce this realistic effect in the home.
Getting Started Connecting to Car Radio System For use internal FM transmitter any connecting will be required. Wired FM transmitter model Connecting 2 wires to car antenna and car radio system each other. Car Antenna TV Audio Signal Car Radio Video Signal Wireless FM transmitter model Just connect antenna to it's connector TV Car Antenna Audio Signal Car Radio Video Signal Setting the FM transmitter frequency SETUP => Audio Setup Page => FM Tx => Setting FM Frequency (Off, 88.1MHz ~ 88.
Getting Started Connecting to Component Video Input Pb Y Audio Output L(White) R (Red) TV Video Output Pr L Component Cable R Audio Input Y Pb Pr Video Input Connecting to Component Video Input Some TV system has component video signal input terminal. DVD player can output component video signal. At this mode progressive scan will possible. Connect the component video (Y/Pb/Pr or RGB) cable to it's terminal and setting the setup menu.
Basic Operation Playing DVD Video Discs Before Playing Your DVD Disc Ensure that your DVD player is connected correctly to the TV and audio system, which are output components. Turn on the power of the TV and audio system. Ensure that the local code of the DVD player is matched to that of the disc. If not matched, your disc will not be played. To Play a DVD Disc 1 Press the POWER ( )button. the DVD disc.
Basic Operation Basic Playback Controls PLAY/PAUSE( ) : Starts playback or pause a disc that's playing (press again to restart playback) STOP( ): Stop playback FR( ): Press for fast backward searching. FF( ): Press for fast forward searching PREV( ): Skip to the previous chapter. NEXT( ): Skip to the next chapter. Basic Disc Menu Controls Some DVD discs contain menus. Sometimes these are displayed automatically when you start playback; others only appear when you press MENU or Title remote control.
Basic Operation Playing MP3 discs To Play a MP3 File 1 Insert the MP3 disc. Make sure that the disc's label is facing up. menu screen is displayed 2 MP3 automatically depending on MP3 disc's folder (directory) structure 3 Using the UP( ) or DOWN( ) button to find the desired folder the ENTER( ) button to select. 4 Press The TV screen shows the file lists under the folder. the PROGRAM ( ) button 5 Press repeatedly. Each time you pressed, PROGRAM mode will be changed repeatedly.
Basic Operation - The file name is only displayed in English. - This DVD player is compatible with the "MPEG-1 Audio Layer 3" standard. It is not compatible with such other standards as "MPEG-2 Audio Layer 3", "MPEG-2.5 Audio Layer 3", MP1, MP2, etc. - Do not play CD-R/RW discs containing any files other than music CD files, MP3 and JPEG files. - Programmed playback is not possible with MP3 discs. - When writing MP3 files on CD-R/RW discs, select "ISO9660 level 1" as the writing software format.
Basic Operation Fast Forward/Backward Use this function to play the DISC contents in fast forward or fast reverse. During searching, audio will be muted (except CD-DA). 1 Press the FR ( ) or FF ( ) button during disc play. ඔඔG x 2 ඔඔG x 4 ඔඔG x 8 ඔඔG x 16 ඔඔG x 32 ඖඖG x 2 ඖඖG x 4 ඖඖG x 8 ඖඖG x 16 ඖඖG x 32 2 Press the PLAY/PAUSE ( ) button to resume normal playback. Skip Forward/Backward Use this function to move to the net or previous chapter for DVD, track for VCD and CD-DA.
Basic Operation Slow Forward/Backward Use this function to play the DISC contents in slow forward or slow reverse. During searching, audio will be muted. 1 Press the PLAY/PAUSE ( ) repeatedly. ඖ ඖ 1/2 3 Press the PLAY/PAUSE ( ඖ 1/2 1/4 ඖ 1/4 ඖ ) or ( 1/8 ඖ 2 Press the ( ) button during play mode. ඖ 1/8 ඖ 1/16 1/16 ) button to resume normal playback. Frame-by-Frame Playback 1 Press the PLAY/PAUSE ( ) button during play mode. the ( ) button repeatedly.
Advanced Operation OSD (On-screen Display) You can display the playback status on TV screen as following; Title, Chapter number, Playing time, Disc. the DISPLAY ( 1 Press playback )button during - Disc, Chapter(DVD), Track(CD-DA), Time information appears on screen. off the on-screen display, press 2 Totheturn DISPLAY ( )button Selecting Audio Language It is possible to change the audio soundtrack language to a different language from the one selected at the initial settings.
Advanced Operation Selecting Subtitles It is possible to change the subtitle language to a different language from the one selected at the initial settings. This operation works only with discs on which multiple subtitle languages are recorded. the SUB-T ( )button during disc play. 1 Press The subtitle info banner appears. The default is Subtitle off. If no subtitle are recorded, the ( ) icon will appear. the SUB-T ( 2 Press displayed.