
Manual
Introduction
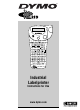
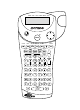
The Dymo ILP219 helps you mark and identify cables, wires, patch panels and components around your plant.
The ILP219 can print your information to suit the environment you work in: thermally printed tape can be wrapped around
cables, flagged around wires or applied onto different surfaces. The information can be spaced along a label to fit a row of
switches ,fuses or patch panels.
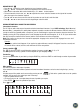
It can create bar codes, print graphics, and display text in a variety of formats. It can also combine these options in one, pro-
viding all the information you require in a highly readable, long-lasting adhesive label.
Dymo’s specially developed ILP 219 Card Loader software allows you to download data and graphics to store on a memory
card. In this way, you can manage your labelling and identification, and provide your staff with portable information to label
key installations while in the plant or in the field.
Getting Started
1. Unpacking your ILP219 kit
Before you start setting up the printer,
verify you have received the following items in your packaging:
- ILP219 printer + extra protective bumper
- Carrying case
- AC Adaptor
- 2 tapes
- Communications cable
- User Manual (English only)
- CD-ROM containing ILP219 Card Loader software
+ User manual (8 languages )
- 1 Memory Card
- Warranty booklet + Registration Card
Operating and Storage Conditions.
Operating temperature : 4°C to +40°C
Operating humidity : 10% to 90% RH
Storage temperature : 0°C to + 40°C
Storage humidity : 10% to 90% RH
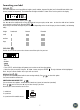
2. Power Supply
BATTERIES
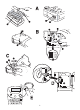
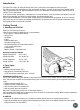
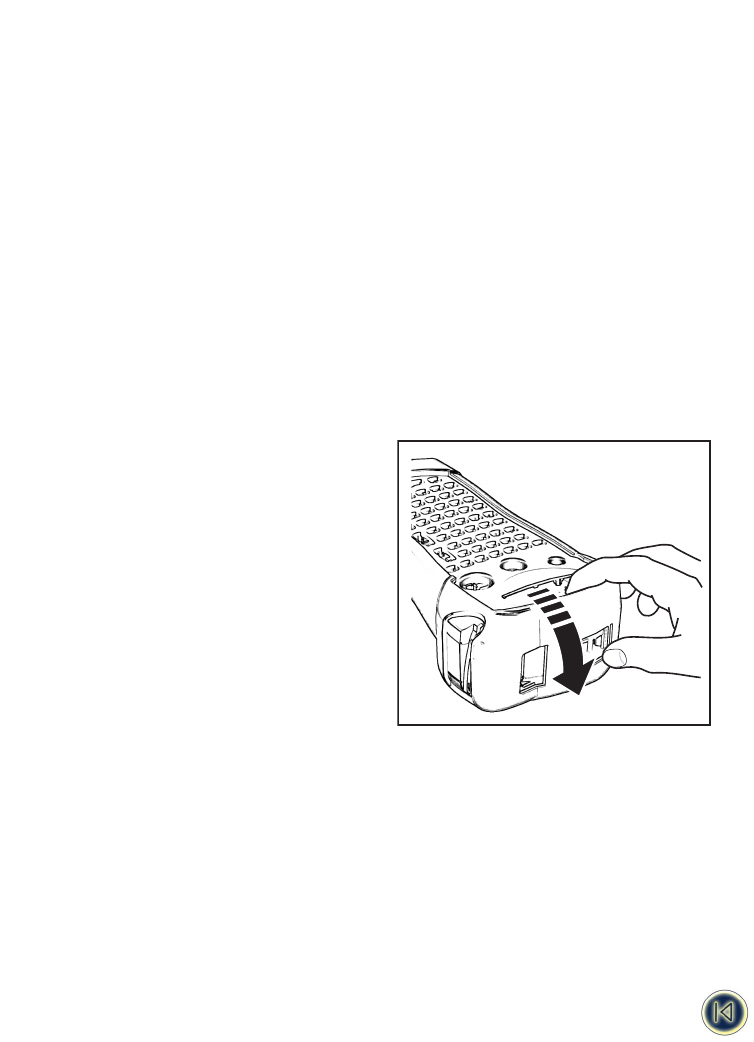
• Remove protective bumper (Fig. 1).
• Apply pressure to thumb catch then open
and lift away battery compartment cover - see fig B1
RECHARGEABLE BATTERY PACK
The ILP 219’s optional battery pack provides a long-lasting source of power for the machine, and fits into the battery compart-
ment. This gives you the option of using multiple battery packs to ensure constant power if you are away from an AC power
source.
• Remove protective bumper (Fig. 1).
• Remove the battery compartment cover.
• Slide the battery pack in the compartment
• Slide the bumper again over the printer.
Note: Please charge the battery pack for min. 14 hours before initial use.
After connecting the AC adapter press the power-on key to turn the printer on and activate the charging. When the printer automatically
shuts off after 2min. the charging will continu.
AC ADAPTOR
• Connect the AC adaptor to socket (Fig. 2). Inserting the adaptor plug disconnects the supply from the batteries.
• Unplug the AC adaptor from the printer before disconnecting the mains power to the adaptor, otherwise last label memory
settings will be lost (see also ON/OFF).
3
Fig. 1