
User Manual
EN
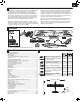
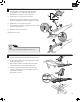
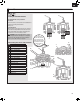
1. Carefully apply the 2 strips of double-stick tape (A) to the root of the wing
as shown. Assemble the wings on the carbon wing tube (B) so there is no
gap. No epoxy is required to hold the wings together; however, if desired,
epoxy may be used (instead of the tape) to adhere the wings to each
other on the wing tube.
2. Ensure the wings are correctly aligned. Using double stick tape, install
the front (C) and rear (D) wing covers in their respective slots on the wing
as shown.
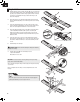
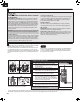
3. Connect the right and left aileron servo arms to the respective control
horns by using the included linkages and clevises in the outermost holes.
Refer to the clevis adjustment instructions to center the ailerons.
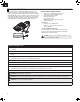
4. Ensure the 2 DIP switches (E) on the receiver (F) are in the OFF position,
or the included DX5e transmitter (with 3 position ch 5 switch) and
SAFE technology will not operate as described. Refer to the Receiver
Setup Instructions in this manual if using a transmitter with a 2-position
Channel 5 switch.
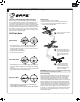
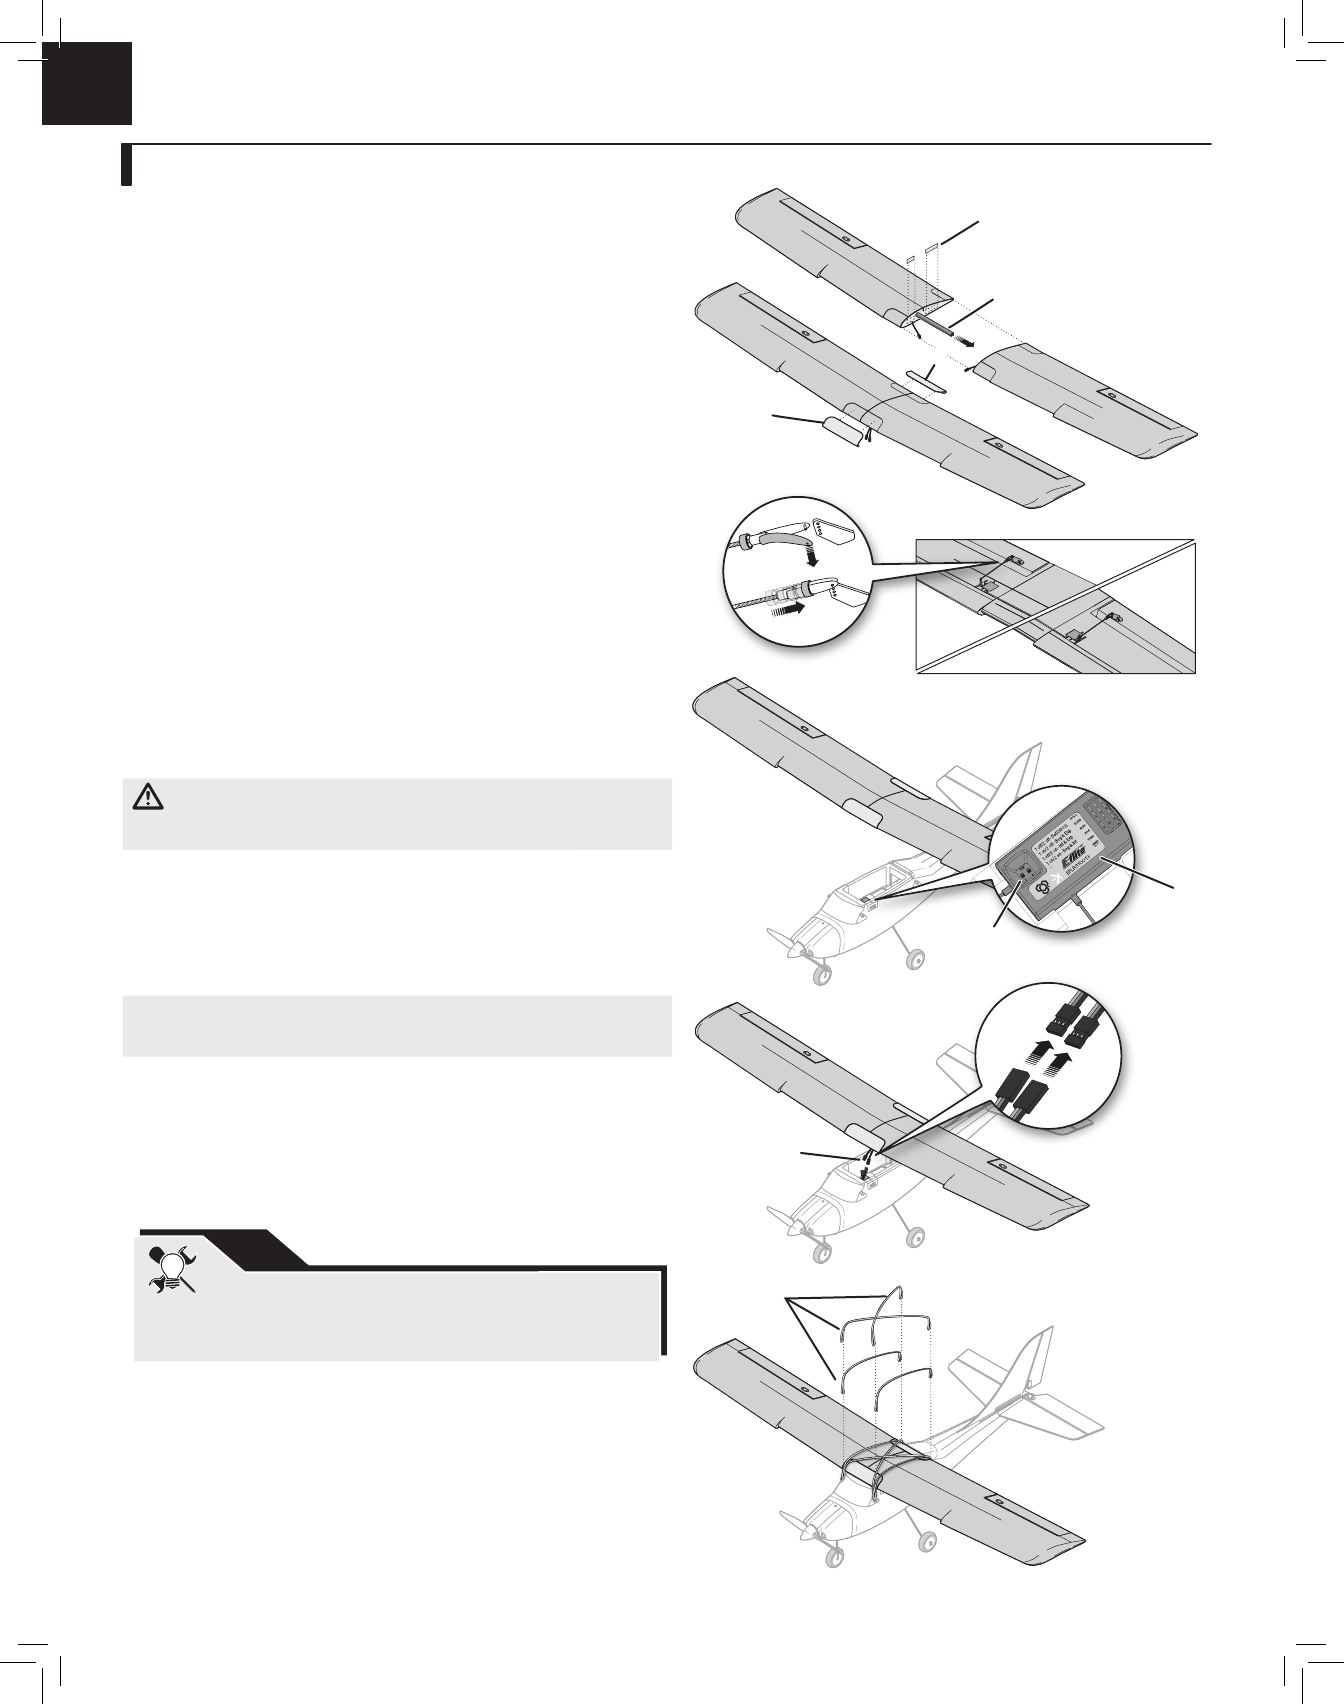
5. Connect the aileron servo connectors to the included Y-harness (G) in
the fuselage. The left and right servos can be connected to either side of
the Y-harness. Ensure the Y-harness is connected to the AILE port of the
receiver.
6. Install the wing on the fuselage.
CAUTION: DO NOT crush or otherwise damage the wiring when attaching
the wing to the fuselage.
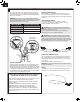
7. Install 8 rubber bands (H) on the front and back rods to
complete the installation.
Disassemble in reverse order.
IMPORTANT: The rubber bands prevent wing damage from impact. Always
replace worn or broken rubber bands.
We recommend removing the wing from the fuselage for transport and storage
of your model.
Before each flight, ensure the wing is centered, straight and secure on the
fuselage.
Wing Installation
Ensure the caps are secure on the ends of the rods. If needed, apply CA
(cyanoacrylate adhesive) to secure a cap on the rod.
TIP
G
H
B
A
D
C
E
F
6