LCD Board - User’s Guide Copyright 2012 © Embedded Artists AB LCD Board Get Up-and-Running Quickly and Start Developing Your Application On Day 1! EA2-USG-1105 Rev A
LCD Board - User’s Guide Page 2 Embedded Artists AB Davidshallsgatan 16 211 45 Malmö Sweden info@EmbeddedArtists.com http://www.EmbeddedArtists.com Copyright 2011-2012 © Embedded Artists AB. All rights reserved.
LCD Board - User’s Guide Page 3 Table of Contents 1 Document Revision History 4 2 Introduction 5 2.1 Features 5 2.2 ESD Precaution 5 2.3 General Handling Care and Usage 5 2.4 Other Products from Embedded Artists 5 2.4.1 Design and Production Services 6 2.4.2 OEM / Education / QuickStart Boards and Developer’s Kits 6 3 Getting Started 7 3.1 Selecting Display Resolution 7 3.2 Mounting 7 3.3 Power Consumption 8 3.3.1 Power consumption of 4.3 inch LCD (EA-LCD-004) 8 3.3.
LCD Board - User’s Guide Page 4 1 Document Revision History Revision Date Description A 2011-09-29 First released version. B 2012-02-13 Added description about LCD controller settings for LPC processors.
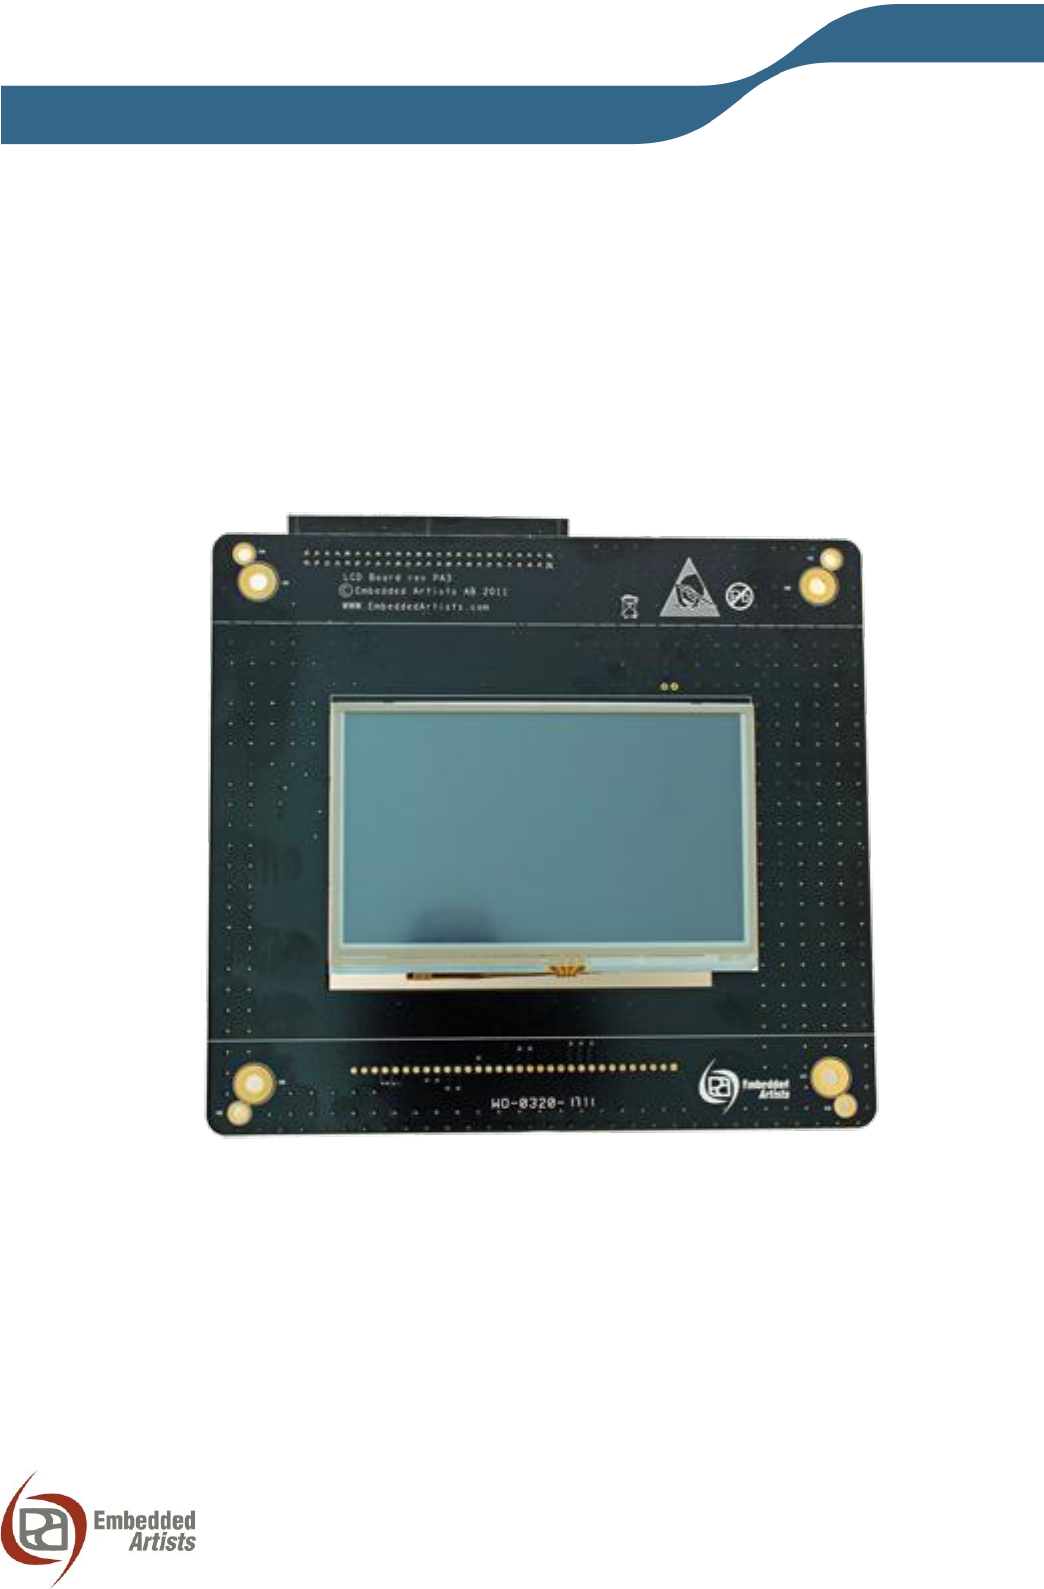
LCD Board - User’s Guide Page 5 2 Introduction Thank you for buying the LCD Board from Embedded Artists. The board makes it possible for you to get started with graphical user interface development immediately. The board directly interfaces the OEM Base Board (also from Embedded Artists) and can be mounted with forming a compact unit. 2.1 Features The features of the LCD Board are: Parallel RGB interface, 16-bit color depth (or 12-bit).
LCD Board - User’s Guide Page 6 OEM applications can be done easily, even for modest production volumes. Contact Embedded Artists for further information about design and production services. 2.4.1 Design and Production Services Embedded Artists provide design services for custom designs, either completely new or modification to existing boards.
LCD Board - User’s Guide Page 7 3 Getting Started This chapter describes important aspects of using the LCD Board. 3.1 Selecting Display Resolution It is recommended to prototype with a display that has identical resolution as the intended endapplication. If the exact same resolution cannot be used during prototyping, select a resolution as close to the end-application as possible.
LCD Board - User’s Guide Page 8 Figure 1 – LCD Board Mounting Options 3.3 Power Consumption Different LCD Boards have different power consumption. The subsections below list the different LCD boards’ current consumption. The number given is the combined current consumption of the +3.3V and +5.0V supplies. It is the current consumption that is needed from an external +5V supply (when connected to the OEM Base board). 3.3.1 Power consumption of 4.3 inch LCD (EA-LCD-004) When using the 4.
LCD Board - User’s Guide Page 9 4 LCD Board Design This chapter describes the hardware design of the LCD Board. The schematic can be downloaded from the support page after registering the product serial key (that comes with purchase of the LCD Board). It can be good to have the schematic side by side when reading this chapter. 4.1 Block Diagram The block diagram in Figure 2 below gives a quick overview of a design. It illustrates the major components in the design.
LCD Board - User’s Guide Page 10 There are also delay logic and an expansion connector that is normally not mounted. These are for internal EA use during development and prototyping of new LCDs to be supported. 4.2.2 Page 3 The resistive touch screen controller, TSC2046 from Texas Instruments, is connected to the SPI bus. See datasheet for details about its operation. There is ESD protection on the wires to the touch screen since these are subject to possible electrostatic discharges from the user.
LCD Board - User’s Guide Page 11 Interface connector (J1) Usage TFT5:6:5 mode TFT4:4:4 mode 1 Ground (GND) 2 Ground (GND) 3 Currently not used. 4 Currently not used. 5 Currently not used. 6 Currently not used. 7 LCD_DV4 signal from LPC LCD controller. RED1 RED0 (LSB) 8 LCD_DV5 signal from LPC LCD controller. RED2 RED1 9 LCD_DV6 signal from LPC LCD controller. RED3 RED2 10 LCD_DV7 signal from LPC LCD controller.
LCD Board - User’s Guide Page 12 33 Currently not used. 34 Currently not used. 35 Vertical sync (VSYNC). Also called LCD_FP. 36 Pixel data enable signal (DEN). Also called LCD_ENAB. 37 Horistontal sync (HSYNC). Also called LCD_LP. 38 Pixel data clock. 39 Ground (GND) 40 External pixel clock to LCD controller (output signal from the LCD board). 41 +3.3V supply to the LCD Board. 42 +5.0V supply to the LCD Board.
LCD Board - User’s Guide 4.4 Page 13 Software Driver A general software driver has been created to in order to make it simple and non-complex to work with different LCD:s. This section contains a very brief description of the structure. The code is the general documentation in itself, simply because the software will likely be updated The software driver package (a zip-file) is downloaded from Embedded Artists support page for the LCD Board.
LCD Board - User’s Guide Page 14 1, /* Invert VSYNC */ 1, /* AC bias frequency (not used) */ 16, /* Bits per pixel */ 9000000, /* Optimal clock rate (Hz) */ TFT, /* LCD panel type */ 0, /* Single panel display */ }; static eaLcdbTouchParams_t touchParam = { 0, // don't swap 630, // x resistance 250, // y resistance }; static char* initSeqStr = "v1,cd0,cc0,c30,d100,c31,d100,cd1,d10,o,cc100"; static char* pdSeqStr = "v1,cd0,d1,cc0,q,c30"; static char* lcdName = "HSD043I9W1-A00-0299"; static char* lcdMfg = "
LCD Board - User’s Guide Page 15 5 Further Information The datasheet of the LCD can be downloaded on the support page (requires registering of product serial key on Embedded Artists’ web site). Always check for the latest information/version on the support page.