
User`s manual

Installation
Page 3-4
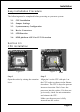
Figure 3
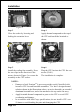
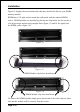
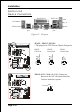
Step 4
Apply thermal compound to the top of
the CPU and install the heatsink as
shown.
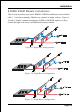
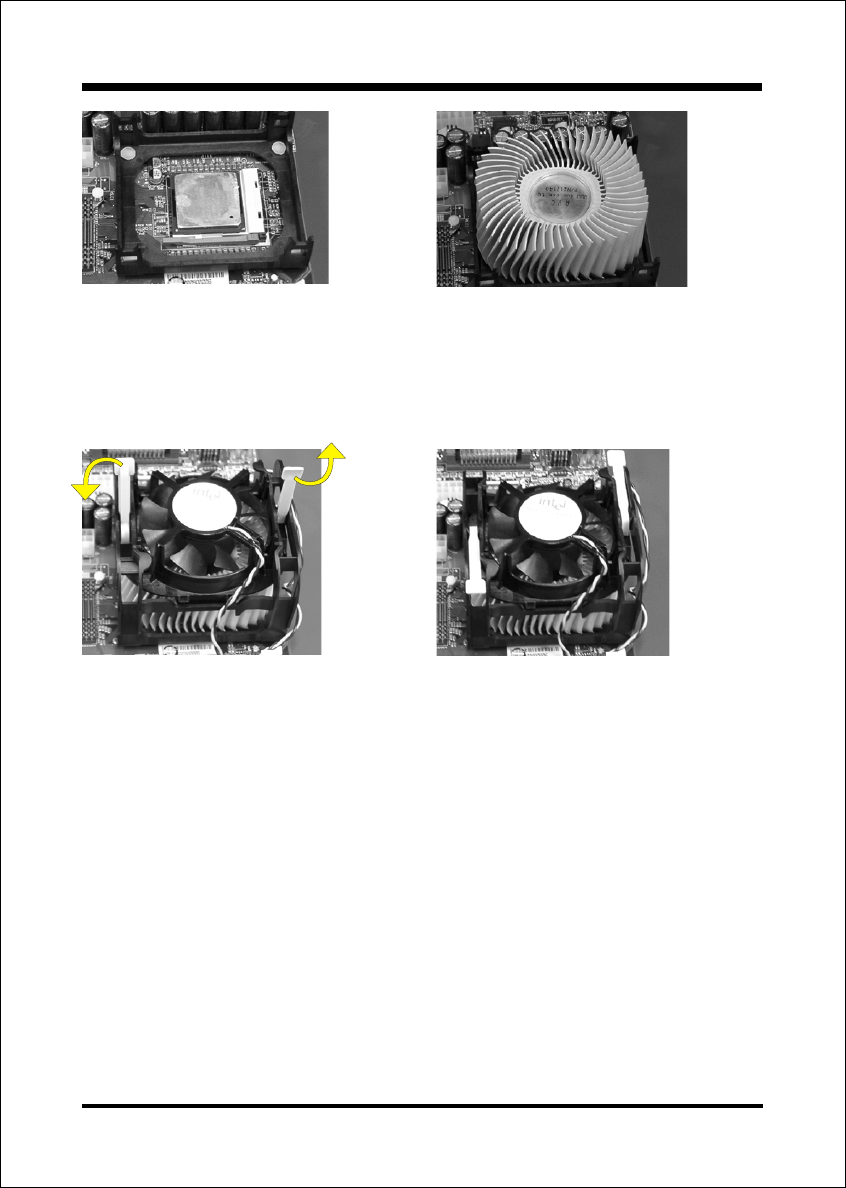
Step 5
Install the cooling fan assembly. Press
the two clips in the direction of the
arrows shown in Figure 5 to secure the
assembly to the CPU socket.
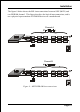
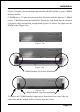
Step 6
Plug the CPU fan into the CPU fan con-
nector (FAN1).
The installation is complete.
Figure 4
Figure 5
Figure 6
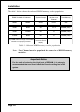
NOTES:
Damage to Intel Pentium
TM
4 processors might result if installed with
incorrect CPU fan and heatsink assemblies. Use Intels design thermal
solution shown in the illustrations above: an active heatsink; an extruded
aluminum heatsink base; and a fan attached to the top on the fin array.
Apply heatsink thermal compound or paste to the CPU to avoid CPU
overheating and damage.
In accordance with Intel Corp. specifications, do not install a CPU over
50 times to avoid bending the pins and damaging the CPU.
Step 3
Close the socket by lowering and
locking the actuation lever.