
user manual


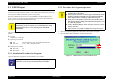
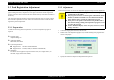
Table Of Contents
- EPSON EPL-6200/EPL-6200L
- Contents
- Product Description
- 1.1 Outline
- 1.2 Basic Specifications
- 1.2.1 Process Specifications
- 1.2.2 Printer Basic Specifications
- 1.2.3 Paper Specification
- 1.2.4 Reliability, Durability, Serviceability
- 1.2.5 Operating Conditions (Including Consumables)
- 1.2.6 Storage and Transport of the Printer Main Unit and Optional Products (Consumables Packaged)
- 1.2.7 Electrical Features
- 1.2.8 Compliance with Standards and Regulations
- 1.2.9 Consumable Components
- 1.3 External Appearance and Parts Name
- 1.4 Controller Specification
- 1.5 Control Panel (EPL-6200)
- 1.6 Control Panel (EPL-6200L)
- 1.7 RAM Expansion
- 1.8 System Requirements (Only for EPL-6200L)
- 1.9 Paper Feed Specifications (Only for EPL-6200L)
- 1.10 Notes on Operation
- 1.11 Status Sheet
- 1.12 Ambient Conditions
- 1.13 Differences in Specifications between Intended Markets
- 1.14 Notes on Installation of Optional Units
- Operating Principles
- 2.1 Overview
- 2.2 Description of Mechanisms
- 2.3 Operating Principles of Electric Circuitry
- Troubleshooting
- 3.1 Overview
- 3.2 Troubleshooting When There is Error Display
- 3.2.1 Fuser warming up problem
- 3.2.2 Fan problem
- 3.2.3 Polygon Motor Error
- 3.2.4 Laser problem
- 3.2.5 High voltage circuit problem
- 3.2.6 Fuser high temperature problem
- 3.2.7 CPU Error
- 3.2.8 Engine Communication Error
- 3.2.9 Fuser low temperature problem
- 3.2.10 Standard RAM Error
- 3.2.11 RAM Error (Slot 0)
- 3.2.12 ROM Checksum Error (Font)
- 3.2.13 ROM Checksum Error (Program)
- 3.2.14 Option ROM Error
- 3.2.15 EEPROM Error
- 3.2.16 Engine Initialization Error
- 3.2.17 Other Hardware Error
- 3.2.18 Software Error
- 3.3 Troubleshooting for Paper Jam
- 3.4 Troubleshooting for Abnormal Operations
- 3.5 Troubleshooting for Electrical Parts
- 3.6 Troubleshooting for Print Quality Problems
- Disassembly and Assembly
- Adjustment
- Maintenance
- Appendix
EPSON EPL-6200/EPL-6200L Revision A
Adjustment USB ID Input 167
5.2 USB ID Input
EPL-6200/EPL-6200L comes with the USB interface as standard, and the PC
connected to the EPL-6200/EPL-6200L via the USB interface identifies the printer by
referring to the USB ID information specific to each printer.
Since this USB ID information is stored on EEPROM on the MAIN Board of the
printer, you have to re-define the ID information by the procedure described below
when you have replaced the MAIN Board for repair.
The program for USB ID input and the supported operating environment are as
follows:
Program
PagePrinter_Ver10E.exe
Operating environment
OS: Win95 OSR2.0 or later / Win98/WinMe/2000/XP
Port used: LPT1 ~ LPT3 (Windows95/98)
Model specific number
EPL-6200: 24
EPL-6200L: 23
5.2.1 Installation Procedure for Program
Copy the adjustment program file onto the desktop or into a folder.
5.2.2 Procedure for Program Operation
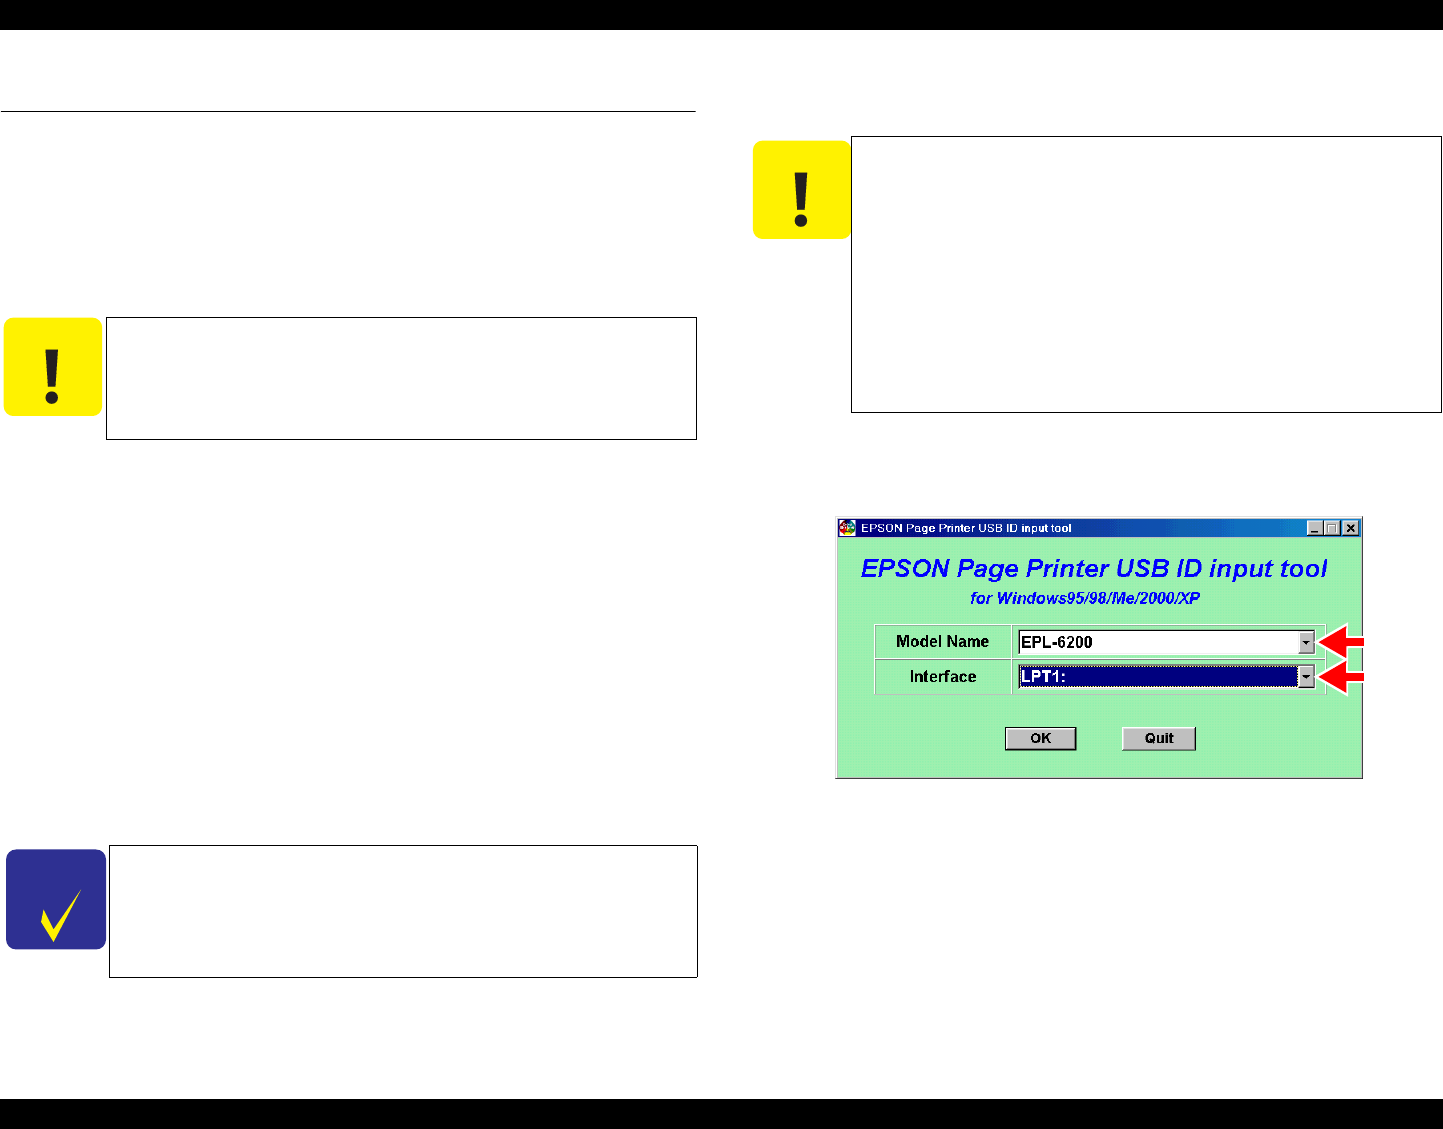
1. When you execute the program, the menu window shown below will appear.
2. Select the model name and interface, and click the OK button.
Figure 5-1. Model Select Screen (Start Initial Screen)
C A U T I O N
When you repair the printer and re-define the USB ID
information, you have to tell the user to uninstall the previously
installed printer driver as it is referring to the old USB ID
information.
C H E C K
P O I N T
The program does not run only with “PagePrinter_Ver11J.exe”.
Therefore, be sure to copy also the files in the same holder.
C A U T I O N
Do not start the adjustment program before connecting the
parallel cable to the printer.
This program can not be executed together with EPSON Status
Monitor on Windows 95/98. Be sure to terminate the EPSON
Status Monitor before starting the adjustment program.
If the power to the printer is turned off or the parallel cable is
disconnected during running of the adjustment program, be sure
to restart the program.
On the “Details of Display” tab of “Property of Screen”, do not
change “font size.”
Once you have set or input a USB ID, never forget to verify it.