
Printer User Manual
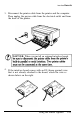
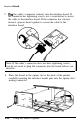
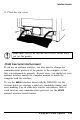
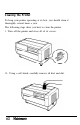
Table Of Contents
- ADDENDUM
- FRONT MATTER
- TABLE OF CONTENTS
- ABOUT THIS MANUAL
- INTRODUCTION
- CHAP 1-SETTING UP THE PRINTER
- CHAP 2-PAPER HANDLING
- CHAP 3-USING THE PRINTER
- CHAP 4-SOFTWARE AND GRAPHICS
- CHAP 5-USING THE PRINTER OPTIONS
- CHAP 6-MAINTENANCE
- CHAP 7-TROUBLESHOOTING
- CHAP 8-TECHNICAL SPECIFICATIONS
- CHAP 9-COMMAND SUMMARY
- APPENDIX
- INDEX
- QUICK REFERENCE
Interface
Boards
5.
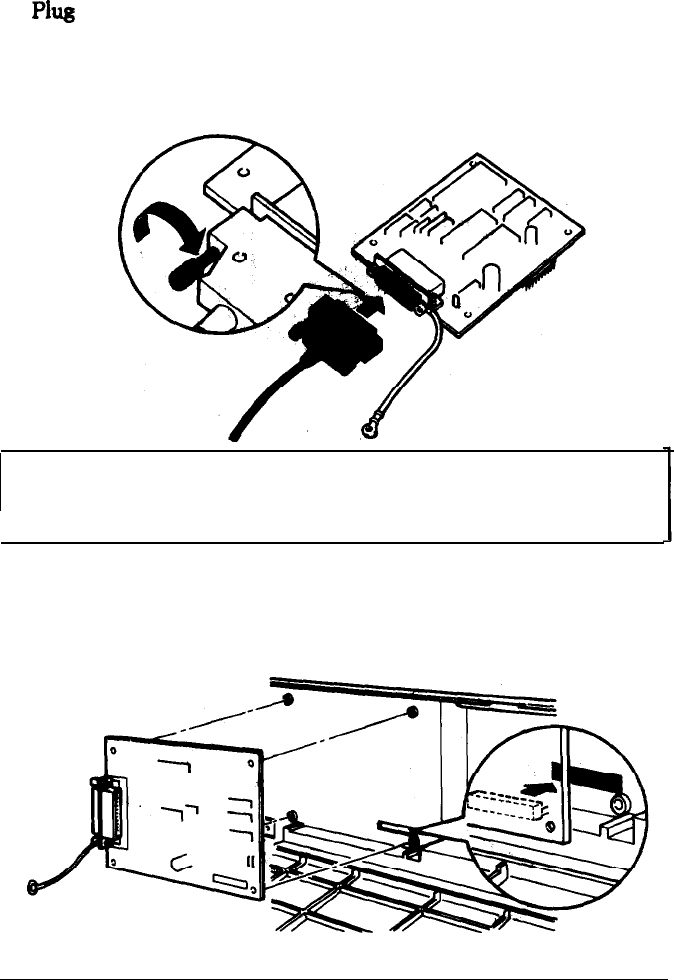
Plug
the cable’s connector securely into the interface board. If
the connector has tightening screws, use a screwdriver to secure
the cable to the interface board. If the connector has
clamps
instead, squeeze them together to secure the cable to the
interface board.
Note: If the cable’s connector does not have tightening screws,
you do not need to plug the connector into the board before you
install it.
6..
Place the board in the option slot at the back of the printer,
carefully inserting the interface boards pins into the option slot’s
mating connector.
5-36
Using the Printer Options