
User`s guide
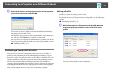
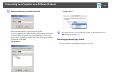
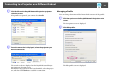

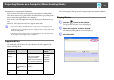
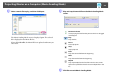
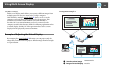
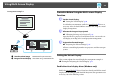
Table Of Contents
- Front
- Contents
- About EasyMP Network Projection
- Connecting the Computer and Projector
- Various Projection Styles
- Appendix
Connecting to a Projector on a Different Subnet
21
B Enter the IP address or the projector name for the projector
you want to connect to, and click OK.
The search results are displayed on the EasyMP Network Projec-
tion projector selection screen.
Provided the target projector has been identified, select that projec-
tor, and then click Connect to establish a connection.
Once you have saved projector information as a profile, you do not
have to specify the relevant details every time you perform a search.
s "Making a Profile" p.21
Performing a Search with a Profile
You can save a search for a frequently used projector as a profile. A
profile is a file containing all of the information pertaining to a given
projector, such as the projector name, its IP address, and SSID. You can
specify a profile to search for a projector instead of specifying relevant
details such as the IP address and projector name. For example, by
creating a group of profiles for each place where a projector is setup and
managing them with folders, the target projector can be found quickly.
This section explains how to create, edit, and manage a profile.
Making a Profile
Profiles are made by saving search results.
For details on how to edit a previously saved profile, see the following
section.
s "Managing a Profile" p.23
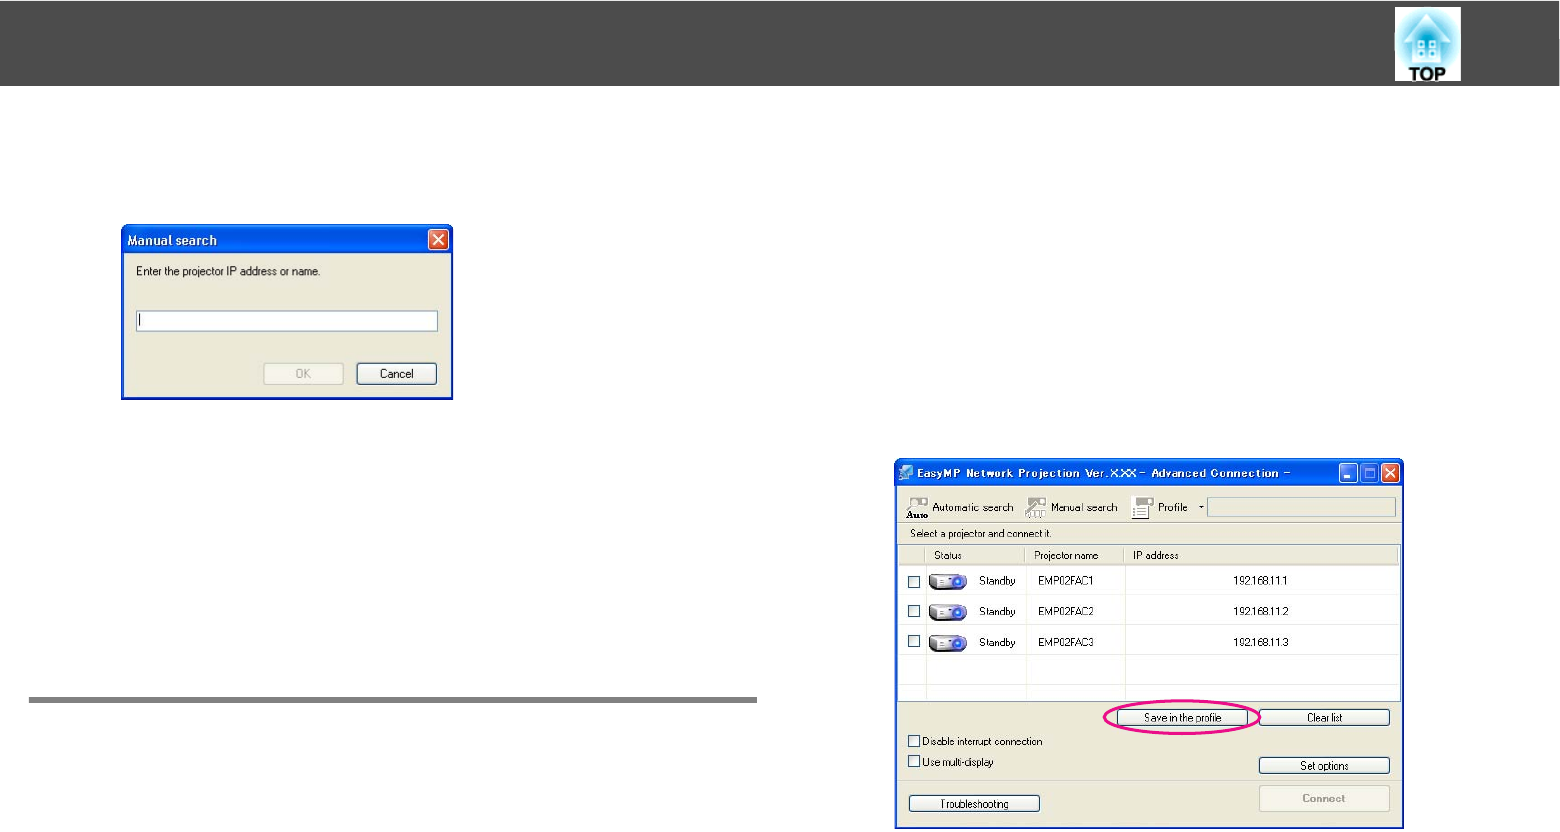
A While the projector is displayed on the EasyMP Network
Projection projector selection screen, click Save in the
profile.
The Save in the profile screen is displayed.