
Operation Manual
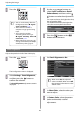
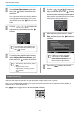

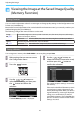

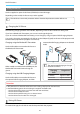
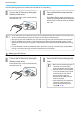
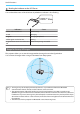
Table Of Contents
- Organization of the Guide and Notations in the Guide
- Contents
- Introduction
- Preparing
- Installing
- Connecting a Device
- Preparing the Remote Control
- Basic Operations
- Starting and Ending Projection
- Adjusting the Projected Screen
- Adjusting the Image
- Useful Functions
- Enjoying 3D Images
- Connecting with WirelessHD (EH-TW6600W Only)
- Using the HDMI Link Function
- Playing Back Image Data (Slideshow)
- Projecting Two Different Images Using Picture in Picture
- Configuration Menu
- Troubleshooting
- Maintenance
- Appendix
- Index
Adjusting the Image
41
f
Select Start Adjustments, and then
press the
button to confirm the
selection.
First, adjust the whole LCD display. When a
message appears prompting you to start
adjustments, press the
button to start
them.
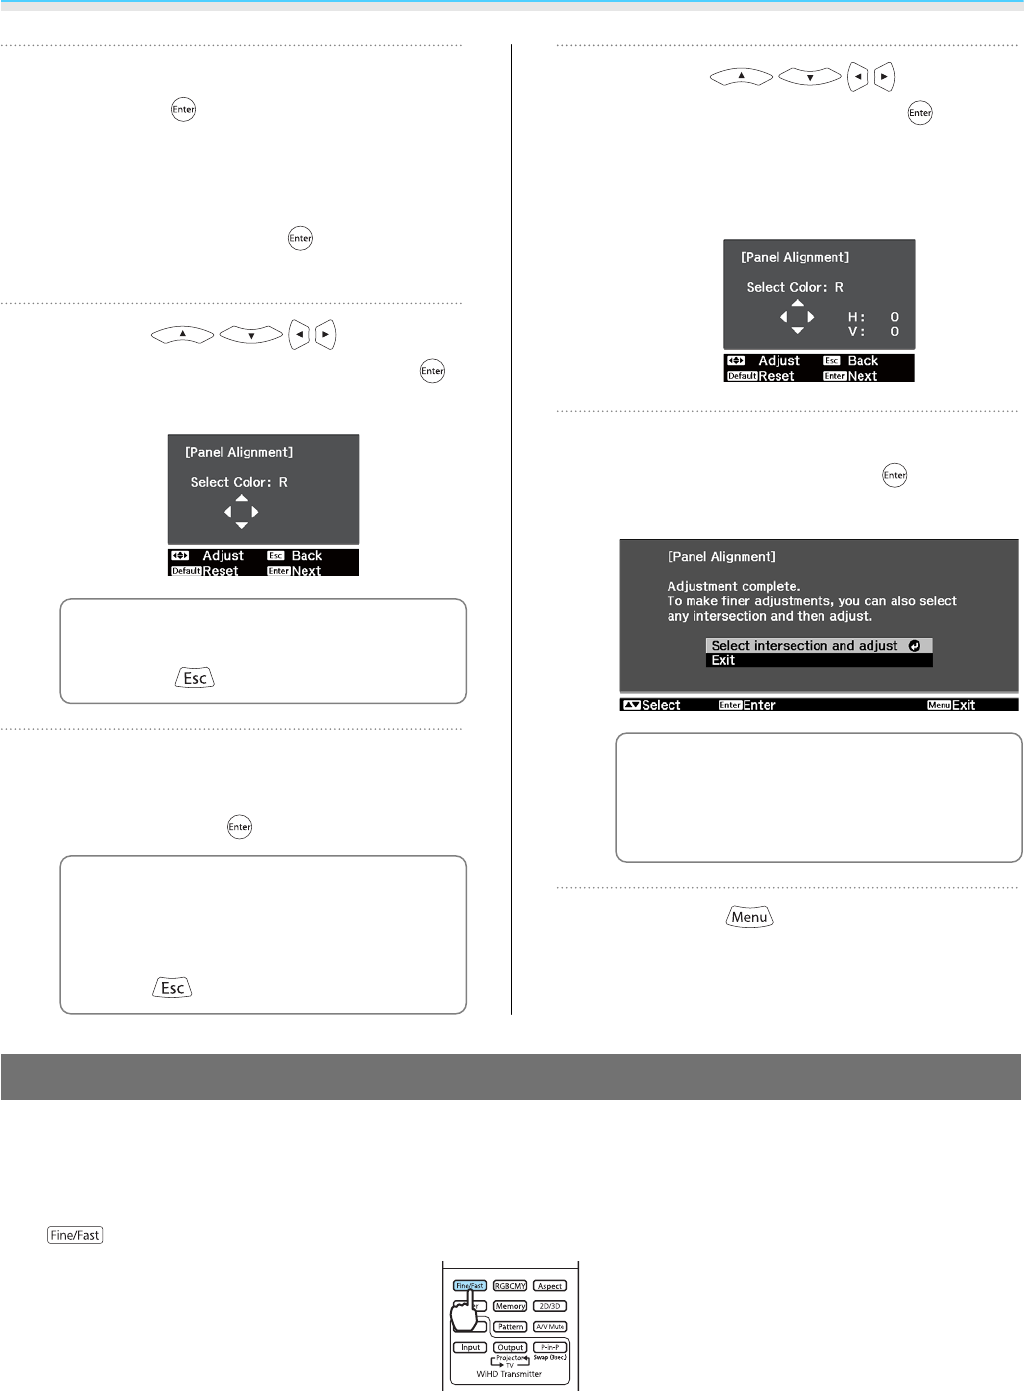
g
Use the buttons for
adjustments, and then press the
button.
c
To restore the values before the
start of whole adjustment, press
the
button.
h
To make more detailed adjustments,
select Adjust the four corners, and
then press the
button to confirm.
c
•
To finish the adjustments, select
Exit.
•
To return to the Start
Adjustments screen, press the
button.
i
Use the buttons to
adjust, and then press the
button
to move to the next adjustment point.
Adjustments are performed in four corners
starting from the top-left corner.
j
After adjusting four corners, select
Exit, and then press the
button to
confirm.
c
If the four corners still need
adjustments, select Select
intersection and adjust, and
then continue adjustments.
k
Press the button to exit the
menu.
Image Processing
Improves the response speed for images projected at high-speed, such as games.
This is only available when receiving a progressive signal input from the Component, Video, HDMI1, or
HDMI2 ports, or from WirelessHD.
The
button toggles the mode between Fine and Fast.