
Owner's Manual


Table Of Contents
- Contents
- Product Basics
- Selecting Wireless Network Settings From the Touch Panel
- Loading Paper
- Placing Originals on the Product
- Copying
- Printing From a Computer
- Printing with Windows
- Printing with Mac OS X
- Cancelling Printing Using a Product Button
- Scanning
- Starting a Scan
- Selecting EPSON Scan Settings
- Scanning with Mac OS X 10.6/10.7/10.8 Using Image Capture
- Scanning Special Projects
- Faxing
- Connecting a Telephone or Answering Machine
- Setting Up Fax Features
- Setting Up Fax Features Using the Product Control Panel
- Selecting Your Country or Region
- Selecting the Date and Time
- Entering Fax Header Information
- Entering Numbers and Characters for Faxing
- Selecting Fax Send and Receive Settings
- Selecting Fax Communication Settings
- Printing Fax Reports
- Restoring Default Fax Settings
- Fax Send Options
- Fax Receive Options
- Fax Communications Options
- Fax Report Options
- Restore Default Settings Options
- Setting Up Fax Features Using the Fax Utility - Windows
- Setting Up Fax Features Using the Fax Utility - Mac OS X
- Setting Up Fax Features Using the Product Control Panel
- Setting Up Speed Dial and Group Dial Lists
- Sending Faxes
- Receiving Faxes
- Using Memory Cards With Your Product
- Using an External Device with Your Product
- Printing Personalized Projects
- Replacing Ink Cartridges and Maintenance Boxes
- Adjusting Print Quality
- Cleaning and Transporting Your Product
- Solving Problems
- Checking for Software Updates
- Product Status Messages
- Running a Product Check
- Resetting Control Panel Defaults
- Solving Setup Problems
- Solving Network Problems
- Solving Copying Problems
- Solving Paper Problems
- Solving Problems Printing from a Computer
- Solving Page Layout and Content Problems
- Solving Print Quality Problems
- Solving Scanning Problems
- Solving Scanned Image Quality Problems
- Image Consists of a Few Dots Only
- Line of Dots Appears in All Scanned Images
- Straight Lines in an Image Appear Crooked
- Image is Distorted or Blurry
- Image Colors are Patchy at the Edges
- Image is Too Dark
- Back of Original Image Appears in Scanned Image
- Ripple Patterns Appear in an Image
- Scanned Image Colors Do Not Match Original Colors
- Scan Area is Not Adjustable in Thumbnail Preview
- Scanned Image Edges are Cropped
- Solving Faxing Problems
- Solving Memory Card Problems
- When to Uninstall Your Product Software
- Where to Get Help
- Technical Specifications
- Windows System Requirements
- Mac System Requirements
- Printing Specifications
- Scanning Specifications
- Automatic Document Feeder (ADF) Specifications
- Fax Specifications
- Paper Specifications
- Printable Area Specifications
- Ink Cartridge Specifications
- Dimension Specifications
- Electrical Specifications
- Environmental Specifications
- Interface Specifications
- External USB Device Specifications
- Memory Card Specifications
- Network Interface Specifications
- Safety and Approvals Specifications
- Notices
8. Clean the outer case and control panel with a soft, dry cloth. Do not use liquid or chemical cleansers.
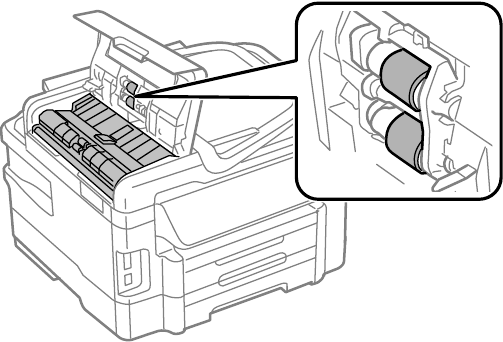
Parent topic: Cleaning and Transporting Your Product
Transporting Your Product
If you need to ship your product or transport it a long distance, prepare it for transportation as described
here.
Caution: During transportation and storage, follow these guidelines:
• Avoid tilting the product, placing it vertically, or turning it upside down; otherwise ink may leak.
• Leave the ink cartridges installed. Removing the cartridges can dry out the print head and may prevent
the product from printing.
1. Turn off the product.
2. Remove all the paper from the product.
3. Unplug the power cable.
4. Disconnect any connected cables.
5. Close the rear paper feed slot and output tray.
6. Place the product in its original packing materials, if possible, or use equivalent materials with
cushioning around the product. Make sure the box adequately protects the product control panel.
264