
All in One Printer User Manual
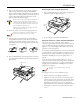
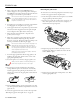
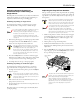
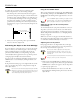
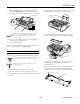
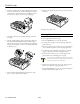
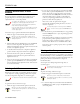
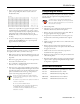
Table Of Contents
- USER REPLACEABLE PARTS
- OPTIONS
- PRINTER SPECIFICATIONS
- CONTROL PANEL BUTTONS AND LIGHTS
- ERROR INDICATORS
- STATUS MONITOR
- PAPER POSITIONS
- AVAILABLE PAPER PATHS
- PAPER RELEASE LEVER POSITIONS
- PAPER THICKNESS LEVER POSITIONS
- PAPER HANDLING
- Loading Multipart Forms
- Loading Continuous Paper with Labels
- Using the Front Push Tractor
- Using the Rear Push Tractor
- Using the Tractor in the Pull Position
- Switching Between Printing on Continuous Paper and Printing on Single Sheets
- Adjusting the Top- of- Form Position
- Advancing the Paper to the Tear-Off Edge
- REPLACING THE RIBBON CARTRIDGE
- CLEARING PAPER JAMS
- YOUR PRINTER'S DEFAULT SETTINGS
- ALIGNING VERTICAL LINES IN YOUR PRINTOUT
- PRINTING A SELF TEST
- PRINTING A HEX DUMP
- CLEANING THE PRINTER
- TRANSPORTING THE PRINTER
- RELATED DOCUMENTATION
EPSON FX-980
24 -
EPSON FX-980
4/99
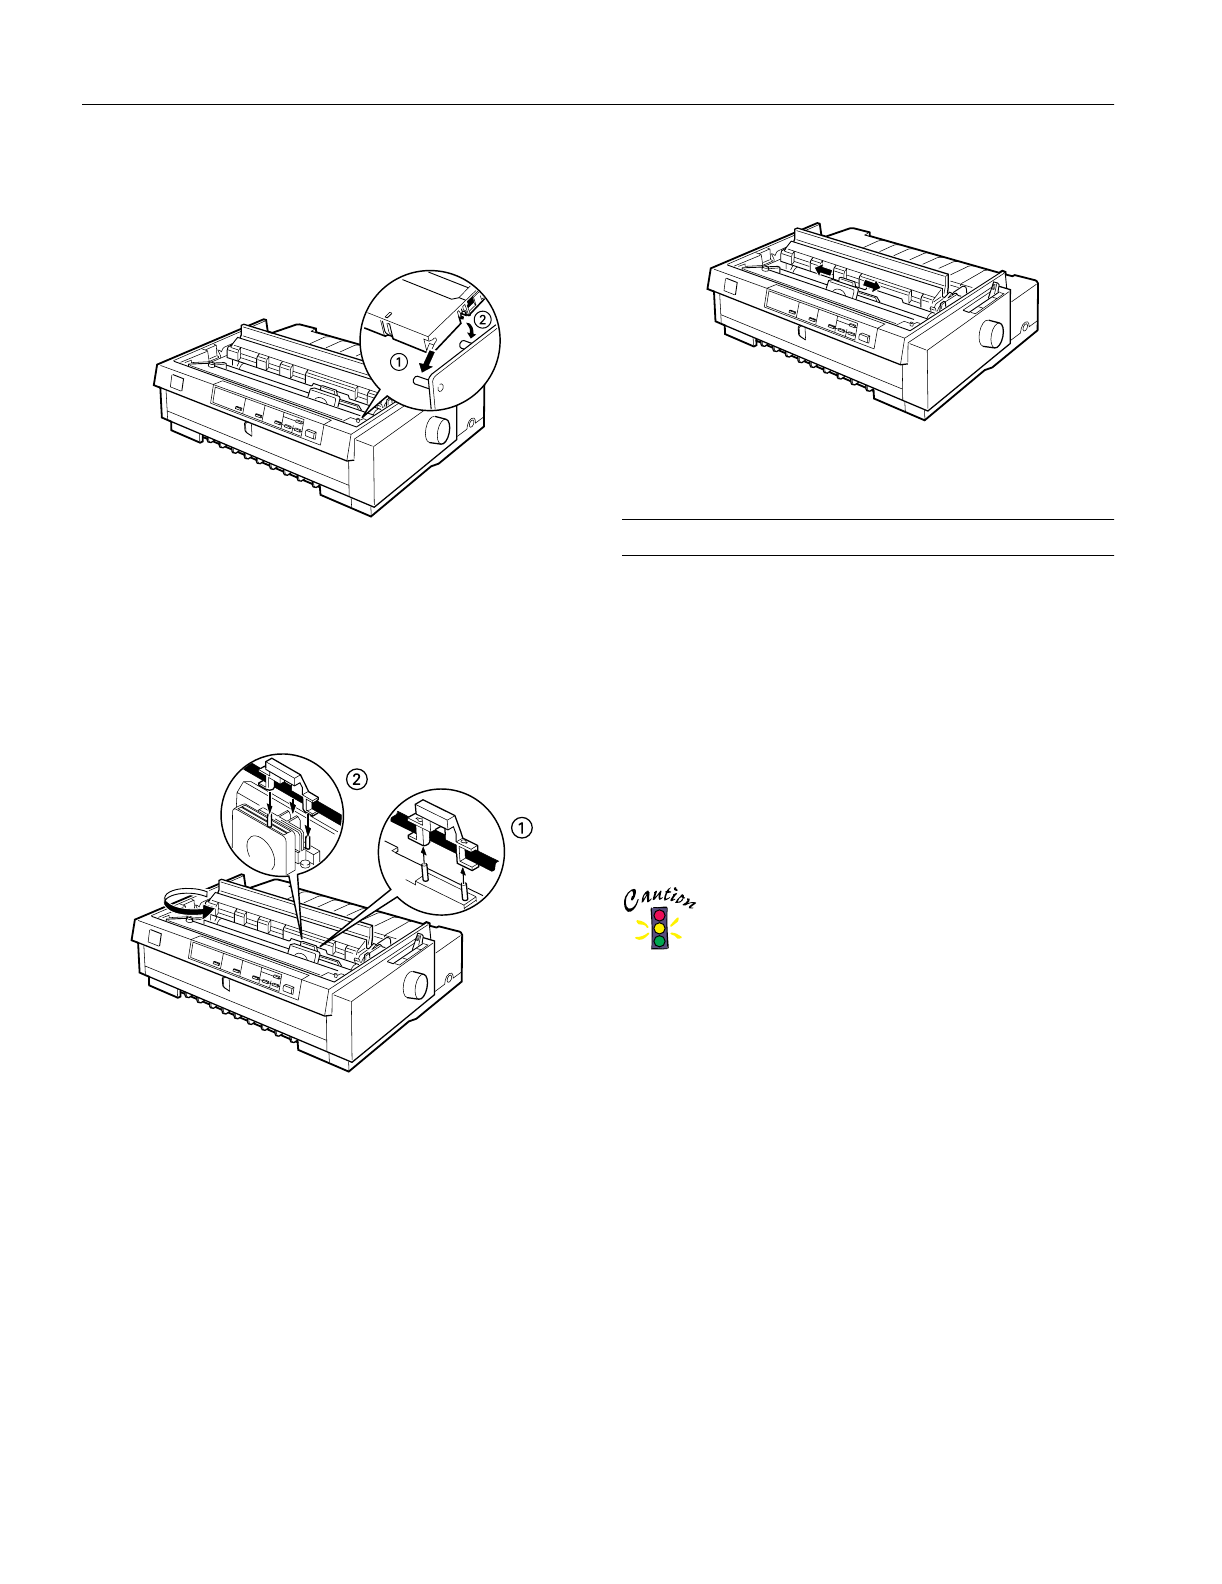
6. Hold the cartridge with the ribbon tightening knob up. Fit
the two front notches (➀) over the small pegs on each side
of the printer as shown. Then lay the cartridge flat so that
the rear notches (➁) fit over the corresponding pegs.
7. Gently press down on the cartridge until both ends click
into place.
8. Lift the cartridge ribbon guide (➀) and insert it firmly over
the metal pins behind the print head (➁). Make sure the
ribbon is not twisted or creased and that it is placed behind
the print head. Then press down on the ribbon guide until
it clicks into place.
9. Turn the ribbon-tightening knob in the direction of the
arrow to remove any slack in the ribbon.
10. Slide the print head from side to side to make sure it moves
smoothly.
11. Replace the printer cover.
Clearing Paper Jams
To clear a paper jam, follow these steps:
1. Press the
Operate button to turn off the printer.
2. If a single sheet of paper is stuck on the paper guide base,
gently remove it.
3. Remove the printer cover. If continuous paper from the rear
slot is loaded in the printer, remove the paper guide base.
4. If continuous paper is jammed in the printer, tear off the
supply at the perforation nearest the paper entry slot.
5. Turn the knob away from you to eject the paper in the
printer. Remove any remaining pieces of paper.
Use the knob to clear paper jams only when the printer
is turned off; otherwise, you may damage the printer or
lose the top-of-form or tear-off position.
6. Replace the paper guide base, if necessary, and replace the
printer cover. Then close the paper guide cover.
7. Press the
Operate button to turn on the printer. Make sure
the Paper Out and Pause lights are off.