
Service manual
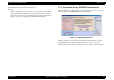


Table Of Contents
- EPSON Stylus CX3100/3200
- PRODUCT DESCRIPTION
- Operating Principles
- Troubleshooting
- Disassembly and Assembly
- Adjustment
- 5.1 Overview
- 5.2 Adjustment by Adjustment Program
- 5.2.1 Adjustment Program Installation
- 5.2.2 Adjustment Program Start
- 5.2.3 Destination Setting (EEPROM Initialization)
- 5.2.4 Head ID Input
- 5.2.5 Bi-D Adjustment
- 5.2.6 USB ID Input
- 5.2.7 Top Margin Adjustment
- 5.2.8 First Dot Position Adjustment
- 5.2.9 Head Cleaning
- 5.2.10 Ink Charge
- 5.2.11 Protection Counter
- 5.2.12 EEPROM Data Backup
- 5.2.13 Check Pattern Printing
- 5.2.14 EEPROM Data
- 5.3 Firmware Uploading
- Maintenance
- Appendix
EPSON Stylus CX3100/3200 Revision A
Adjustment Adjustment by Adjustment Program 69
5.2.11 Protection Counter
This counter controls total ink eject volume and displays error status if the volume
exceeds the set value, displaying the waste ink overflow indication (printer error
indication and Error LED blinking.). By selecting this item, you can check or clear the
protection counter.
This operation is necessary after the following work.
Waste Ink Porous Pad replacement
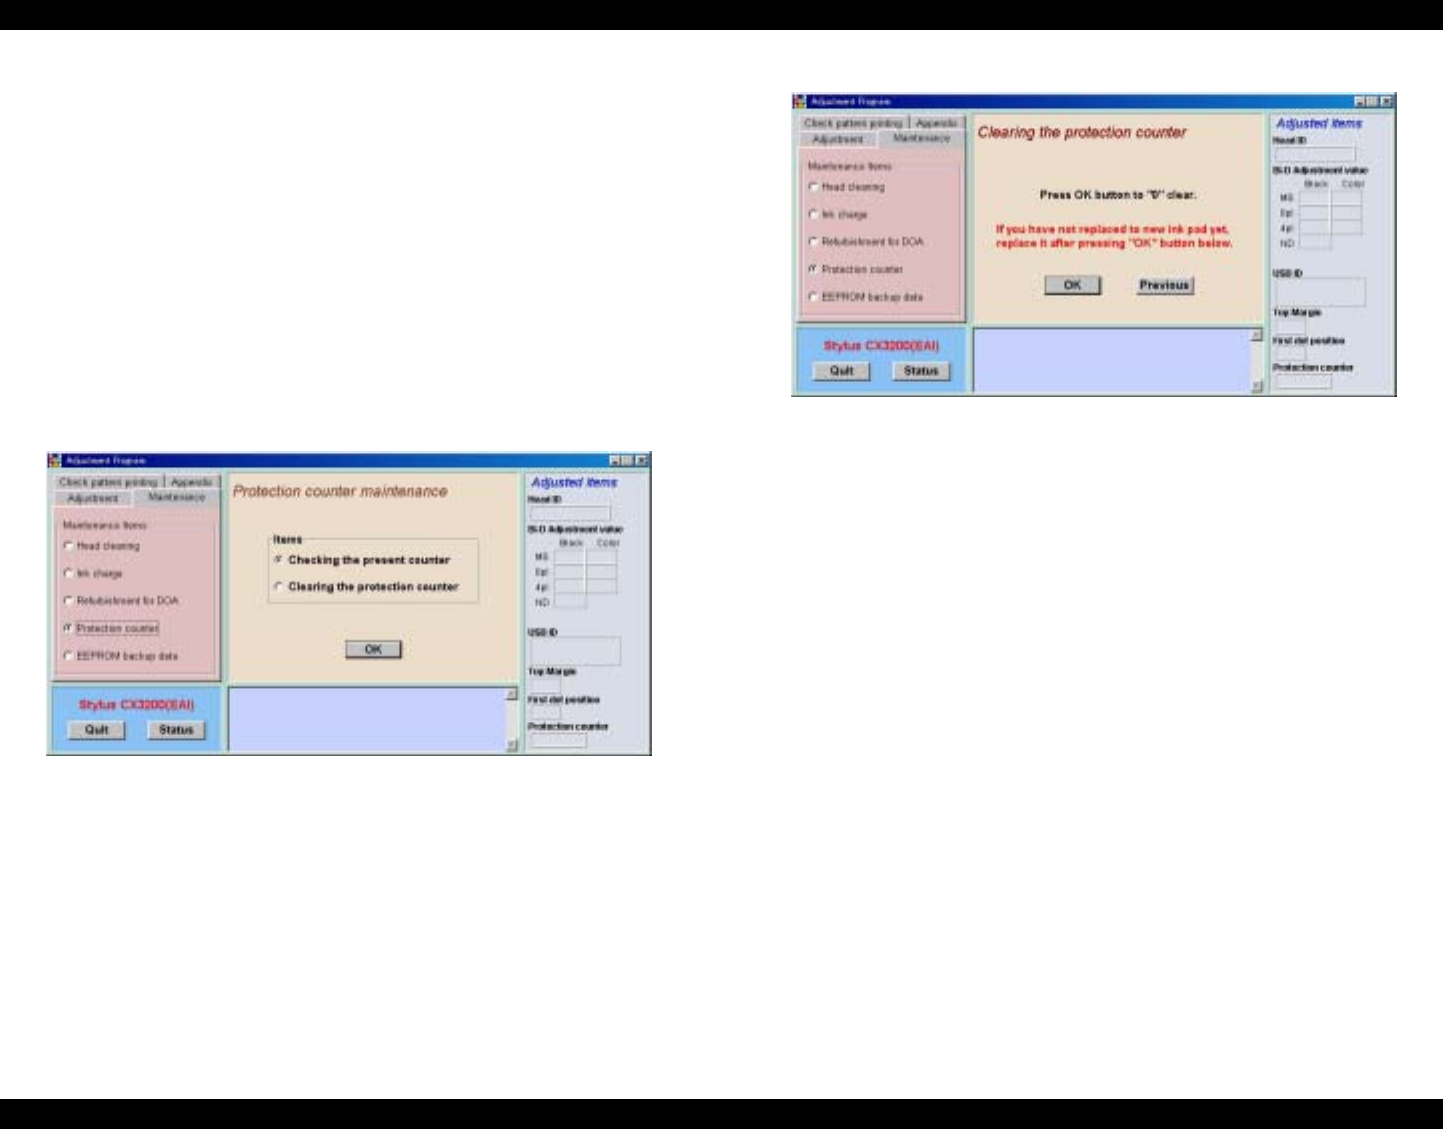
Click the item to be executed and click the [OK] button.
When you select “Checking the present counter” on the screen as shown in Figure
5-14 and click the [OK] button, the count value will be indicated at the lower center of
the screen.
Figure 5-14. Protection Counter Reading
When you select “Clearing the protection counter”, the screen as shown in Figure 5-15
is displayed. Click the [OK] button to clear the protection counter.
Figure 5-15. Clearing the Protection Counter