
Installation Instructions

R4C725/726 Setup Guide
Rev.E
A5 size SETUP.FM
12/4/00
R
Proof Sign-off:
K.Gazan CRE Tsukada
N.Nomoto
Lipsett
For printers connected via the USB cable, the USB device driver
installation starts automatically at this point. When a message appears
asking you to restart your computer, do so.
If you are a Windows 2000 user and using parallel cable, click the Stop
Search button when the USB device driver installation starts, then
follow the on-screen instructions.
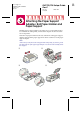
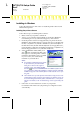
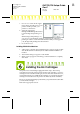
6. After turning on the printer, the Setup
utility opens automatically.
Follow the on-screen instructions to install
the ink cartridges, check the print head
nozzles, and clean the print head. When a
message appears informing you that the
setup is complete, click OK.
Note:
If the Setup utility does not start, proceed to section to install the ink
cartridges using the printer’s control panel.
7. When a message appears informing you that the installation is
complete, click OK.
Note:
If an error message appears, either the printer software or the EPSON USB
printer device driver is not installed correctly. See "Troubleshooting" in the
Daily Use guide for details.
Installing EPSON PhotoQuicker
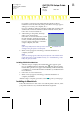
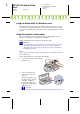
1. After the setup is complete, the installer dialog box appears again.
Choose Install EPSON PhotoQuicker, click , then click OK. (If the
installer dialog box does not appear automatically, double-click the My
Computer icon, and double-click the CD-ROM icon, and then EPSON
PhotoQuicker.)
2. Follow the on-screen instructions.
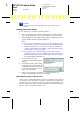
3. When a message appears informing you that the installation is
complete, click Finish.
After the setup is complete, proceed to section to print your first page.
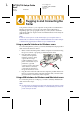
Installing in Macintosh
Follow the instructions in this section to install the printer software, select
your printer in the Chooser, and install EPSON PhotoQuicker.