
Printer User Manual
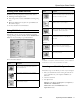
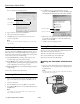
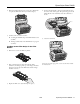

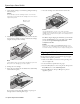
Table Of Contents
- Epson Stylus Photo RX600 Parts
- Accessories
- Specifications
- Loading Paper
- Placing the Original Document
- Copying Without a Computer
- Viewing Photos from a Memory Card
- Printing From a Memory Card
- Printing From Other Devices
- Using EPSON Smart Panel
- Scanning to a File With Epson Scan
- Scanning From a Program
- Scanning With the Scan Button
- Placing Film or Slides on the Scanner
- Cleaning the Print Head
- Replacing Ink Cartridges
- Aligning the Print Head
- Transporting the RX600
- Related Documentation
Epson Stylus Photo RX600
2/04 Epson Stylus Photo RX600 - 13
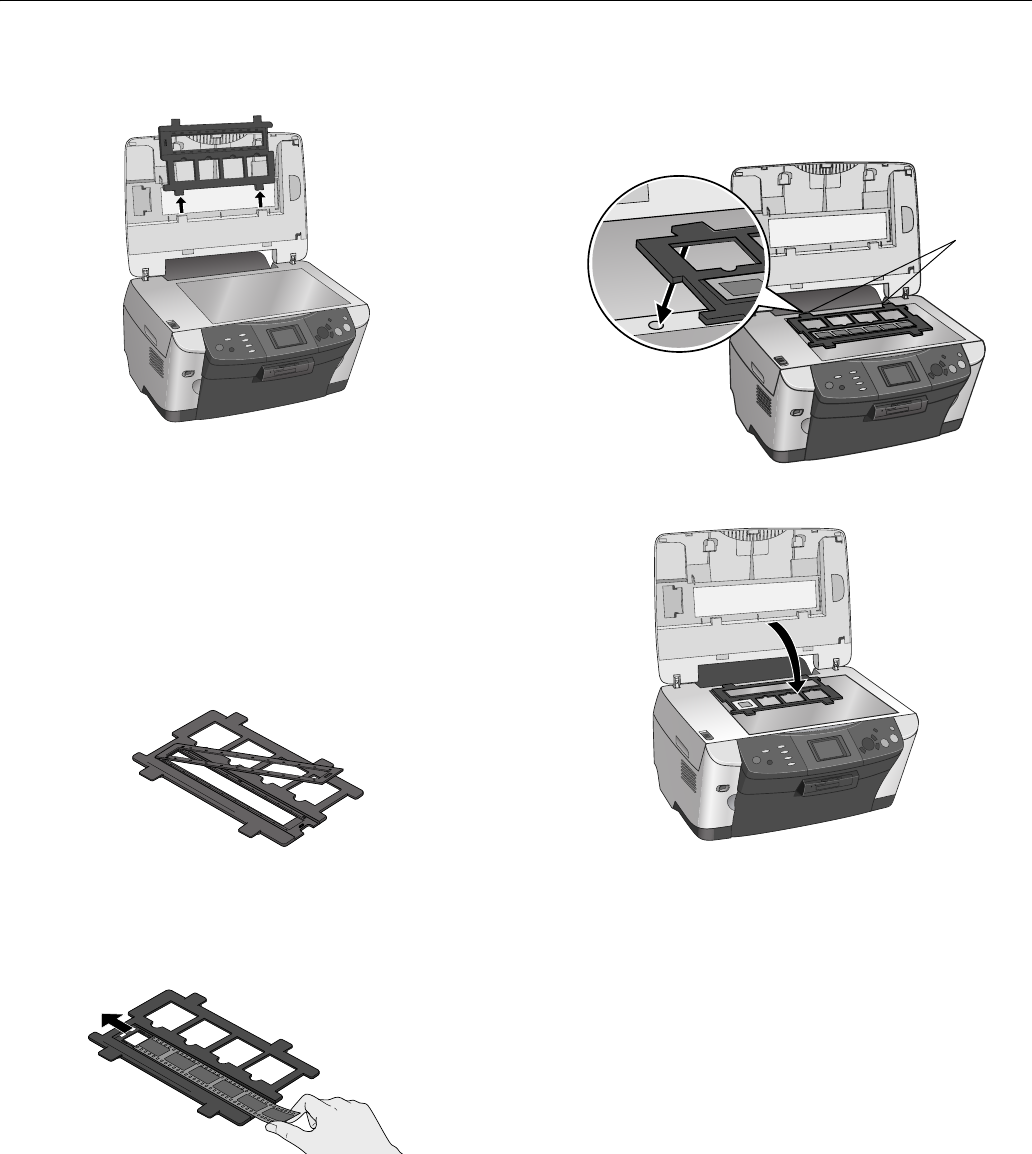
2. Remove the film holder from its storage place. (Remember
to replace the film holder when you’re done using it.)
3. Continue with one of these sections:
❏ “Loading 35 mm Film Strips in the Film Holder” below
(for film)
❏ “Placing 35 mm Slides on the Film Holder” on page 14
(for slides)
Loading 35 mm Film Strips in the Film
Holder
1. Remove the cover for the film strip holder.
2. Slide your film strip into the holder with the duller
(emulsion) side facing up. The top of the images should be
facing the outside edge of the film holder and the images
should be reversed.
3. Replace the film cover. (It should snap into place.)
4. Position the film holder so that the 35 mm film strip faces
the center of the scanner glass. The positioning posts on the
film holder fit in two small holes near the scanner lid, as
shown.
5. Close the scanner lid.
Now you are ready copy, print, or scan. See the User’s Guide
for instructions.
Holes