
Basic Operation Guide Printer RX700


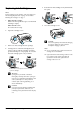
Table Of Contents
- Safety Instructions
- Using the Control Panel
- Basic Copying
- Copying on CD/DVD
- Printing Directly from a Memory Card - Basic Printing
- Printing Directly from a Memory Card - Printing Options
- Printing a Single Photo
- Printing Multiple Photos onto One Sheet
- Printing Enlarged Images
- Printing Photo Stickers
- Printing on CD/DVD
- Printing a CD Jacket
- Printing on EPSON Iron-On Cool Peel Transfer Paper
- Printing Using a Combo Printing Sheet
- Printing with DPOF Functions
- Printing with Photo Frames
- Changing Print Settings
- Printing from Film
- Scanning to a Memory Card
- Printing Directly from a Digital Camera
- Printing Directly from an External Device
- Replacing Ink Cartridges
- Maintenance and Transporting
- Troubleshooting
- Customer Support
- Product Specifications
- Summary of Panel Settings
- Index
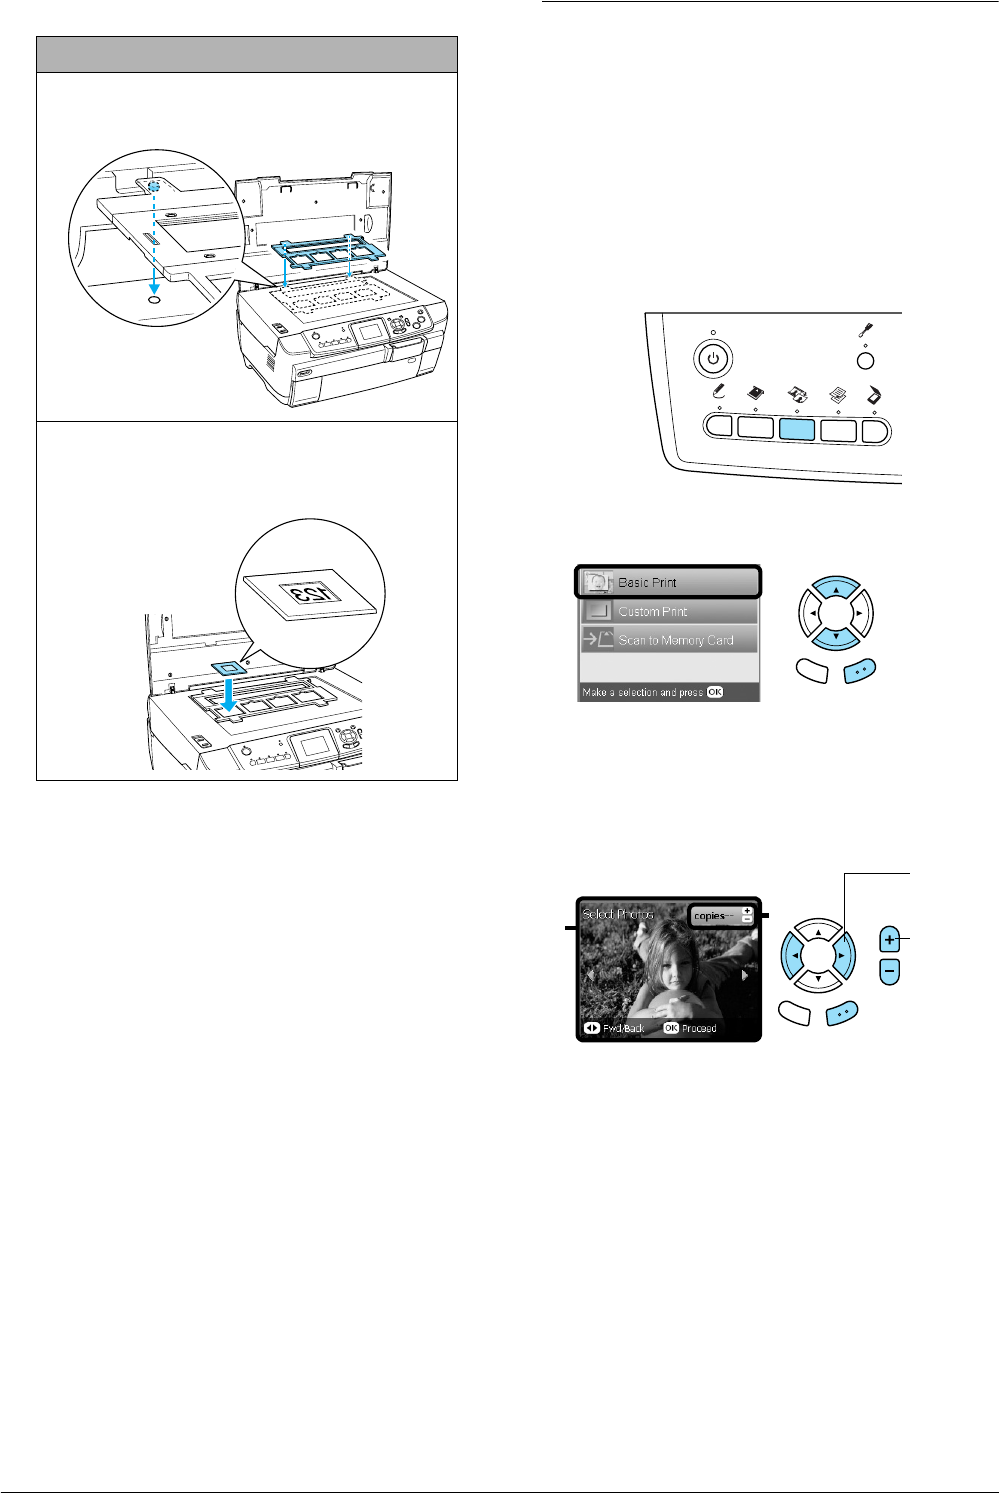
32 Printing from Film
Note:
❏ There is a possibility that a film may not be
readable due to the difference of the pitch width
within 6 frames.
❏ Do not press the glass of the document table with
too much force.
4. Close the document cover completely.
Note:
❏ A newton ring (ring-shaped stripes pattern) may
appear in the scanned image. To remove the newton
ring, set the film with the base side facing up. See the
User’s Guide for detail.
❏ When you are not using the film holder, you can store
it inside the document cover. See “Storing the Film
Holder” on page 34 for details.
Printing Basics to10 x 15 cm
Paper
You can print photos to 10 × 15 cm (4 × 6 in) paper
without altering any settings.
1. Load and set film on the document table.
& See “Loading and Setting Film on the
Document Table” on page 31
2. Press the Film button.
3. Select Basic Print.
4. Select the film type.
& See “Selecting the Film Type” on page 34
5. Select the desired photo and set the number of
prints.
6. Load appropriate paper.
& See
“Loading Paper” on page 5
7. Press the x Color or x B&W button to start
printing.
Note:
If you need to stop printing, press the y Stop button.
35 mm slides
1 Place the film holder on the document table with
the side where the slides will be placed facing
toward you.
2 Set the slides into the film holder with the base side
facing down. The base side of the film is the side
where the film maker's name and film ID numbers
can be read correctly.
Top
Bottom
Back OK
Back OK
1
2
2. Set the
number
of prints.
1. Select
the desired
photo.