
Installation Instructions
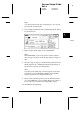


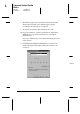

8. From the Paper Source list, select the paper source where
you loaded the paper you want to use. Your printer has a
paper tray, front and rear manual feed slots, and an
optional lower paper tray.
9. Select the size of the paper you will print on from the Paper
Size list. If you don’t see your paper size in the list, use the
arrow on the right to scroll through the list.
Note:
If your paper size is not included in the list, select
User Defined
and enter the paper size in the dialog box that appears. You can
name and save your custom paper setting for repeated use. For
information on the User Defined setting, see online help.
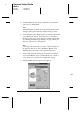
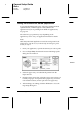
10. Make the Orientation setting. The effect of your setting is
shown in the display to the left.
11. Click
OK
at the bottom of the window. You return to the
Print dialog box (or a similar dialog box).
12. Click
Close
,
OK
, or
Print
to print. You may need to click a
combination of these buttons.
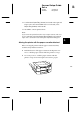
While the printer is printing your document, the EPSON
Despooler dialog box (Windows 3.1) or the EPSON Progress
Meter (Windows 95) appears, showing the printing progress
and the status of your printer. If you print from Windows 95
and have installed the Status Monitor 2 utility, you can obtain
more detailed information through the Status Monitor.
See the
Reference Guide
and online help for detailed information
on printer driver settings, the EPSON Despooler, the EPSON
Progress Meter, and the Status Monitor.
3
R
Keywest Setup Guide
Rev.c
A5 size Chapter 3
10-09-97 DR, pass 2
Starting to Print
3-11