Printer User Guide
Table Of Contents
- Front Matter
- Contents
- Introduction
- Chap 1-Setting Up the Printer
- Unpacking and Assembling the Epson Stylus Pro 7800
- Unpacking and Assembling the Epson Stylus Pro 9800
- Connecting the Power Cord
- Installing Ink
- Connecting to Your System
- Connecting to the Network
- Installing the Software for Macintosh
- Installing the Software for Windows
- Updating Your Printer Firmware
- Configuring the Printer for Your Network
- Chap 2-Handling Paper and Other Media
- Chap 3-Printing with Epson Drivers for Macintosh
- Chap 4-Printing with Epson Drivers for Windows
- Chap 5-Maintaining and Transporting the Printer
- Checking Printer Status and Part Life
- Checking and Cleaning the Print Head
- Aligning the Print Head
- Replacing Ink Cartridges
- Switching Black Ink Cartridges
- Changing the Date and Time
- Using Maintenance Mode
- Replacing the Paper Cutter Blade
- Replacing the Maintenance Tank
- Cleaning the Printer
- Transporting or Storing the Printer
- Chap 6-Solving Problems
- Appendix A: Specifications
- Index

5-141
Maintaining and Transporting the Printer | 141
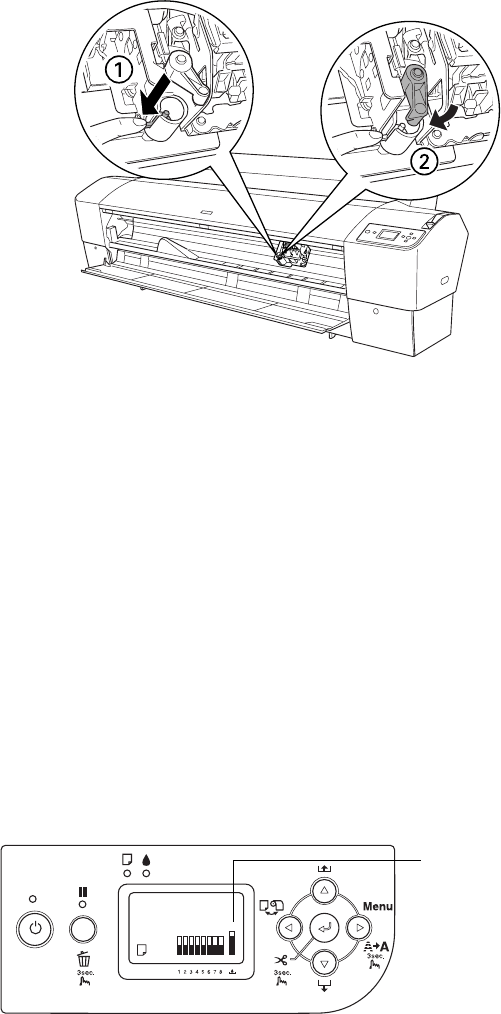
2. Push down on the side pin while turning the latch to the left.
3. Close the front cover when you see a message prompting you to do so.
The cutter moves to the home position and
READY appears on the
LCD display.
Replacing the Maintenance Tank
The maintenance tank stores ink that gets flushed from the system during
the initial ink charge and manual and automatic print head cleaning. When
the tank is almost full, the message
MAINTENANCE TANK NEAR FULL
appears on the LCD display. When the tank is completely full, the printer
stops working and
MAINTENANCE TANK FULL appears on the LCD.
You can check how much space remains in the maintenance tank by viewing
its indicator on the control panel, shown below. You can also check its status
using the menu (see page 121) or by printing a nozzle check sheet (see
page 124).
Maintenance tank
indicator
7800-9800Guide.book Page 141 Monday, April 10, 2006 11:59 AM


