
Printer User Guide
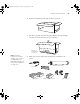
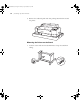
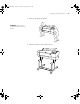
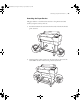

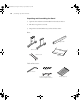
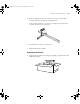
Table Of Contents
- Front Matter
- Contents
- Introduction
- Chap 1-Setting Up the Printer
- Unpacking and Assembling the Epson Stylus Pro 7800
- Unpacking and Assembling the Epson Stylus Pro 9800
- Connecting the Power Cord
- Installing Ink
- Connecting to Your System
- Connecting to the Network
- Installing the Software for Macintosh
- Installing the Software for Windows
- Updating Your Printer Firmware
- Configuring the Printer for Your Network
- Chap 2-Handling Paper and Other Media
- Chap 3-Printing with Epson Drivers for Macintosh
- Chap 4-Printing with Epson Drivers for Windows
- Chap 5-Maintaining and Transporting the Printer
- Checking Printer Status and Part Life
- Checking and Cleaning the Print Head
- Aligning the Print Head
- Replacing Ink Cartridges
- Switching Black Ink Cartridges
- Changing the Date and Time
- Using Maintenance Mode
- Replacing the Paper Cutter Blade
- Replacing the Maintenance Tank
- Cleaning the Printer
- Transporting or Storing the Printer
- Chap 6-Solving Problems
- Appendix A: Specifications
- Index
1-29
Setting Up the Printer | 29
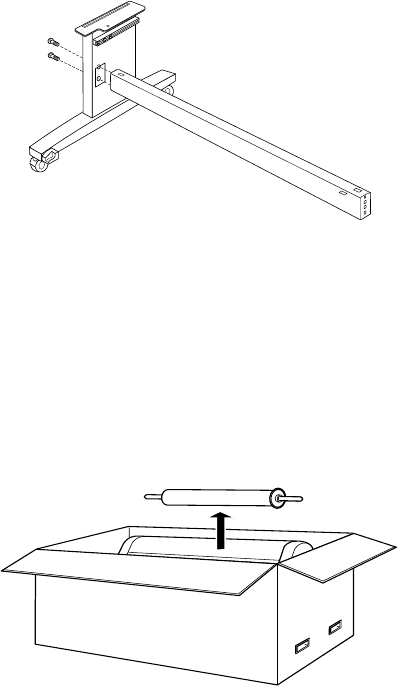
4. Insert the support bar into one of the base sections as shown. Then
attach it with two bolts using the included wrench.
Leave the bolts a little loose, so that you can adjust the position when
you insert the bolts at the other end.
5. Attach the base section to the other end.
6. Tighten all four bolts securely.
Unpacking the Printer
1. Open the box and remove the roll paper, spindle, polystyrene foam, and
cardboard cushions.
7800-9800Guide.book Page 29 Monday, April 10, 2006 11:59 AM