
Printer User Guide
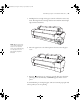
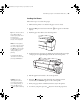
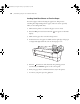
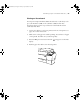
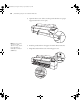
Table Of Contents
- Front Matter
- Contents
- Introduction
- Chap 1-Setting Up the Printer
- Unpacking and Assembling the Epson Stylus Pro 7800
- Unpacking and Assembling the Epson Stylus Pro 9800
- Connecting the Power Cord
- Installing Ink
- Connecting to Your System
- Connecting to the Network
- Installing the Software for Macintosh
- Installing the Software for Windows
- Updating Your Printer Firmware
- Configuring the Printer for Your Network
- Chap 2-Handling Paper and Other Media
- Chap 3-Printing with Epson Drivers for Macintosh
- Chap 4-Printing with Epson Drivers for Windows
- Chap 5-Maintaining and Transporting the Printer
- Checking Printer Status and Part Life
- Checking and Cleaning the Print Head
- Aligning the Print Head
- Replacing Ink Cartridges
- Switching Black Ink Cartridges
- Changing the Date and Time
- Using Maintenance Mode
- Replacing the Paper Cutter Blade
- Replacing the Maintenance Tank
- Cleaning the Printer
- Transporting or Storing the Printer
- Chap 6-Solving Problems
- Appendix A: Specifications
- Index
2-61
Handling Paper and Other Media | 61
7. Holding the bottom edge of the paper, turn the roll back to remove any
slack. Then align the bottom edge with the horizontal line and the right
edge with the vertical line.
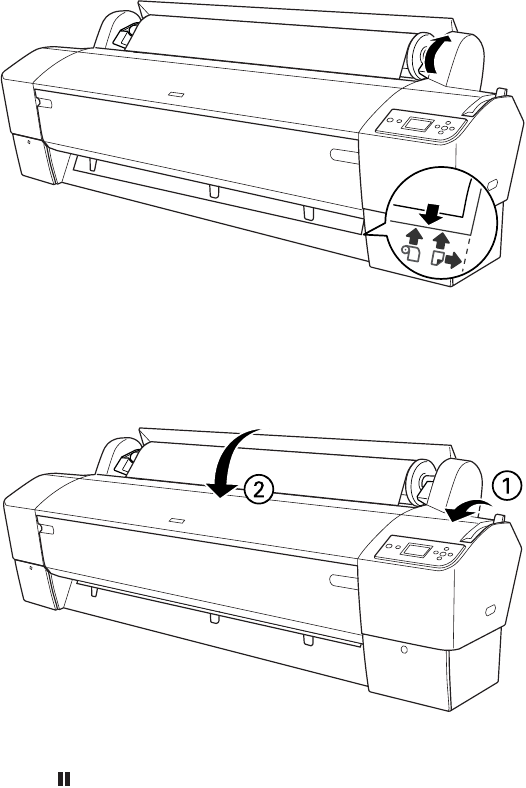
8. Move the paper lever to the locked position, then close the roll paper
cover.
9. Press the Pause button (or wait for 5 seconds). The paper feeds into
printing postion automatically, and
READY appears on the control
panel.
To avoid indenting or creasing the paper, remove it from the paper path and
roll it up when you are not printing.
Note: Opening the front
cover causes printing to
stop. Do not open the
front cover while printing
is in progress, or your
print quality might be
affected.
7800-9800Guide.book Page 61 Monday, April 10, 2006 11:59 AM