
Printer User Guide
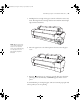
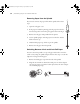
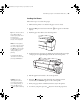
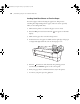
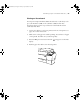
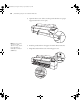
Table Of Contents
- Front Matter
- Contents
- Introduction
- Chap 1-Setting Up the Printer
- Unpacking and Assembling the Epson Stylus Pro 7800
- Unpacking and Assembling the Epson Stylus Pro 9800
- Connecting the Power Cord
- Installing Ink
- Connecting to Your System
- Connecting to the Network
- Installing the Software for Macintosh
- Installing the Software for Windows
- Updating Your Printer Firmware
- Configuring the Printer for Your Network
- Chap 2-Handling Paper and Other Media
- Chap 3-Printing with Epson Drivers for Macintosh
- Chap 4-Printing with Epson Drivers for Windows
- Chap 5-Maintaining and Transporting the Printer
- Checking Printer Status and Part Life
- Checking and Cleaning the Print Head
- Aligning the Print Head
- Replacing Ink Cartridges
- Switching Black Ink Cartridges
- Changing the Date and Time
- Using Maintenance Mode
- Replacing the Paper Cutter Blade
- Replacing the Maintenance Tank
- Cleaning the Printer
- Transporting or Storing the Printer
- Chap 6-Solving Problems
- Appendix A: Specifications
- Index
2-69
Handling Paper and Other Media | 69
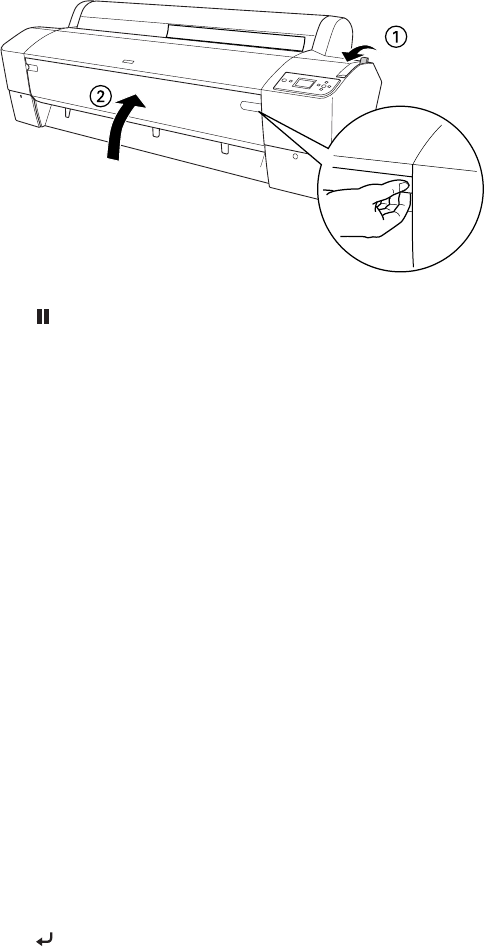
8. Pull the paper lever forward, to the locked position. Then close the front
cover.
9. Press the Pause button. The board feeds into printing position
automatically and
READY appears on the control panel.
10. Print your page. After it is finished, the posterboard stays in the printer.
11. To remove the print, hold it while releasing the paper lever.
Adjusting the Platen Gap for Thick or Thin Paper
When you print on unusually thick or thin paper, you may need to adjust
the platen gap setting.
STANDARD is the default setting. However, if print
quality is not satisfactory when using very thin or very thick stock, you may
need to change this setting
. Follow these steps:
1. Press the
Menu button. Printer Setup appears on the LCD display.
2. Press the
Menu button again to select the Printer Setup menu and
highlight
PLATEN GAP.
3. Press
Menu again. STANDARD is highlighted as the current setting.
4. Use the u and d buttons to change the setting. (
STANDARD is the
default setting; you can also choose
NARROW, WIDE, WIDER, or
WIDEST.)
5. Press the button to save the setting. An asterisk appears next to the
selected setting.
Note: If you notice head
strikes on your prints,
make sure your paper is
flat. If so, try changing the
platen gap setting to
WIDE. If that doesn’t
solve the problem, try
changing it to WIDER.
7800-9800Guide.book Page 69 Monday, April 10, 2006 11:59 AM