
Operating instructions
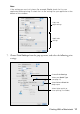
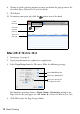
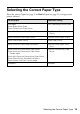
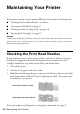
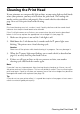

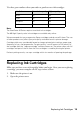
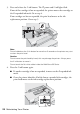
Table Of Contents
- Contents
- Introduction
- Loading Paper
- Using Special Papers
- Basic Printing
- Printing in Windows
- Printing With a Macintosh
- Selecting the Correct Paper Type
- Maintaining Your Printer
- Checking the Print Head Nozzles
- Cleaning the Print Head
- Checking the Ink Cartridge Status
- Replacing Ink Cartridges
- Solving Problems
- Checking for Software Updates
- Error Indicators
- Problems and Solutions
- Where To Get Help
- Notices
- Important Safety Instructions
- FCC Compliance Statement
- Declaration of Conformity
- Epson America, Inc., Limited Warranty
- Copyright Notice
20 Maintaining Your Printer
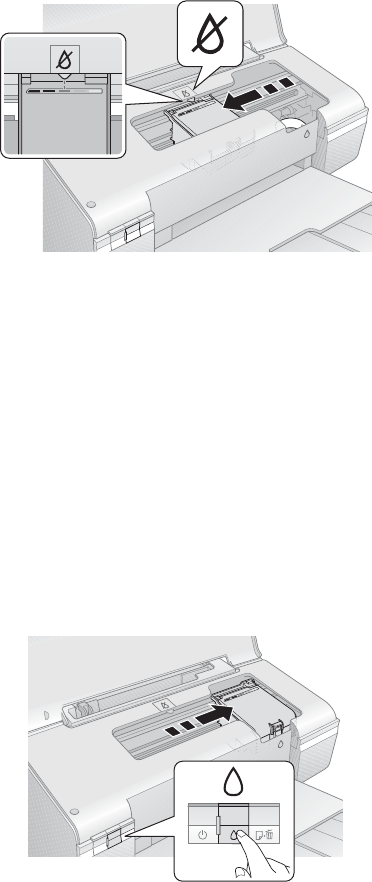
3. Press and release the H ink button. The P power and H ink lights flash.
If one of the cartridges is low or expended, the printer moves that cartridge to
the _ expended ink mark. Go to step 4.
If no cartridges are low or expended, the print head moves to the ink
replacement position. Go to step 5.
Note:
Do not hold down the H ink button for more than 3 seconds or the printer may start
to clean the print head.
Caution:
Do not move the print head by hand; this may damage the printer. Always press
the
H ink button to move it.
Do not touch the flat white cable inside the WorkForce 30 Series.
4. Press the H ink button again.
■ If another cartridge is low or expended, it moves to the _ expended ink
mark.
■ Once the printer identifies all of the low or expended ink cartridges, the
print head moves to the ink cartridge replacement position.