
Universal Player OWNER'S MANUAL


33
ENGLISH
Settings (Video)
Video adjustment
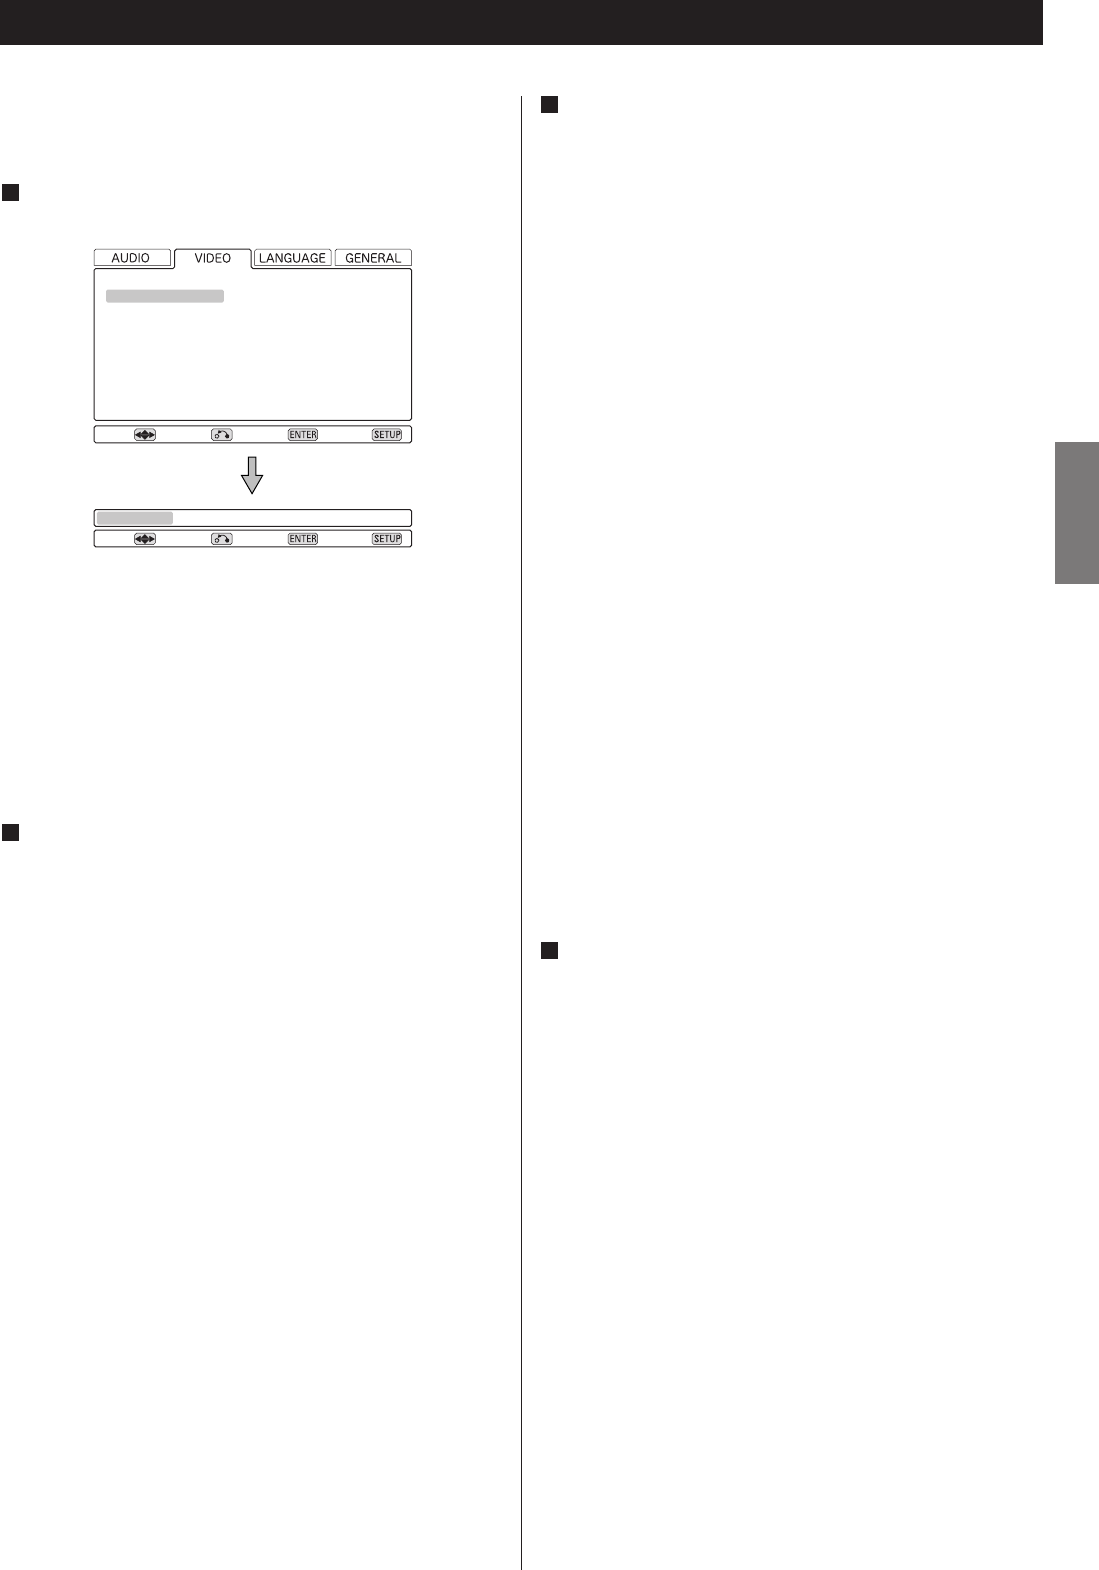
[VIDEO q Video Adjust]
Highlight the Video Adjust menu item and press the
ENTER button.
1
Near the bottom of the display, a row of four options
appears: Reference, and three memory settings (Reference
contains the factory default settings and the three memories
can be used to make video settings for different monitors,
types of program material, etc.).
Usually, you will not need to change these settings, but there
may be occasions when you want to alter one or two
parameters for a perfect picture.
To change settings, use the left and right cursor buttons
to highlight one of the Memory settings, and press
ENTER.
<
Selecting the Reference setting returns you to the VIDEO
menu.
2
Press RETURN when done, to return to the memory
selection screen, or SETUP to exit the setup menu
completely.
<
Sharpness, Gamma and Hue have no effect on the video
signal output from the HDMI terminal.
4
Sharpness
Adjusts the sharpness of the picture shown on the
monitor.
Contrast
Adjusts the picture contrast
Brightness
Adjusts the brightness of the picture
Gamma
Adjusts the gamma value of the picture
Hue
Adjusts the green/red balance of the picture (only for
progressive-scan and S-Video output)
Chroma Level
Adjusts the chroma level of the picture
Chroma Delay
Sets the delay between the Y and C signals (only affects
progressive-scan pictures).
Black Setup
Use this to enhance the black level of the picture, to assist
in the “3D look” of some scenes. Normally, this setting
should be 0 IRE. Change it only if really necessary.
Move
Video Adjust
Progressive Setting
Return Select Exit
Move
Reference* Memory 1 Memory 2 Memory 3
Return Select Exit
Use the up and down buttons to select the parameter,
and the left and right buttons to change the value.
3