
Installation guide
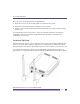

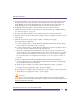
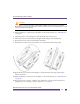
Table Of Contents
- Table of Contents
- Introduction
- Hardware Installation
- Defining a Basic Configuration
- Specifications
- Regulatory Information
- Regulatory Overview
- Wireless Device Country Approvals
- Health and Safety Recommendations
- RF Exposure Guidelines
- International
- EU
- US and Canada
- Power Supply
- Radio Frequency Interference Requirements – FCC
- Radio Frequency Interference Requirements – Canada
- CE Marking and European Economic Area (EEA)
- Statement of Compliance
- Waste Electrical and Electronic Equipment (WEEE)
- Japan (VCCI) - Voluntary Control Council for Interference Class B ITE
- Korea Warning Statement for Class B ITE
- Other Countries
- Customer Support
Access Point Placement
Altitude™ 4521 Series Access Point Installation Guide
11
Place the Access Point using the following guidelines:
●
Install the Access Point at an ideal height of 10 feet from the ground.
●
Orient the Access Point antennas vertically for best reception.
●
Point the Access Point antennas downward if attaching to the ceiling (external antenna
models only).
To maximize the Access Point’s radio coverage area, Extreme Networks recommends
conducting a site survey to define and document radio interference obstacles before
installing the Access Point.
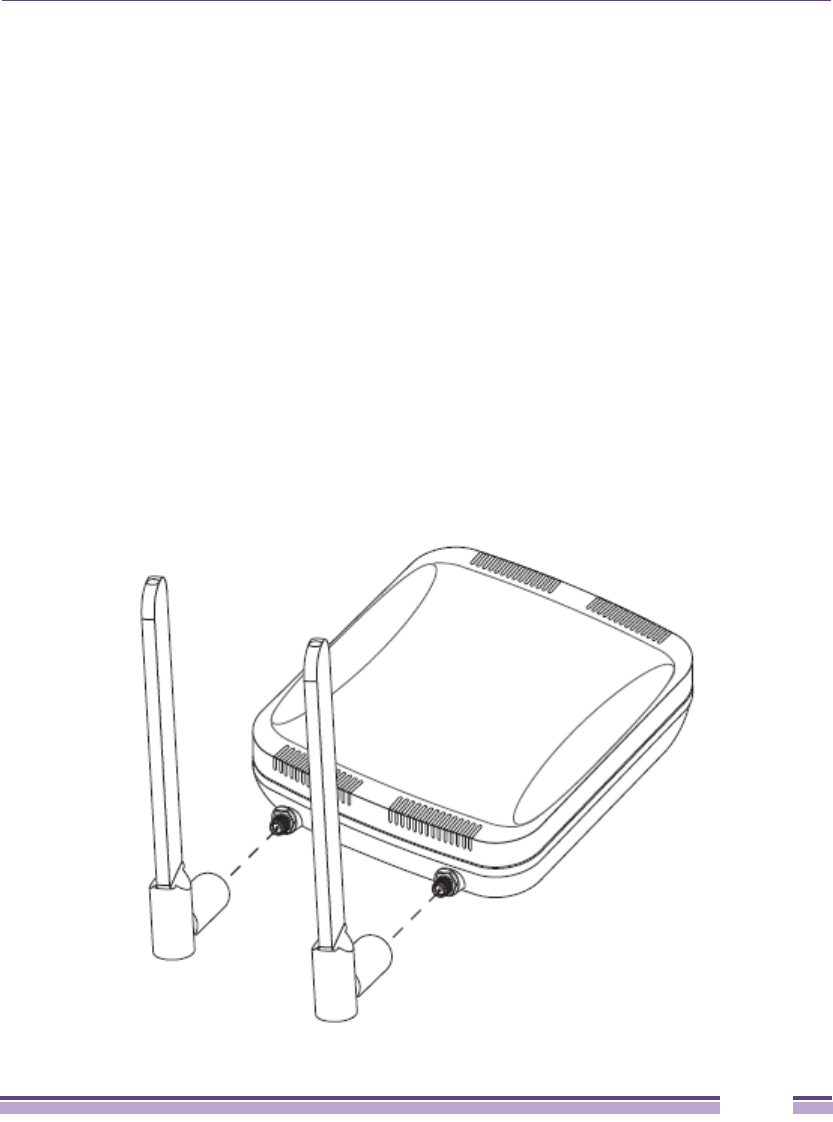
Antenna Options
Extreme Networks supports various antennas for the single radio, dual-band Altitude 4521
Series Access Point. These antennas support the 2.4 GHz band, the 5 GHz band, or both.
Select an antenna best suited to the intended operational environment of your Access Point.
For example, pictured below are two popular dual-band, omni-directional antennas for
typical indoor coverage (ML-2452-APA2-01 for Black and ML-2452-APAG2A1-02 for White).